
使用Django构建即时通讯应用的最简单方法
原文:《The simplest way to build an instant messaging app with Django》
https://www.photondesigner.com/articles/instant-messenger
利用 Server-Sent Events(见参考1)实现通信。
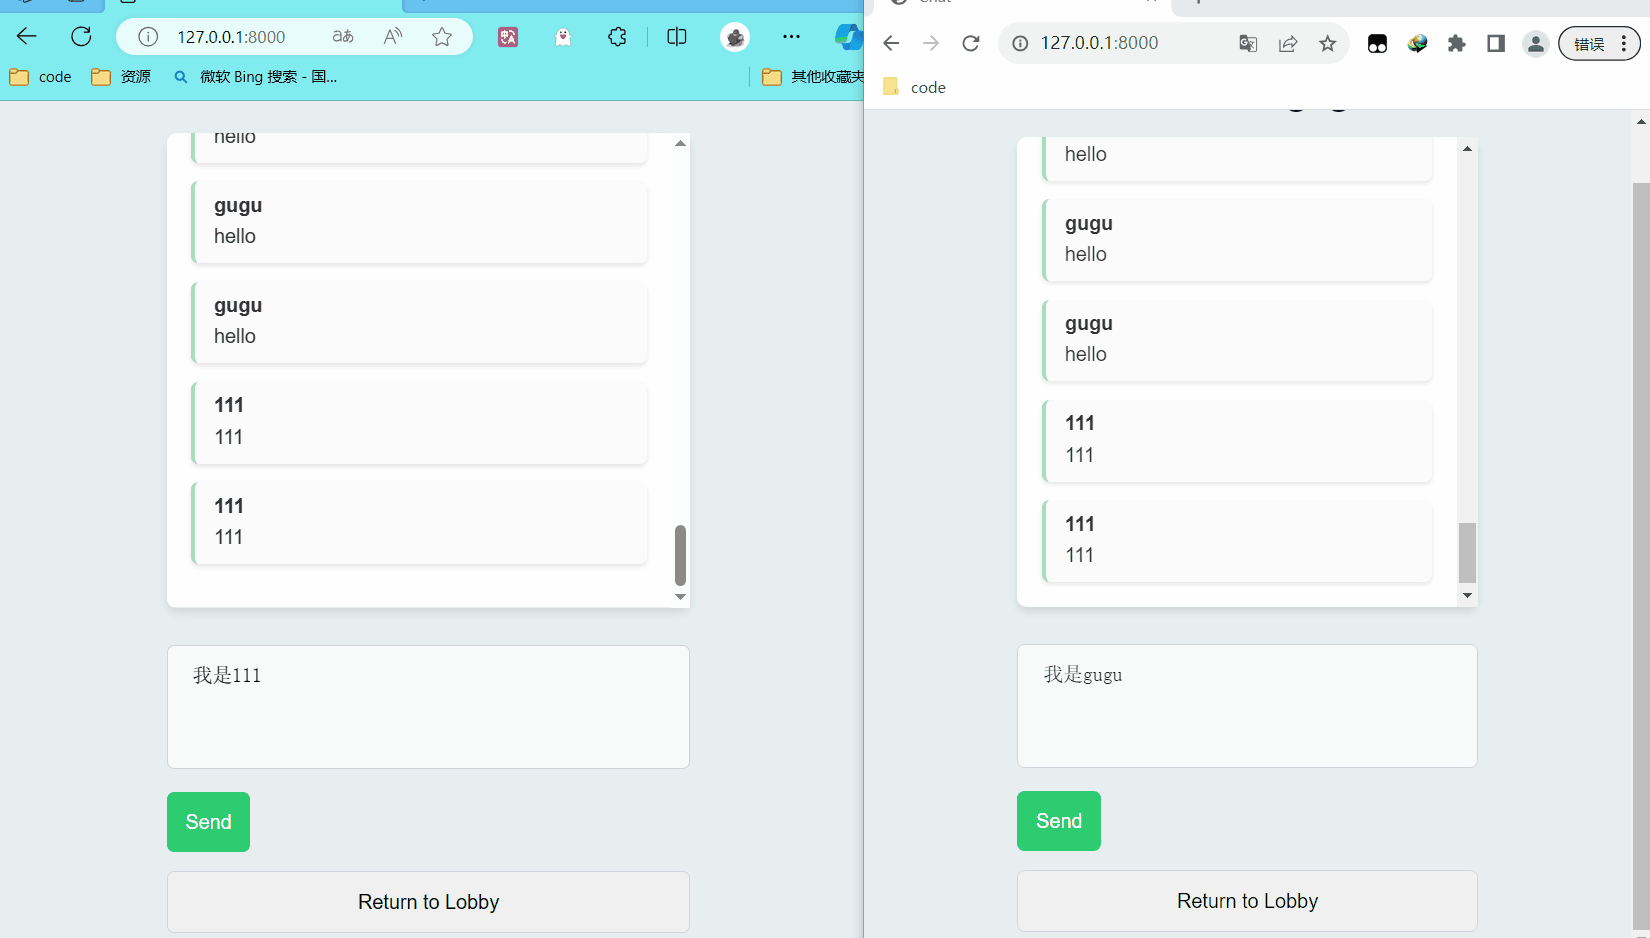
效果如下:
0. 设置Django和Daphne
创建项目和应用:
pip install django daphne
django-admin startproject core .
python manage.py startapp sim
修改core/settings.py:
# core/settings.py

INSTALLED_APPS = [
    'daphne',  # Add this at the top.
    # ...
    'sim',
    # ...
]

ASGI_APPLICATION = 'core.asgi.application'
1. 在Django view中以流式传输数据
sim/views.py
from datetime import datetime

from typing import AsyncGenerator
from django.shortcuts import render, redirect
from django.http import HttpRequest, StreamingHttpResponse, HttpResponse
from . import models
import json
import random

# 大厅
def lobby(request: HttpRequest) -> HttpResponse:
    if request.method == 'POST':
        username = request.POST.get('username')
        if username:
            request.session['username'] = username
        else:
            names = [
                "Horatio", "Benvolio", "Mercutio", "Lysander", "Demetrius", "Sebastian", "Orsino",
                "Malvolio", "Hero", "Bianca", "Gratiano", "Feste", "Antonio", "Lucius", "Puck", "Lucio",
                "Goneril", "Edgar", "Edmund", "Oswald"
            ]
            request.session['username'] = f"{random.choice(names)}-{hash(datetime.now().timestamp())}"

        return redirect('chat')
    else:
        return render(request, 'lobby.html')


# 聊天页面
def chat(request: HttpRequest) -> HttpResponse:
    if not request.session.get('username'):
        return redirect('lobby')
    return render(request, 'chat.html')


# 创建消息
def create_message(request: HttpRequest) -> HttpResponse:
    content = request.POST.get("content")
    username = request.session.get("username")

    if not username:
        return HttpResponse(status=403)
    author, _ = models.Author.objects.get_or_create(name=username)

    if content:
        models.Message.objects.create(author=author, content=content)
        return HttpResponse(status=201)
    else:
        return HttpResponse(status=200)


async def stream_chat_messages(request: HttpRequest) -> StreamingHttpResponse:
    """
    当我们创建消息时,将聊天消息流式传输到客户端。
    """
    async def event_stream():
        """
        发送连续的数据流至已连接的客户端。
        """
        async for message in get_existing_messages():
            yield message

        last_id = await get_last_message_id()

        # 持续检查新消息
        while True:
            new_messages = models.Message.objects.filter(id__gt=last_id).order_by('created_at').values(
                'id', 'author__name', 'content'
            )
            async for message in new_messages:
                yield f"data: {json.dumps(message)}\n\n"
                last_id = message['id']

    async def get_existing_messages() -> AsyncGenerator:
        messages = models.Message.objects.all().order_by('created_at').values(
            'id', 'author__name', 'content'
        )
        async for message in messages:
            yield f"data: {json.dumps(message)}\n\n"

    async def get_last_message_id() -> int:
        last_message = await models.Message.objects.all().alast()
        return last_message.id if last_message else 0

    return StreamingHttpResponse(event_stream(), content_type='text/event-stream')
2. 为视图添加 URL
创建sim/urls.py并写入:
from django.urls import path
from . import views

urlpatterns = [
    path('lobby/', views.lobby, name='lobby'),
    path('', views.chat, name='chat'),
    path('create-message/', views.create_message, name='create-message'),
    path('stream-chat-messages/', views.stream_chat_messages, name='stream-chat-messages'),
]
更新core/urls.py包含sim.urls:
# core/urls.py
from django.contrib import admin
from django.urls import path, include

urlpatterns = [
    path('admin/', admin.site.urls),
    path('', include('sim.urls')),
]
3. 添加模板
模板中包括一个 EventSource 脚本,用于接收来自 Django 的服务器发送的事件。
在sim下创建templates文件夹,在templates下创建chat.html。写入:
<!DOCTYPE html>
<html lang="en">
<head>
    <meta charset="UTF-8">
    <meta name="viewport" content="width=device-width, initial-scale=1.0">
    <title>Chat</title>
</head>
<body>
<div class="header">
    <h1>Welcome {{ request.session.username }}</h1>
</div>

<div class="container">
    <div class="messages">
        <div id="sse-data"></div>
    </div>

    <form x-cloak
          @submit.prevent="submit" x-data="{state: 'composing', errors: {}}">
        <div>
            <textarea name="content" @input="state = 'composing'" autofocus placeholder="Your next message..."></textarea>
            <button class="button">
                Send
            </button>
        </div>

        <div x-show="state === 'error'">
            <p>
                Error sending your message ❌
            </p>
        </div>
    </form>

    <form action="/lobby/" method="get">
        <button type="submit">Return to Lobby</button>
    </form>
</div>

<script>
    let eventSource;
    const sseData = document.getElementById('sse-data');

    function startSSE() {
        eventSource = new EventSource('/stream-chat-messages/');
        eventSource.onmessage = event => {
            const data = JSON.parse(event.data);
            const messageHTML = `
                    <div class="message-box">
                        <div class="message-author">${data.author__name}</div>
                        <div class="message-content">${data.content}</div>
                    </div>`;
            sseData.innerHTML += messageHTML;
            const msg = document.getElementsByClassName('messages')[0];
            msg.scrollTo(0, msg.scrollHeight);
        };
    }

    // On load, start SSE if the browser supports it.
    if (typeof(EventSource) !== 'undefined') {
        startSSE();
    } else {
        sseData.innerHTML = 'Whoops! Your browser doesn\'t receive server-sent events.';
    }
</script>

<script>
    function submit(event) {
        event.preventDefault();
        const formData = new FormData(event.target);

        const endpointUrl = "/create-message/"
        fetch(endpointUrl, {
            method: "post",
            body: formData,
            headers: {
                'X-CSRFToken': '{{ csrf_token }}',
            },
        })
            .then(response => {
                this.state = response.ok ? 'success' : 'error';
                return response.json();
            })
            .then(data => {
                this.errors = data.errors || {};
            });
    }
</script>
<script defer="" src="https://cdn.jsdelivr.net/npm/alpinejs@3.12.3/dist/cdn.min.js"></script>
</body>
</html>
在templates目录下创建lobby.html:
<!DOCTYPE html>
<html lang="en">
<head>
    <meta charset="UTF-8">
    <meta name="viewport" content="width=device-width, initial-scale=1.0">
    <title>Sign-in Page</title>
    <style>
        body {
            font-family: 'Helvetica Neue', sans-serif;
            display: flex;
            justify-content: center;
            align-items: center;
            height: 100vh;
            background-color: #e8eff1;
            margin: 0;
            color: #333;
        }

        .sign-in-container {
            background: #ffffff;
            padding: 40px 50px;
            border-radius: 8px;
            box-shadow: 0 4px 8px rgba(0, 0, 0, 0.1);
            width: 300px;
        }

        .sign-in-container h2 {
            text-align: center;
            margin-bottom: 30px;
            font-size: 24px;
            color: #0a3d62;
        }

        .sign-in-container form {
            display: flex;
            flex-direction: column;
        }

        .sign-in-container input {
            margin-bottom: 15px;
            padding: 15px;
            border: 1px solid #ced6e0;
            border-radius: 6px;
            font-size: 16px;
        }

        .sign-in-container button {
            padding: 15px;
            background-color: #2ecc71;
            color: white;
            border: none;
            border-radius: 6px;
            cursor: pointer;
            font-size: 16px;
            transition: background-color 0.3s;
        }

        .sign-in-container button:hover {
            background-color: #27ae60;
        }
    </style>
</head>
<body>
    <div class="sign-in-container">
        <h2>Enter your chat name:</h2>
        <form method="post">
            {% csrf_token %}
            <input type="text" name="username" placeholder="Username" required>
            <button type="submit">Join the chat</button>
        </form>
    </div>
</body>
</html>
4. 创建 Django 模型来存储要实时发送的数据
将以下内容添加到 sim/models.py :
from django.db import models


class Author(models.Model):
    name = models.CharField(max_length=500)


class Message(models.Model):
    author = models.ForeignKey(Author, on_delete=models.CASCADE)
    content = models.TextField()
    created_at = models.DateTimeField(auto_now_add=True)
应用模型:
python manage.py makemigrations
python manage.py migrate
5. 运行
python manage.py runserver
访问http://127.0.0.1:8000,用另一个浏览器作为第二个用户访问。
6. 奖励:为您的聊天界面添加样式
向chat.html模板添加样式以包含聊天界面和样式。以下是完整模板
<!DOCTYPE html>
<html lang="en">
<head>
    <meta charset="UTF-8">
    <meta name="viewport" content="width=device-width, initial-scale=1.0">
    <title>Chat</title>
    <style>
        body {
            font-family: 'Arial', sans-serif;
            background-color: #e8eff1;
            margin: 0;
            padding: 0;
            color: #333;
        }
        .header {
            color: #022c22;
            font-size: 14px;
            text-align: center;
        }
        .container {
            max-width: 60%;
            margin: auto;
        }
        .messages {
            background: #ffffff;
            border-radius: 8px;
            padding: 20px;
            margin-bottom: 30px;
            box-shadow: 0 4px 8px rgba(0, 0, 0, 0.1);
            font-size: 16px;
            height: 50vh;
            overflow-y: scroll;
        }
        .message {
            border-bottom: 1px solid #ced6e0;
            padding: 15px 0;
        }
        .message:last-child {
            border-bottom: none;
        }
        form {
            display: flex;
            flex-direction: column;
        }
        textarea, input, button {
            margin-bottom: 15px;
            padding: 15px;
            border: 1px solid #ced6e0;
            border-radius: 6px;
            font-size: 16px;
        }
        .button {
            background-color: #2ecc71;
            color: white;
            border: none;
            cursor: pointer;
            transition: background-color 0.3s;
        }
        .button:hover {
            background-color: #27ae60;
        }

        .message-box {
            background: rgba(247, 248, 245, 0.42);
            border-left: 4px solid rgba(51, 177, 104, 0.42);
            margin-bottom: 15px;
            padding: 10px 15px;
            border-radius: 6px;
            box-shadow: 0 2px 4px rgba(0, 0, 0, 0.1);
        }

        .message-author {
            font-weight: bold;
            margin-bottom: 5px;
        }

        .message-content {
            font-size: 16px;
            line-height: 1.4;
        }

        textarea {
            background: #f8f9fa;
            border: 1px solid #ced4da;
            box-sizing: border-box;
            width: 100%;
            padding: 12px 20px;
            border-radius: 6px;
            min-height: 100px;
            font-size: 16px;
            line-height: 1.5;
            resize: none;
            outline: none;
        }
    </style>
    <style>
        [x-cloak] {
            display: none !important;
        }
    </style>
</head>
<body>
<div class="header">
    <h1>Welcome {{ request.session.username }}</h1>
</div>

<div class="container">
    <div class="messages">
        <div id="sse-data"></div>
    </div>

    <form x-cloak
          @submit.prevent="submit" x-data="{state: 'composing', errors: {}}">
        <div>
            <textarea name="content" @input="state = 'composing'" autofocus placeholder="Your next message..."></textarea>
            <button class="button">
                Send
            </button>
        </div>

        <div x-show="state === 'error'">
            <p>
                Error sending your message ❌
            </p>
        </div>
    </form>

    <form action="/lobby/" method="get">
        <button type="submit">Return to Lobby</button>
    </form>
</div>

<script>
    let eventSource;
    const sseData = document.getElementById('sse-data');

    function startSSE() {
        eventSource = new EventSource('/stream-chat-messages/');
        eventSource.onmessage = event => {
            const data = JSON.parse(event.data);
            const messageHTML = `
                    <div class="message-box">
                        <div class="message-author">${data.author__name}</div>
                        <div class="message-content">${data.content}</div>
                    </div>`;
            sseData.innerHTML += messageHTML;
        };
    }

    // On load, start SSE if the browser supports it.
    if (typeof(EventSource) !== 'undefined') {
        startSSE();
    } else {
        sseData.innerHTML = 'Whoops! Your browser doesn\'t receive server-sent events.';
    }
</script>

<script>
    function submit(event) {
        event.preventDefault();
        const formData = new FormData(event.target);

        const endpointUrl = "/create-message/"
        fetch(endpointUrl, {
            method: "post",
            body: formData,
            headers: {
                'X-CSRFToken': '{{ csrf_token }}',
            },
        })
            .then(response => {
                this.state = response.ok ? 'success' : 'error';
                return response.json();
            })
            .then(data => {
                this.errors = data.errors || {};
            });
    }
</script>
<script defer="" src="https://cdn.jsdelivr.net/npm/alpinejs@3.12.3/dist/cdn.min.js"></script>
</body>
</html>
参考
Server-Sent Events 教程:https://www.ruanyifeng.com/blog/2017/05/server-sent_events.html
严格地说,HTTP 协议无法做到服务器主动推送信息。但是,有一种变通方法,就是服务器向客户端声明,接下来要发送的是流信息(streaming)。
也就是说,发送的不是一次性的数据包,而是一个数据流,会连续不断地发送过来。这时,客户端不会关闭连接,会一直等着服务器发过来的新的数据流,视频播放就是这样的例子。本质上,这种通信就是以流信息的方式,完成一次用时很长的下载。
Django文档StreamingHttpResponse: https://docs.djangoproject.com/zh-hans/4.2/ref/request-response/#streaminghttpresponse-objects
StreamingHttpResponse 用于从 Django 向浏览器流式传输响应。在 WSGI 下的一个示例用法是在生成响应时需要太长时间或使用太多内存的情况下进行流式传输内容。例如,在 生成大型 CSV 文件 时非常有用。
https://deepinout.com/django/django-questions/222_django_django_31_streaminghttpresponse_with_an_async_generator.html
StreamingHttpResponse的使用方法与常规的HttpResponse类似,只需将生成数据的逻辑写入一个生成器函数,并将该函数作为StreamingHttpResponse的参数传入即可。在每次迭代时,StreamingHttpResponse都会将生成器函数的返回值作为响应内容的一部分发送给客户端,直到生成器结束。
from django.http import StreamingHttpResponse
import time

def async_generator():
    for i in range(5):
        yield str(i)
        time.sleep(1)

def streaming_view(request):
    response = StreamingHttpResponse(async_generator())

    return response
from django.http import StreamingHttpResponse
import asyncio

async def async_generator():
    for i in range(5):
        await asyncio.sleep(1)
        yield str(i)

def streaming_view(request):
    response = StreamingHttpResponse(async_generator())

    return response

