1 引言
JupyterLab debugger是2020年新出的升级版的Notebook,功能更强大,安装debugger插件后可以调试程序
总共需要安装的东西有
- jupyterlab
- Nodejs
- ptvsd
- jupyterlab的debugger插件
- xeus-python
2 安装过程
2.1 方法一
适用于没有conda环境的人。官网给出的安装步骤,如果不成功,执行方法二
(1)在创建conda环境的同时,安装好各种软件,简单快捷
conda create -n jupyterlab-debugger -c conda-forge xeus-python=0.8.6 notebook=6 jupyterlab=2 ptvsd nodejs
conda activate jupyterlab-debugger
(2)安装JupyterLab 前端插件
jupyter labextension install @jupyterlab/debugger
(3)安装xeus-python作为后端kernel
conda install xeus-python -c conda-forge
2.2 方法二
适用于已经有了conda环境,且已经安装了部分环境的。或者执行方法一有报错的
(1)进入conda环境
conda activate jupyterlab-debugger
(2)安装环境
pip install jupyterlab
pip install nodejs
pip install ptvsd
(3)安装JupyterLab 前端插件
jupyter labextension install @jupyterlab/debugger
(4)安装xeus-python作为后端kernel
conda install xeus-python -c conda-forge
2.3 常见Bug
(1)ValueError: Please install nodejs >=12.0.0 before continuing
(2)ValueError: Please install Node.js and npm before continuing installa
(3)界面没有debug图标
没有成功安装debugger插件。确认以上每一个步骤都成功执行

3 调试教程
只要装好前端与后端,就可以直接使用了。
(1)打开
- 第一种方式,终端输入命令
jupyter lab
- 第二种方式,浏览器输入网址http://localhost:8889/lab
(2)调试
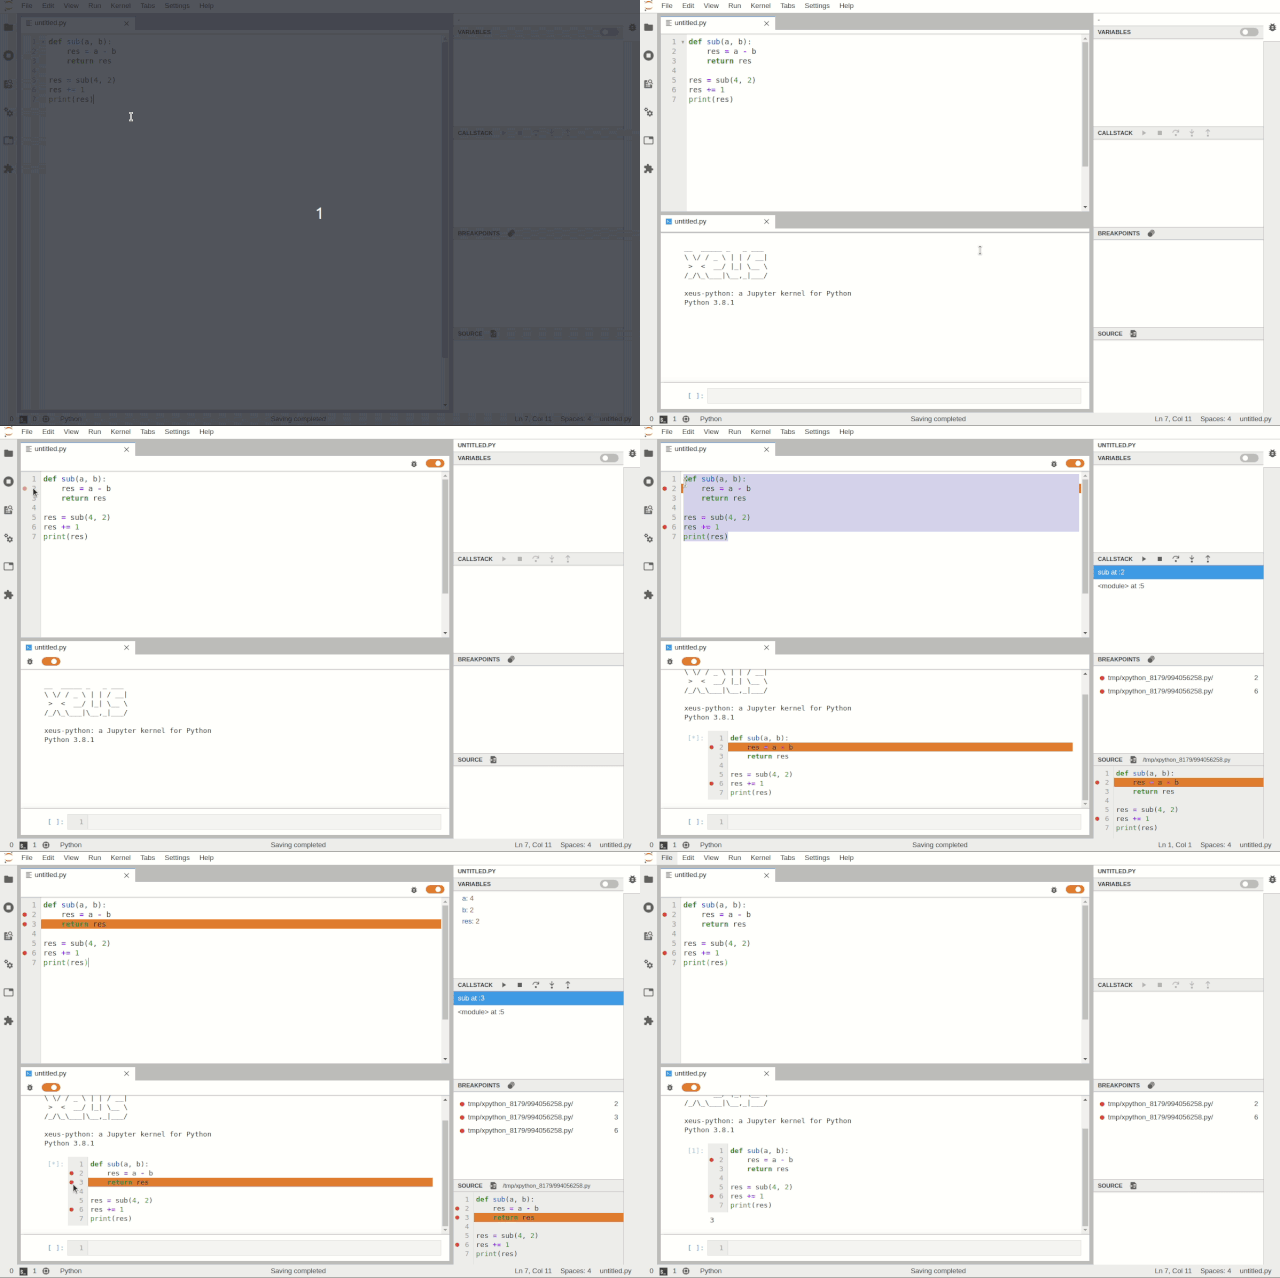
- 第一步,打开代码区域右上角的调试开关
- 第二步:设置断点
- 第三部:点击左上角的运行,就会跳到断点处,右上角显示变量区域,右下角执行操作


