

Windows集群部署
- 创建
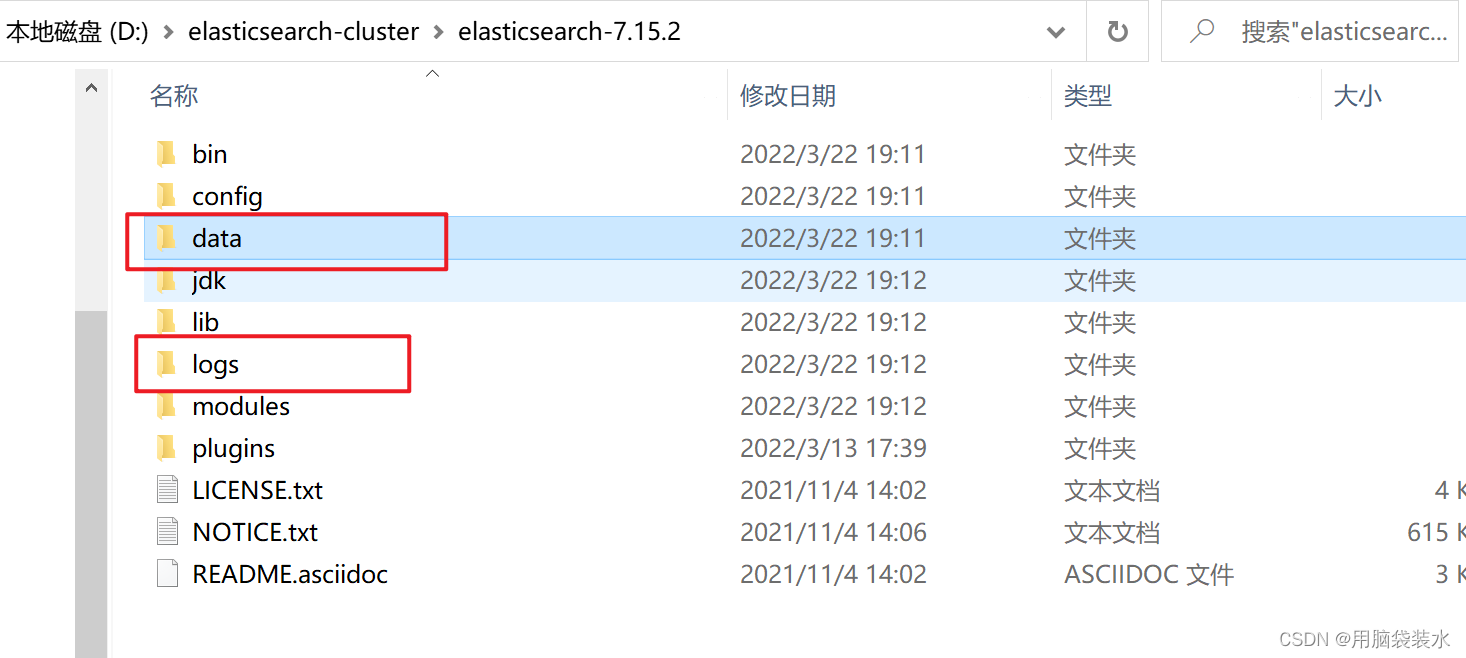
elasticsearch-cluster文件夹,在内部复制3个ElasticSearch服务(将之前的单点解压缩的那个es文件夹复制过来)
- 点开之后会看到有data,logs两个文件夹,因为之前使用过,所以里面是有数据和日志的,因为我们需要用一个全新的集群环境,所以把data文件夹删除,logs文件夹清空。
然后就是进行配置,集群和单点是不一样的,单点直接双击elasticsearch.bat文件启动即可,但是集群的话是需要配置的。
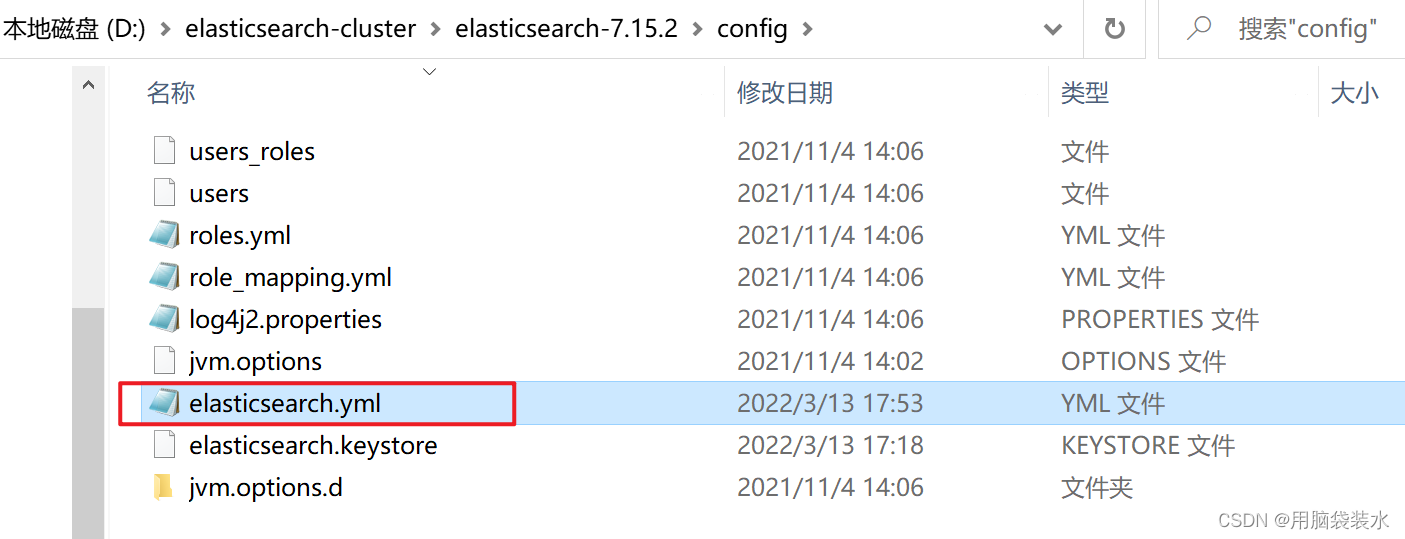
打开elasticsearch.yml文件
修改的部分:
# ---------------------------------- Cluster -----------------------------------
#
# Use a descriptive name for your cluster:
#
# 集群名称,必须要一致
cluster.name: my-application
# ------------------------------------ Node ------------------------------------
#
# Use a descriptive name for the node:
#
# 节点名称,集群内要唯一
node.name: node-8001
node.master: true
node.data: true
#
# Add custom attributes to the node:
#
#node.attr.rack: r1
# ---------------------------------- Network -----------------------------------
#
# By default Elasticsearch is only accessible on localhost. Set a different
# address here to expose this node on the network:
#
# ip地址
network.host: localhost
# http端口
http.port: 8001
# tcp监听端口
transport.tcp.port: 9301
#
# By default Elasticsearch listens for HTTP traffic on the first free port it
# finds starting at 9200. Set a specific HTTP port here:
#
#
# ---------------------------------- Various -----------------------------------
#
# Require explicit names when deleting indices:
#
#action.destructive_requires_name: true
# 跨域
http.cors.enabled: true
http.cors.allow-origin: "*"
修改完之后:

进入bin目录,启动node-8001,可以看到:
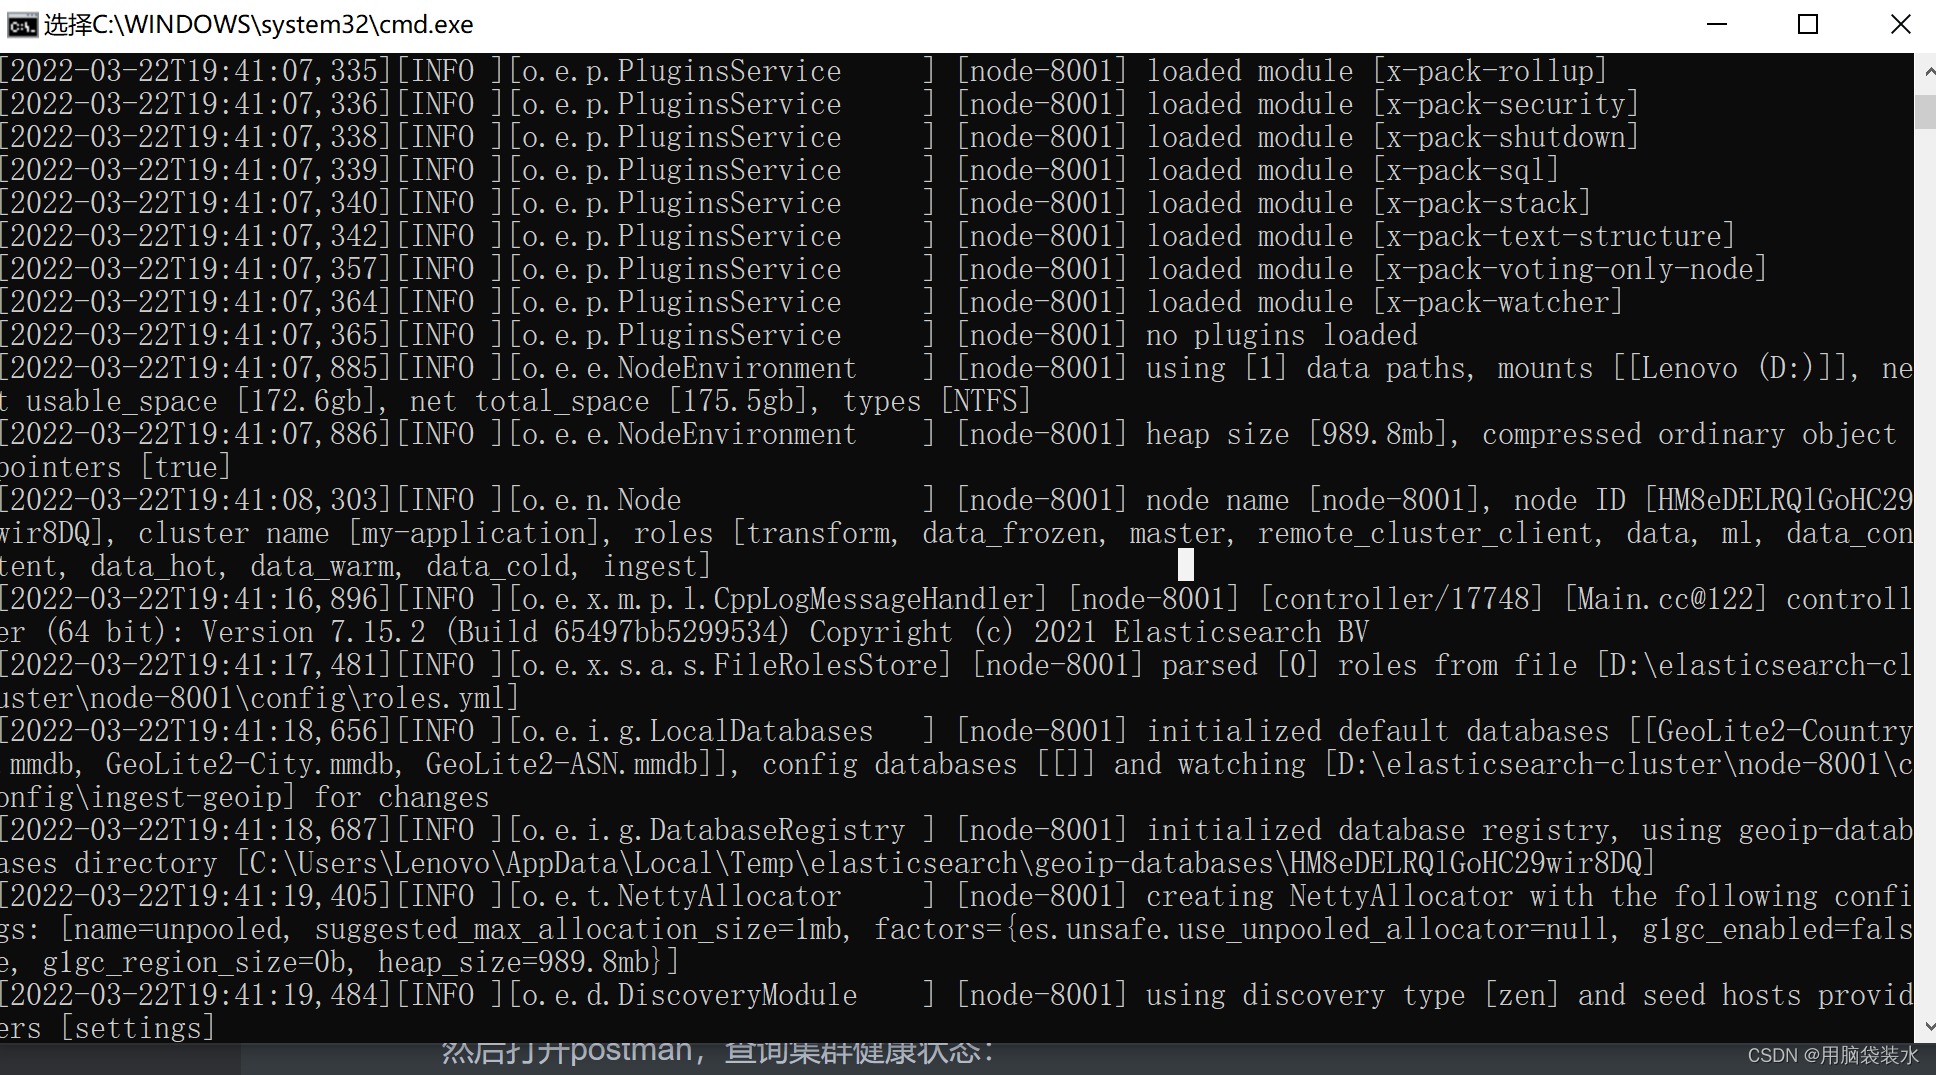
然后打开postman,查询集群健康状态:

响应:
{
    "cluster_name": "my-application",
    "status": "green", // 可以看到为健康状态为绿色
    "timed_out": false,
    "number_of_nodes": 1, // 当前的节点为1个
    "number_of_data_nodes": 1, // 当前的数据节点为1个
    "active_primary_shards": 1,
    "active_shards": 1,
    "relocating_shards": 0,
    "initializing_shards": 0,
    "unassigned_shards": 0,
    "delayed_unassigned_shards": 0,
    "number_of_pending_tasks": 0,
    "number_of_in_flight_fetch": 0,
    "task_max_waiting_in_queue_millis": 0,
    "active_shards_percent_as_number": 100.0
}
如此复制一份,并命名node-8002,删除data目录,清空logs目录,修改elasticsearch.yml文件(添加到对应模块即可):
# ---------------------------------- Cluster -----------------------------------
# 集群名称,必须要一致
cluster.name: my-application
# ------------------------------------ Node ------------------------------------
# 节点名称,集群内要唯一
node.name: node-8002
node.master: true
node.data: true
# ---------------------------------- Network -----------------------------------
# ip地址
network.host: localhost
# http端口
http.port: 8002
# tcp监听端口
transport.tcp.port: 9302
# --------------------------------- Discovery ----------------------------------
# discovery es中的一个特殊的查找模块,用来查找节点的。
# 你第一台机器启动就不用写了,因为他启动就他一个,但是第二台就需要,因为他要去找第一台去
# 9301为内部通讯端口,是第一台机器的tcp监听端口
discovery.seed_hosts: ["localhost:9301"]
discovery.zen.fd.ping_timeout: 1m
discovery.zne.fd.ping_retries: 5
# 跨域
http.cors.enabled: true
http.cors.allow-origin: "*"
然后启动node-8002可以看到:


可以看到node-8001找到了node-8001服务。
使用postman,查询集群健康状态:

响应:
{
    "cluster_name": "my-application",
    "status": "green", // 健康状态为绿色
    "timed_out": false,
    "number_of_nodes": 2, // 当前集群中的节点为2个
    "number_of_data_nodes": 2, // 当前集群中的数据节点为2个
    "active_primary_shards": 1,
    "active_shards": 2,
    "relocating_shards": 0,
    "initializing_shards": 0,
    "unassigned_shards": 0,
    "delayed_unassigned_shards": 0,
    "number_of_pending_tasks": 0,
    "number_of_in_flight_fetch": 0,
    "task_max_waiting_in_queue_millis": 0,
    "active_shards_percent_as_number": 100.0
}
如此同node-8002修改一份node-8003,删除data目录,清空logs目录,修改elasticsearch.yml:
# ---------------------------------- Cluster -----------------------------------
# 集群名称,必须要一致
cluster.name: my-application
# ------------------------------------ Node ------------------------------------
# 节点名称,集群内要唯一
node.name: node-8003
node.master: true
node.data: true
# ---------------------------------- Network -----------------------------------
# ip地址
network.host: localhost
# http端口
http.port: 8003
# tcp监听端口
transport.tcp.port: 9303
# --------------------------------- Discovery ----------------------------------
# discovery es中的一个特殊的查找模块,用来查找节点的。
# 你第一台机器启动就不用写了,因为他启动就他一个,但是第二台就需要,因为他要去找第一台去
# 9301为内部通讯端口,是第一台机器的tcp监听端口
discovery.seed_hosts: ["localhost:9301","localhost:9302"]
discovery.zen.fd.ping_timeout: 1m
discovery.zne.fd.ping_retries: 5
# 跨域
http.cors.enabled: true
http.cors.allow-origin: "*"
然后启动node-8003服务,可以看到:

启动成功:

使用postman,查询集群健康状态:

响应:
{
    "cluster_name": "my-application",
    "status": "green", // 健康状态为绿色
    "timed_out": false,
    "number_of_nodes": 3,  // 当前集群中的节点为3个
    "number_of_data_nodes": 3, // 当前集群中的数据节点为2个
    "active_primary_shards": 1,
    "active_shards": 2,
    "relocating_shards": 0,
    "initializing_shards": 0,
    "unassigned_shards": 0,
    "delayed_unassigned_shards": 0,
    "number_of_pending_tasks": 2,
    "number_of_in_flight_fetch": 0,
    "task_max_waiting_in_queue_millis": 43810,
    "active_shards_percent_as_number": 100.0
}
注意:
这种方式要按照顺序启动,如果修改了配置文件,需要删除data目录,重启elasticsearch
配置文件参考:
# 集群名称,必须要一致
cluster.name: my-application
# 节点名称,集群内要唯一
node.name: node-8001
node.master: true
node.data: true
# ip地址
network.host: localhost
# http端口
http.port: 8001
# tcp监听端口
transport.tcp.port: 9301
# 查找节点(第一个节点的配置文件无需添加)
discovery.seed_hosts: ["localhost:9301"]
discovery.zen.fd.ping_timeout: 1m
discovery.zne.fd.ping_retries: 5
# 集群内的可以被选为主节点的节点列表
#cluster.initial_master_nodes: ["node-1","node-2","node-3"]
# 跨域配置
#action.destructive_requires_name: true
http.cors.enabled: true
http.cors.allow-origin: "*"
注意:
很多问题都出现在第一次配置失败。假如你Es项目路径下有建立了data的目录,那就要在每次改配置的时候去清掉里面的东西,像是缓存垃圾,导致后面每次修改都不生效。
解决方法:
关闭es,删除data目录,重启es


