步骤 1. 在我们安装任何软件之前,通过apt在终端中运行以下命令来确保您的系统是最新的很重要:
sudo apt update
sudo apt upgrade
步骤 2. Debian 安装 OpenVPN 服务器。
现在我们使用以下命令从GitHub下载脚本安装程序 OpenVPN 服务器curl:
curl -O https://raw.githubusercontent.com/angristan/openvpn-install/master/openvpn-install.sh
下载后,对脚本赋予执行权限
chmod +x openvpn-install.sh
安装过程中需要下载github上的代码,如果网络不通则需要设置可以访问github的代理,也可以直接下载好将文件放到/root目录下,这里我采用的是下载好将EasyRSA.tgz文件放在/root目录下
下载文件地址:https://github.com/OpenVPN/easy-rsa/releases/download/v3.1.2/EasyRSA-3.1.2.tgz
将文件上传到服务器/root目录下
将文件重命名为esay-rsa.tgz
修改安装脚本内容
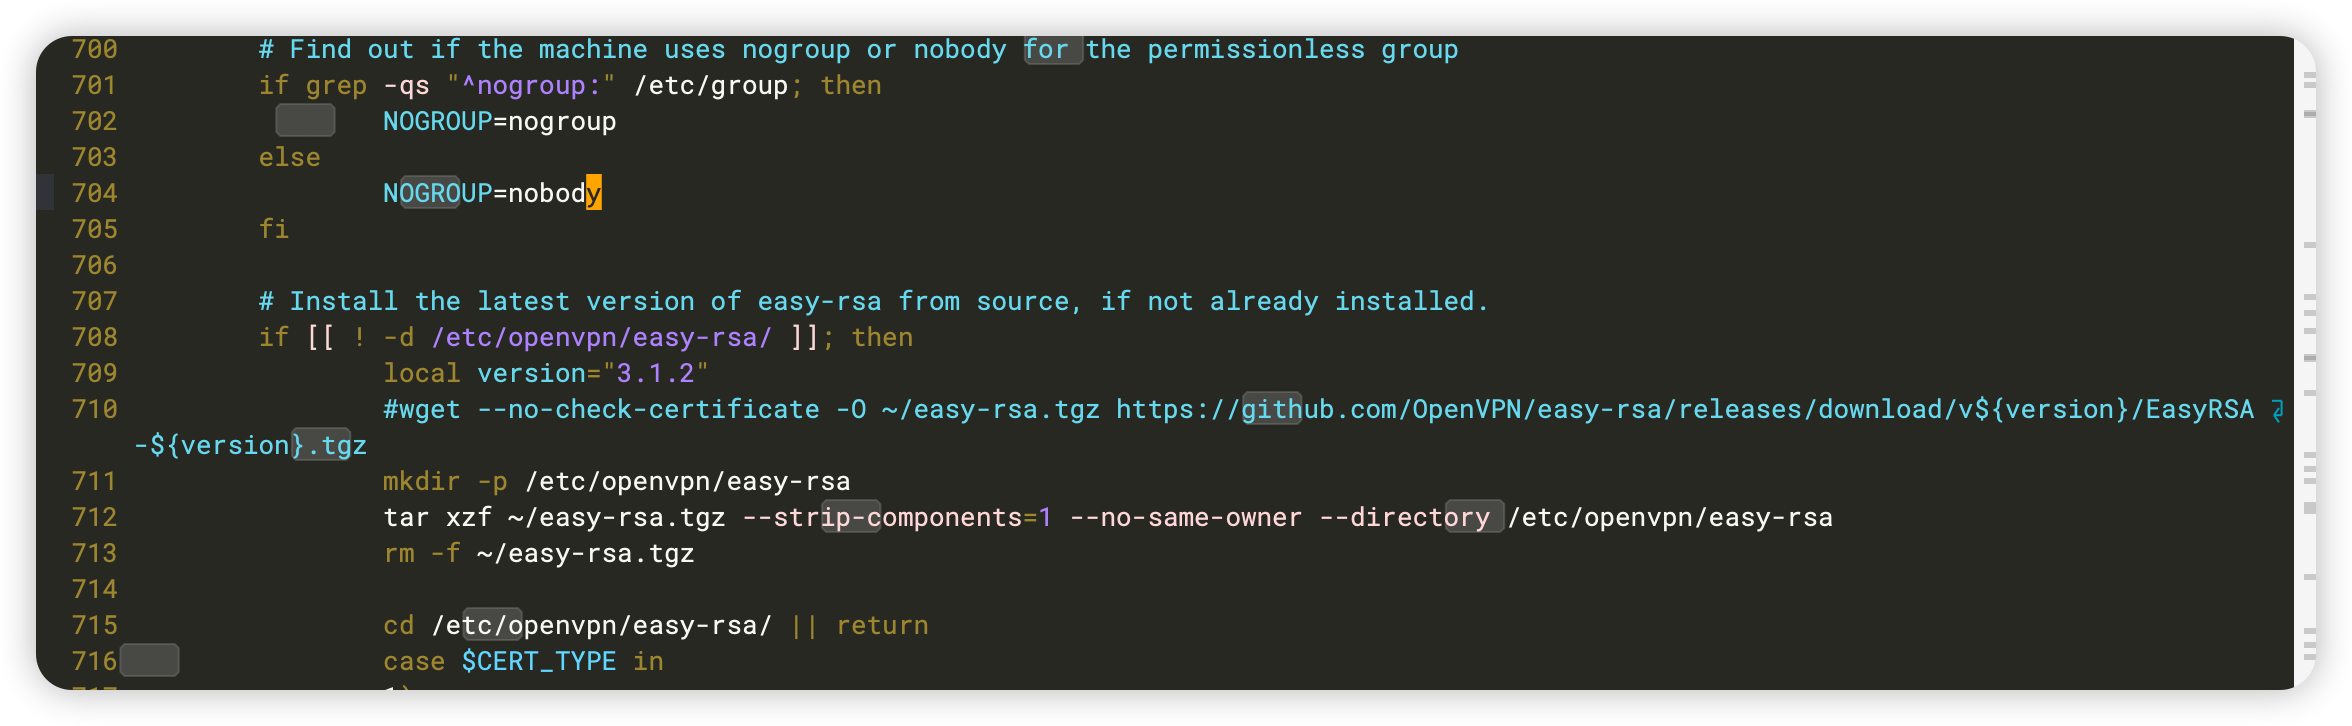
屏蔽第710行(下载github安装包的那一行,这样后续就不在linux中下载了)
安装OpenVPN
./openvpn-install.sh
系统将提示您输入一些信息:
root@pve:~# ./openvpn-install.sh
Welcome to the OpenVPN installer!
The git repository is available at: https://github.com/angristan/openvpn-install

I need to ask you a few questions before starting the setup.
You can leave the default options and just press enter if you are ok with them.

I need to know the IPv4 address of the network interface you want OpenVPN listening to.
Unless your server is behind NAT, it should be your public IPv4 address.
IP address: 192.168.1.133 # 回车

It seems this server is behind NAT. What is its public IPv4 address or hostname?
We need it for the clients to connect to the server.
Public IPv4 address or hostname: 192.168.1.133

Checking for IPv6 connectivity...

Your host does not appear to have IPv6 connectivity.

Do you want to enable IPv6 support (NAT)? [y/n]: y

What port do you want OpenVPN to listen to?
   1) Default: 1194
   2) Custom
   3) Random [49152-65535]

What protocol do you want OpenVPN to use?
UDP is faster. Unless it is not available, you shouldn't use TCP.
   1) UDP
   2) TCP
Protocol [1-2]: 2

What DNS resolvers do you want to use with the VPN?
   1) Current system resolvers (from /etc/resolv.conf)
   2) Self-hosted DNS Resolver (Unbound)
   3) Cloudflare (Anycast: worldwide)
   4) Quad9 (Anycast: worldwide)
   5) Quad9 uncensored (Anycast: worldwide)
   6) FDN (France)
   7) DNS.WATCH (Germany)
   8) OpenDNS (Anycast: worldwide)
   9) Google (Anycast: worldwide)
   10) Yandex Basic (Russia)
   11) AdGuard DNS (Anycast: worldwide)
   12) NextDNS (Anycast: worldwide)
   13) Custom
DNS [1-12]: 13
Primary DNS: 8.8.8.8
Secondary DNS (optional): 8.8.4.4

Do you want to use compression? It is not recommended since the VORACLE attack makes use of it.
Enable compression? [y/n]: n

Do you want to customize encryption settings?
Unless you know what you're doing, you should stick with the default parameters provided by the script.
Note that whatever you choose, all the choices presented in the script are safe. (Unlike OpenVPN's defaults)
See https://github.com/angristan/openvpn-install#security-and-encryption to learn more.

Customize encryption settings? [y/n]: n

Okay, that was all I needed. We are ready to setup your OpenVPN server now.
You will be able to generate a client at the end of the installation.
Press any key to continue...  # 按回车即可开始安装
* Applying /usr/lib/sysctl.d/10-pve-ct-inotify-limits.conf ...
* Applying /usr/lib/sysctl.d/10-pve.conf ...
* Applying /usr/lib/sysctl.d/50-pid-max.conf ...
* Applying /etc/sysctl.d/99-openvpn.conf ...
* Applying /usr/lib/sysctl.d/99-protect-links.conf ...
* Applying /etc/sysctl.d/99-sysctl.conf ...
* Applying /usr/lib/sysctl.d/pve-firewall.conf ...
* Applying /etc/sysctl.conf ...
fs.inotify.max_queued_events = 8388608
fs.inotify.max_user_instances = 65536
fs.inotify.max_user_watches = 4194304
vm.max_map_count = 262144
net.ipv4.neigh.default.gc_thresh3 = 8192
net.ipv6.neigh.default.gc_thresh3 = 8192
kernel.keys.maxkeys = 2000
net.bridge.bridge-nf-call-ip6tables = 0
net.bridge.bridge-nf-call-iptables = 0
net.bridge.bridge-nf-call-arptables = 0
net.bridge.bridge-nf-filter-vlan-tagged = 0
net.ipv4.igmp_link_local_mcast_reports = 0
fs.aio-max-nr = 1048576
kernel.pid_max = 4194304
net.ipv4.ip_forward = 1
net.ipv6.conf.all.forwarding = 1
fs.protected_fifos = 1
fs.protected_hardlinks = 1
fs.protected_regular = 2
fs.protected_symlinks = 1
net.ipv4.conf.all.rp_filter = 2
Created symlink /etc/systemd/system/multi-user.target.wants/openvpn@server.service → /etc/systemd/system/openvpn@.service.
Job for openvpn@server.service failed because the control process exited with error code.
See "systemctl status openvpn@server.service" and "journalctl -xeu openvpn@server.service" for details.
Created symlink /etc/systemd/system/multi-user.target.wants/iptables-openvpn.service → /etc/systemd/system/iptables-openvpn.service.

Tell me a name for the client.
The name must consist of alphanumeric character. It may also include an underscore or a dash.
Client name: jast

Do you want to protect the configuration file with a password?
(e.g. encrypt the private key with a password)
   1) Add a passwordless client
   2) Use a password for the client
Select an option [1-2]: 1

* Using SSL: openssl OpenSSL 3.0.11 19 Sep 2023 (Library: OpenSSL 3.0.11 19 Sep 2023)

* Using Easy-RSA configuration: /etc/openvpn/easy-rsa/vars

* The preferred location for 'vars' is within the PKI folder.
  To silence this message move your 'vars' file to your PKI
  or declare your 'vars' file with option: --vars=<FILE>
-----

Notice
------
Keypair and certificate request completed. Your files are:
req: /etc/openvpn/easy-rsa/pki/reqs/jast.req
key: /etc/openvpn/easy-rsa/pki/private/jast.key
Using configuration from /etc/openvpn/easy-rsa/pki/1a1d1295/temp.52ba975a
Check that the request matches the signature
Signature ok
The Subject's Distinguished Name is as follows
commonName            :ASN.1 12:'jast'
Certificate is to be certified until Mar 10 02:57:26 2026 GMT (825 days)

Write out database with 1 new entries
Database updated

Notice
------
Certificate created at:
* /etc/openvpn/easy-rsa/pki/issued/jast.crt

Notice
------
Inline file created:
* /etc/openvpn/easy-rsa/pki/inline/jast.inline
Client jast added.

The configuration file has been written to /root/jast.ovpn.
Download the .ovpn file and import it in your OpenVPN client.
将生成的配置文件/root/jast.ovpn下载到本地,通过VPN软件可以直接连接
我这里是Mac系统,使用的软件是Viscosity

新增新用户/客户端
运行脚本./openvpn-install.sh
root@pve:~# ./openvpn-install.sh
Welcome to OpenVPN-install!
The git repository is available at: https://github.com/angristan/openvpn-install

It looks like OpenVPN is already installed.

What do you want to do?
   1) Add a new user
   2) Revoke existing user
   3) Remove OpenVPN
   4) Exit
Select an option [1-4]: 1  # 选择1,添加客户端

Tell me a name for the client.
The name must consist of alphanumeric character. It may also include an underscore or a dash.
Client name: test-user   # 输入需要创建的客户端密码

Do you want to protect the configuration file with a password?
(e.g. encrypt the private key with a password)
   1) Add a passwordless client
   2) Use a password for the client
Select an option [1-2]: 2   # 1是无需密码直接连接,2是设置密码连接
⚠️ You will be asked for the client password below ⚠️

* Using SSL: openssl OpenSSL 3.0.11 19 Sep 2023 (Library: OpenSSL 3.0.11 19 Sep 2023)

* Using Easy-RSA configuration: /etc/openvpn/easy-rsa/vars

* The preferred location for 'vars' is within the PKI folder.
  To silence this message move your 'vars' file to your PKI
  or declare your 'vars' file with option: --vars=<FILE>
Enter PEM pass phrase:  # 设置密码
Verifying - Enter PEM pass phrase: # 确认密码
-----

Notice
------
Keypair and certificate request completed. Your files are:
req: /etc/openvpn/easy-rsa/pki/reqs/test-user.req
key: /etc/openvpn/easy-rsa/pki/private/test-user.key
Using configuration from /etc/openvpn/easy-rsa/pki/54af4460/temp.394d8f7a
Check that the request matches the signature
Signature ok
The Subject's Distinguished Name is as follows
commonName            :ASN.1 12:'test-user'
Certificate is to be certified until Mar 10 03:30:59 2026 GMT (825 days)

Write out database with 1 new entries
Database updated

Notice
------
Certificate created at:
* /etc/openvpn/easy-rsa/pki/issued/test-user.crt

Notice
------
Inline file created:
* /etc/openvpn/easy-rsa/pki/inline/test-user.inline
Client test-user added.

The configuration file has been written to /root/test-user.ovpn.
Download the .ovpn file and import it in your OpenVPN client.
完成后会在/root目录下生成客户端配置文件
客户端设置指定网段才走VPN
所有流量走本地,部分流量走vpn
设置只有10.0.0.0网段的ip走VPN
添加参数如下:
route-nopull
route 10.0.0.0 255.255.255.0 vpn_gateway
client
proto tcp-client
remote 47.98.183.51 50007
route-nopull
route 10.0.0.0 255.255.255.0 vpn_gateway
dev tun
resolv-retry infinite
nobind
persist-key
persist-tun
remote-cert-tls server
verify-x509-name server_aTxE4GMrmxVEqbU0 name
auth SHA256
auth-nocache
cipher AES-128-GCM
tls-client
tls-version-min 1.2
...
所有流量走vpn,部分流量走本地
在客户端配置文件增加以下配置:
route 10.0.0.0 255.255.255.0 net_gateway
即可实现10.0.0.0网段走本地,其他流量走openvpn。
参考:
Debian 搭建 OpenVPN 服务器:https://mrwu.red/web/4060.html
openvpn客户端指定网段走本地流量:https://blog.eyyyye.com/article/63
