安装前提:内存不少于2G,安装在centos7上
若是此方式不行,就用官网的
官方安装文档 https://about.gitlab.com/installation/?version=ce#centos-7 (ce/ee)
1、安装gitlab社区版本,官网的源比较慢,用下面的镜像(清华大学的服务器)
[root@test-7 ~]# vim /etc/yum.repos.d/gitlab.repo
[gitlab-ce]
name=Gitlab CE Repository
baseurl=https://mirrors.tuna.tsinghua.edu.cn/gitlab-ce/yum/el$releasever/
gpgcheck=0
enabled=1
2、安装这个包有300多M
yum install -y gitlab-ce
3、配置也需要几分钟时间
[root@test-7 ~]# gitlab-ctl reconfigure
4、以下表示配置完成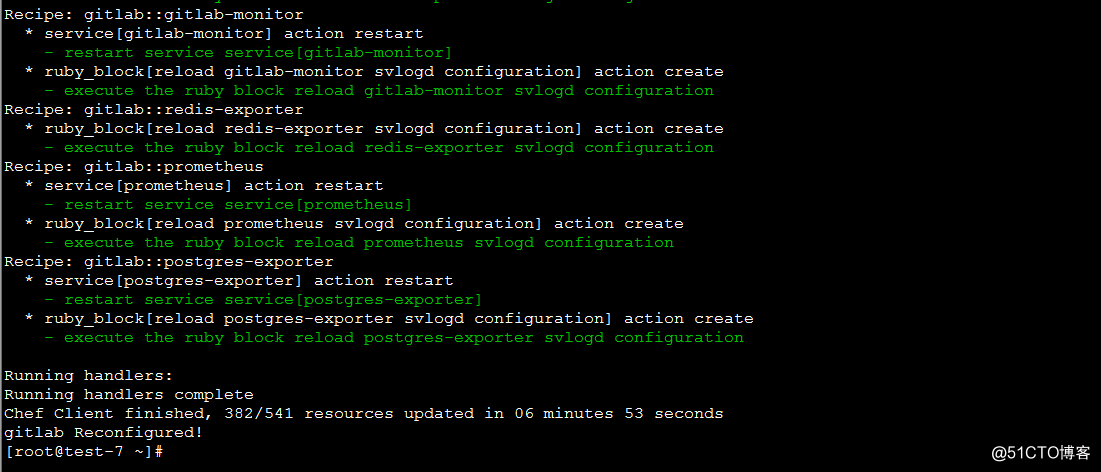
5、先停掉
[root@test-7 ~]# gitlab-ctl stop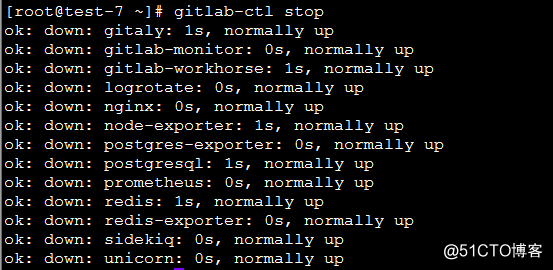
6、再启动
[root@test-7 ~]# gitlab-ctl start
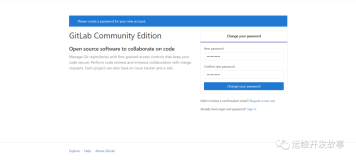
7、浏览器访问,输入IP即可
8、[root@test-7 ~]# systemctl stop firewalld
[root@test-7 ~]# systemctl stop iptable
9、设置root的密码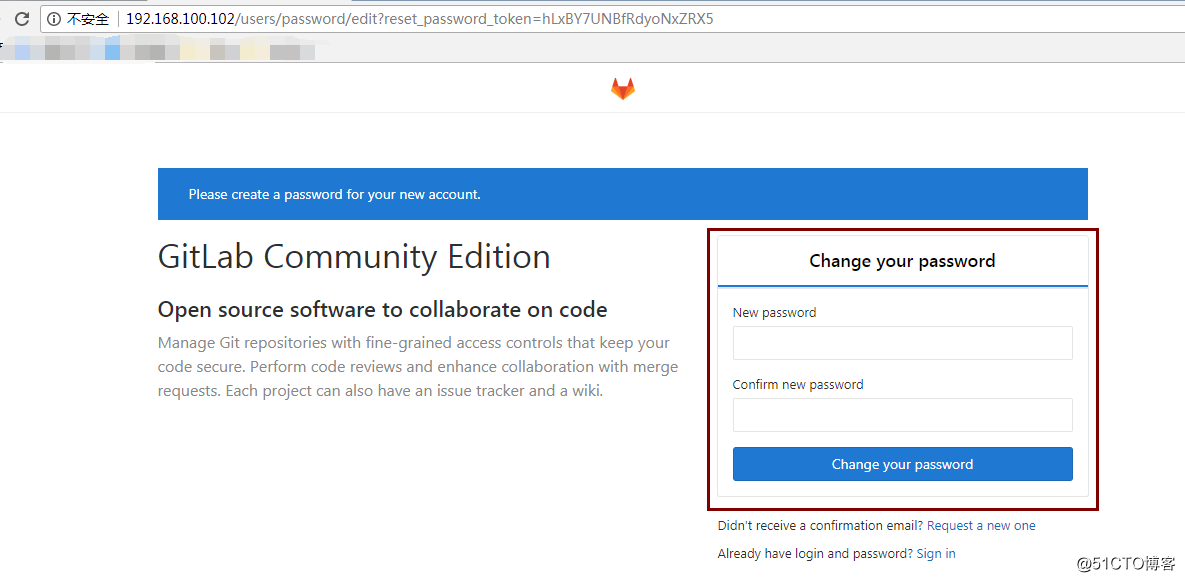
10、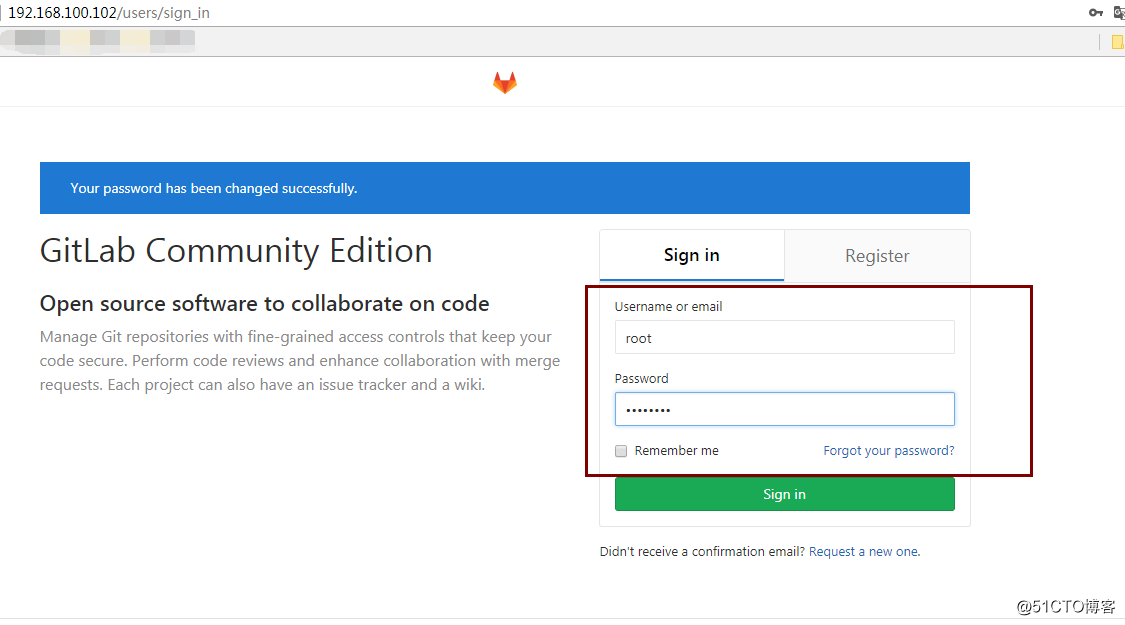
使用gitlab
1、nginx相关配置
[root@test-7 ~]# ls /var/opt/gitlab/nginx/conf/nginx.conf
/var/opt/gitlab/nginx/conf/nginx.conf
2、gitlab相关配置文件
[root@test-7 ~]# ls /var/opt/gitlab/nginx/conf/gitlab-http.conf
/var/opt/gitlab/nginx/conf/gitlab-http.conf
3、若是外网访问则需要修改servername即可
4、新建组web、java、IOS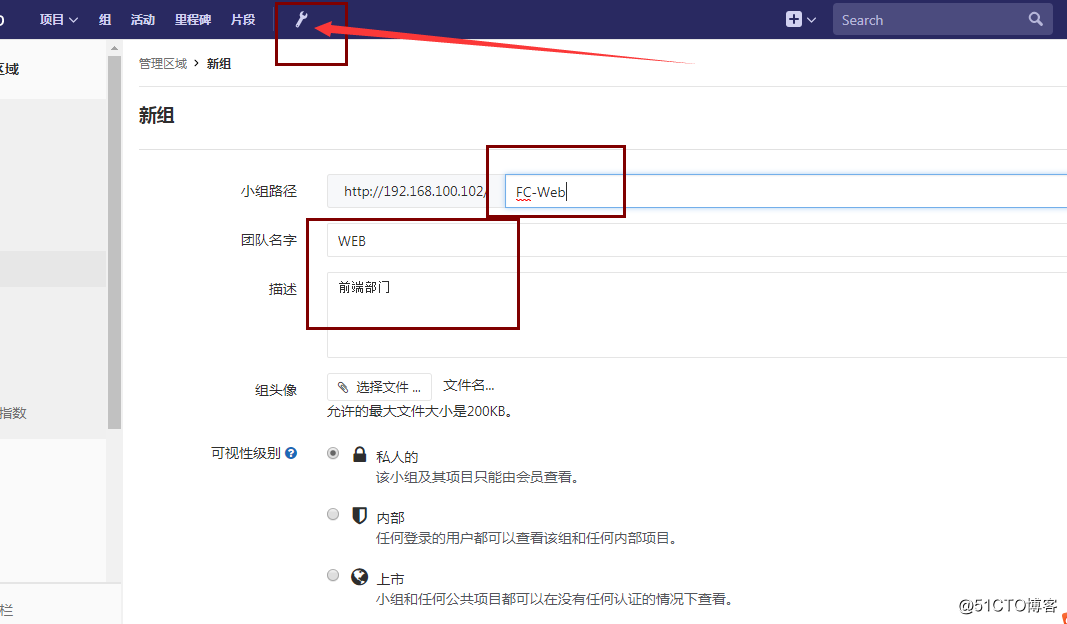
5、新建用户
6、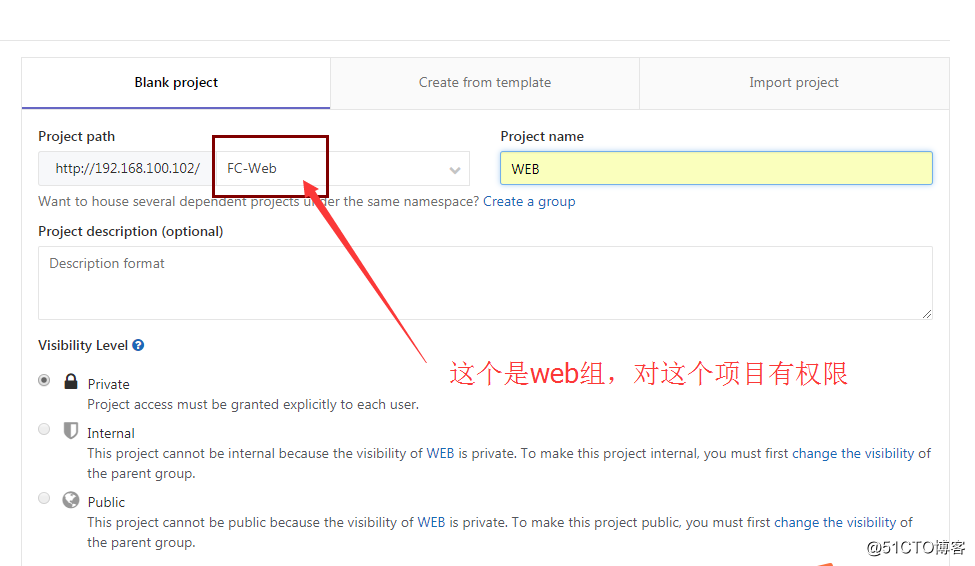
7、首先创建组,然后是用户,最后项目关联到组
8、gitlab备份
gitlab常用命令 https://www.cnyunwei.cc/archives/1204
gitlab备份: gitlab-rake gitlab:backup:create
备份目录:
[root@test-7 ~]# ls /var/opt/gitlab/backups/
1513173483_2017_12_13_10.2.4_gitlab_backup.tar
gitlab恢复
1、停服务
[root@test-7 ~]# gitlab-ctl stop unicorn ; gitlab-ctl stop sidekiq
ok: down: unicorn: 1s, normally up
ok: down: sidekiq: 1s, normally up
2、gitlab-rake gitlab:backup:restore BACKUP=xxxxx (这里是一个编号,即备份文件的前缀)
[root@test-7 ~]# gitlab-rake gitlab:backup:restore BACKUP=1513173483_2017_12_13_10.2.4
输入2个yes
3、再启动服务 gitlab-ctl start