本次分享将介绍Scrapy在Windows系统中的安装以及使用,主要解决的问题有:
- 在Windows中安装Scrapy模块
- 在IDE(PyCharm)中使用Scrapy
- Scrapy导出的csv文件乱码
首先介绍如何在Windows中安装Scrapy模块。
在https://www.lfd.uci.edu/~gohlke/pythonlibs/网站中下载适合自己Python版本和Windows位数的Twisted模块(Scrapy模块依赖于它)及Scrapy模块, 然后放在Python安装目录下的Scripts文件加下,用pip install方式安装。
模块安装完毕,输入’scrapy -h’, 输出信息如下则表示Scrapy安装成功。
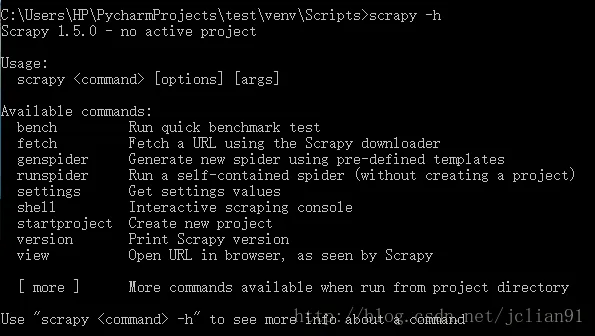
为了能随时随地地使用Scrapy, 需要将Scrapy添加到Windons系统的环境变量中,具体过程不再详述。
添加到环境变量后再重启电脑,就能随时创建Scrapy项目了,至此,我们以成功地在Windows中安装了Scrapy,并能随时创建Scrapy项目。
接着讲述如何在PyCharm中使用Scrapy.
在cmd中输入’scrapy startproject bookSpider’创建bookSpider项目,再在PyCharm中将其导入,文件结构如下:
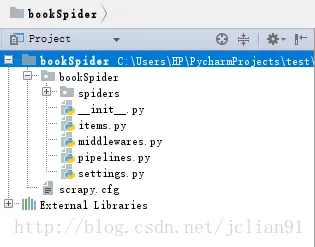
我们将完成完成与Scrapy爬虫(5)爬取当当网图书畅销榜中的项目一样的功能,只不过,这一次是在Windows的PyCharm中进行。
在settings.py中设置“ROBOTSTXT_OBEY = False”. 修改items.py,代码如下:
import scrapy

class BookspiderItem(scrapy.Item):
    rank = scrapy.Field()
    name = scrapy.Field()
    author = scrapy.Field()
    press = scrapy.Field()
    price = scrapy.Field()
    comments = scrapy.Field()
然后,在spiders文件夹下新建BookSpider.py,代码如下:
import scrapy
import scrapy.cmdline
from scrapy.selector import Selector
from bookSpider.items import BookspiderItem

class bookSpider(scrapy.Spider):
    name = 'bookScrapy'
    start_urls = ['http://bang.dangdang.com/books/bestsellers/01.00.00.00.00.00-recent7-0-0-1-%d'%i for i in range(1,26)]

    def parse(self, response):
        item = BookspiderItem()
        sel = Selector(response)

        book_list = response.css('ul.bang_list.clearfix.bang_list_mode').xpath('li')

        for book in book_list:
            item['rank'] = book.css('div.list_num').xpath('text()').extract_first()
            item['name'] = book.css('div.name').xpath('a/text()').extract_first()
            item['author'] = book.css('div.publisher_info')[0].xpath('a/text()').extract_first()
            item['press'] = book.css('div.publisher_info')[1].xpath('a/text()').extract_first()
            item['price'] = book.css('span.price_n').xpath('text()').extract_first()
            item['comments'] = book.css('div.star').xpath('a/text()').extract_first()

            yield item

def main():
    scrapy.cmdline.execute(['scrapy', 'crawl', 'bookScrapy', '-o', 'dangdangBook.csv', '-t', 'csv'])

main()
在上述代码中,引入scrapy.cmdline,能够执行cmd命令,并定义了main()函数来完成cmd命令的执行。
运行BookSpider.py,程序出错,因为缺少win32api模块。

莫慌,可以在https://www.lfd.uci.edu/~gohlke/pythonlibs/网站中下载pywin32模块,然后安装即可。安装完pywin32模块后,再次运行BookSpider.py,这次程序运行成功!
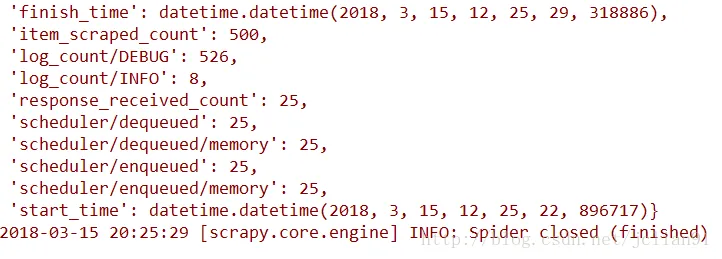
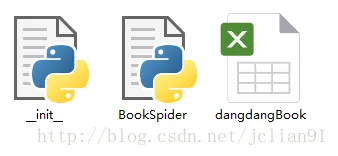
同时,该程序也生成了csv文件。
至此,我们以能够在PyCharm环境中使用Scrapy.
生成的csv文件内容如下,

我们用WPS Excel打开并没有乱码,但是用Microsoft Excel打开会乱码。解决Microsoft Excel打开乱码的问题,可以具体参考https://www.zhihu.com/question/21414417 .
本次分享到此结束,欢迎大家交流~~

