一、linux安装apache的方式
- 去官网获取软件源代码,自由选择版本,获取源码后,进行源代码编译安装,扩展额外的功能,自定义安装路径,额外扩展功能
- rpm包手动安装,不好用,需要自行解决软件依赖
- 配置yum源,使用yum自动化安装,解决依赖关系
yum安装
配置好yum源,推荐直接使用阿里云的yum源
1、安装wget
yum install -y wget
2、下载CentOS 7的repo文件
wget -O /etc/yum.repos.d/CentOS-Base.repo http://mirrors.aliyun.com/repo/Centos-7.repo
或者
curl -o /etc/yum.repos.d/CentOS-Base.repo http://mirrors.aliyun.com/repo/Centos-7.repo
3、更新镜像源
清除缓存:yum clean all 生成缓存:yum makecache
二、安装apache
1.通过命令直接安装apache(linux的软件包为httpd)
yum install httpd -y
2.启动httpd服务
systemctl restart httpd
systemctl status httpd
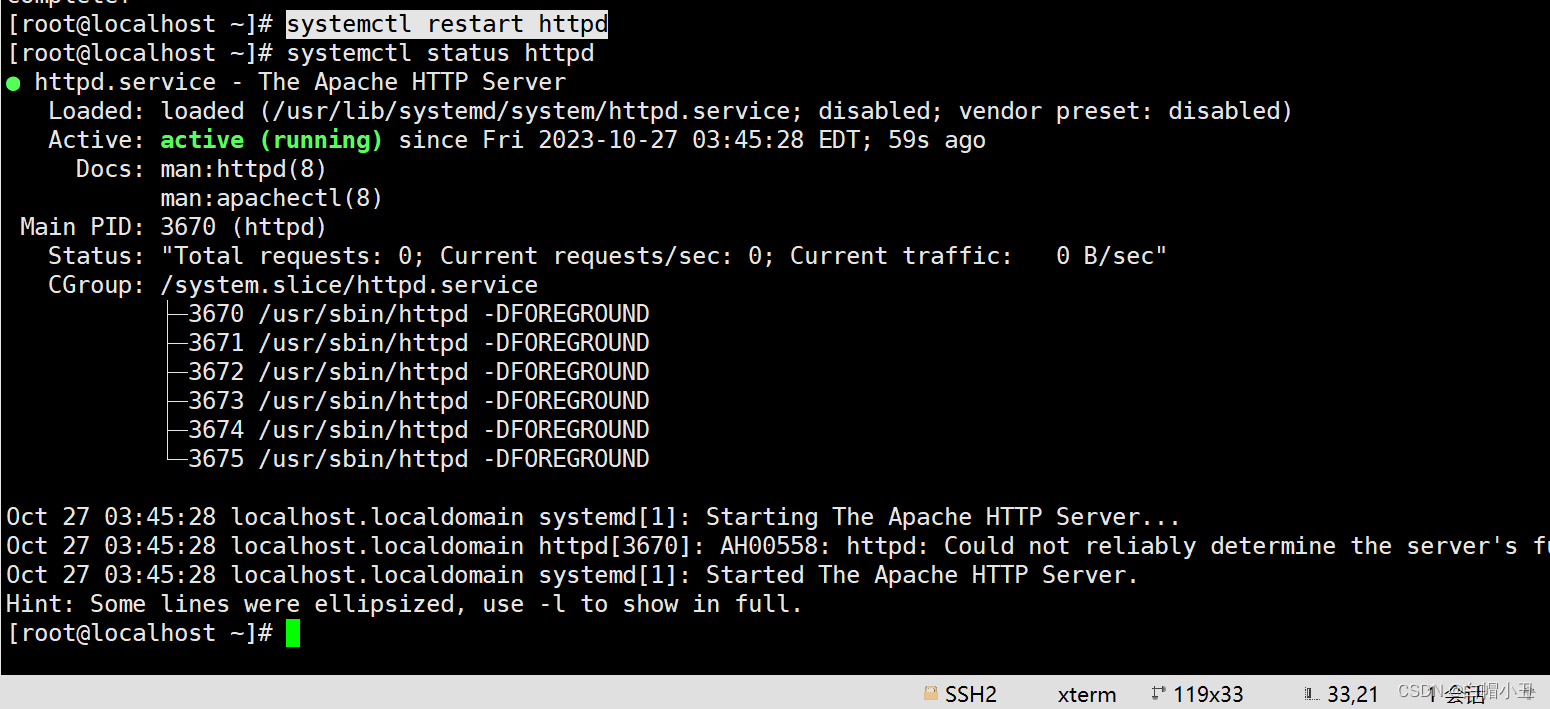
查看下默认的80端口打开了吗
[root@localhost ~]# netstat -tunlp |grep "80"
tcp6       0      0 :::80                   :::*                    LISTEN      3670/httpd
[root@localhost ~]#

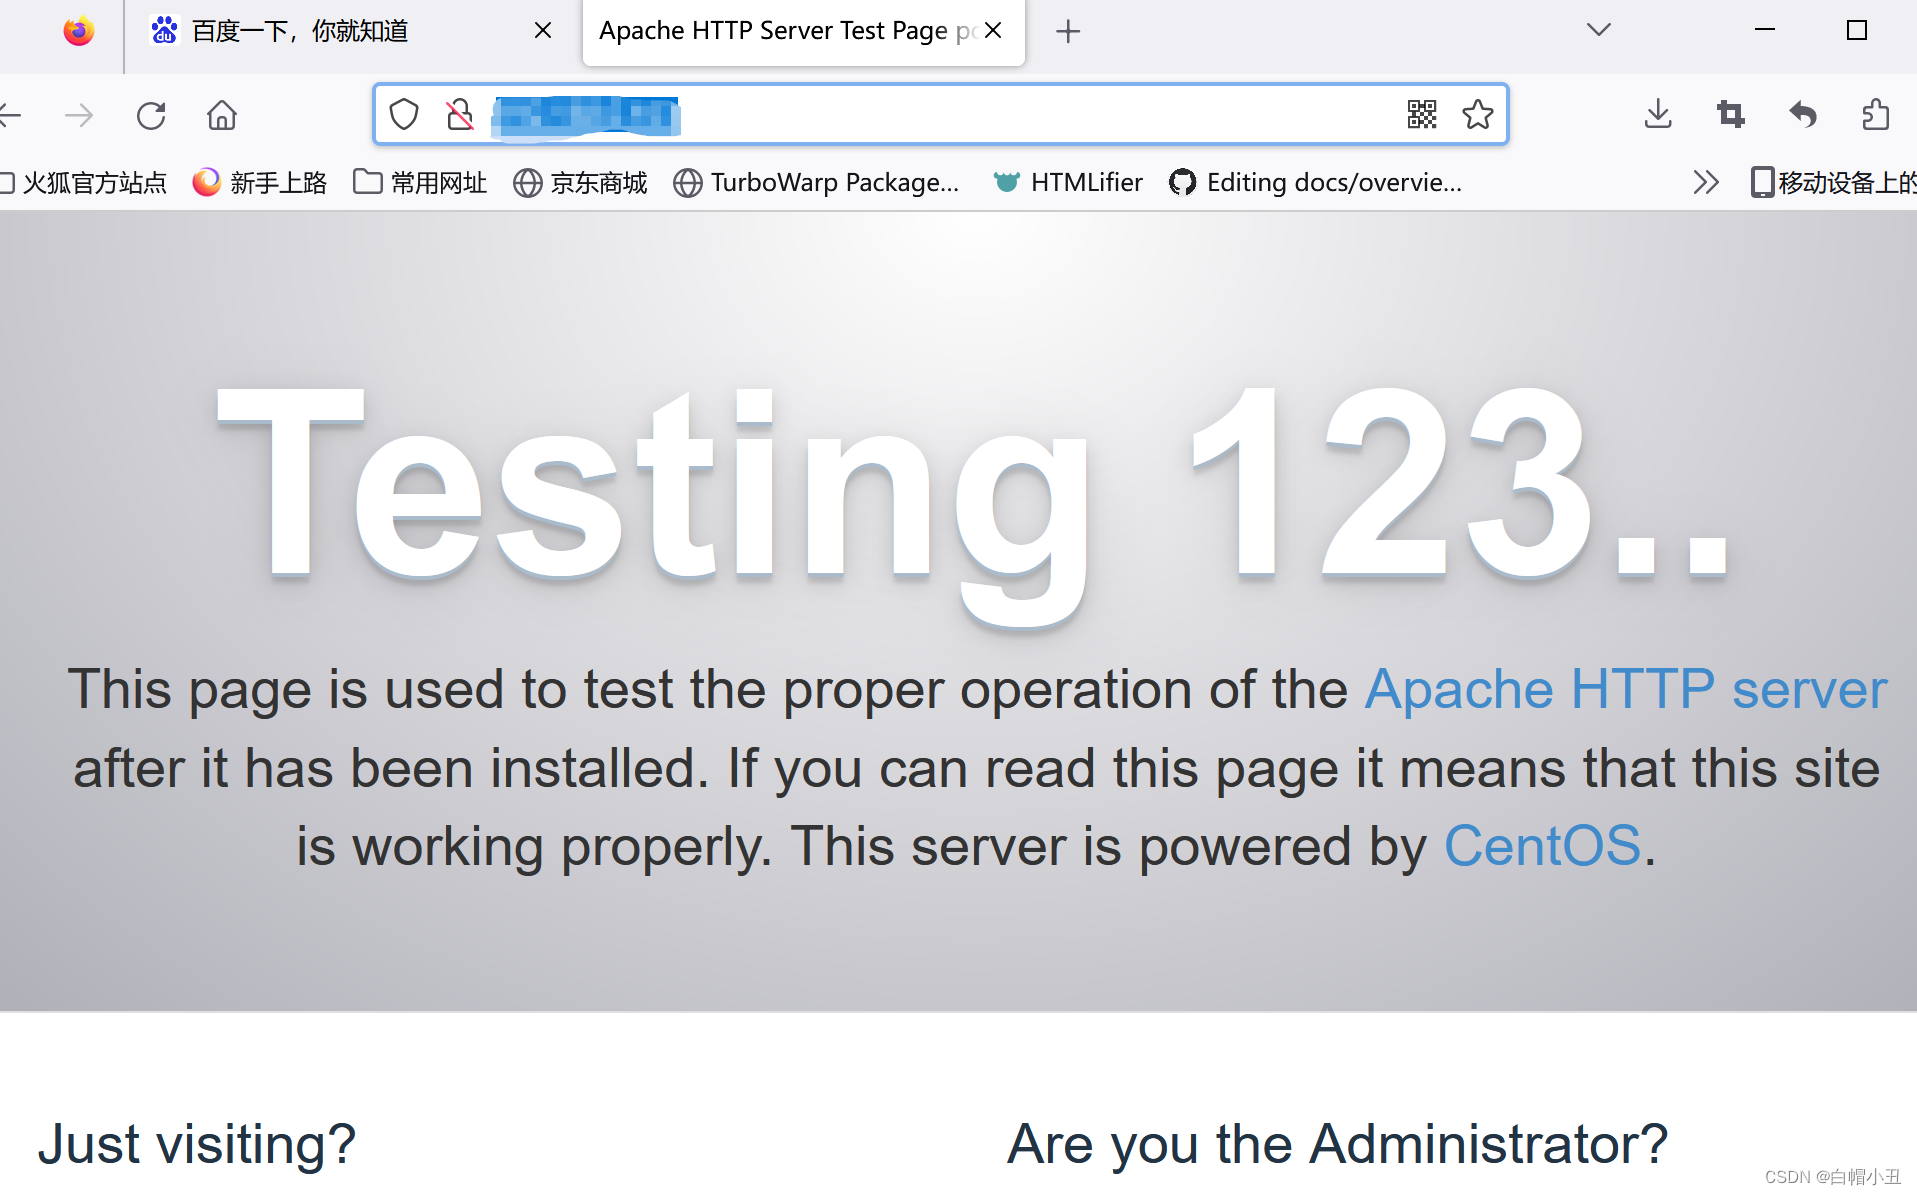
3.访问一下
访问之前先关下防火墙和selinux
systemctl stop firewalld
访问
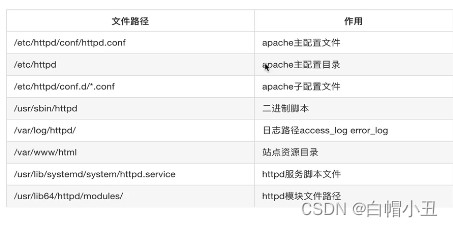
三、apache配置文件
[root@localhost ~]# rpm -ql httpd |grep ".conf"
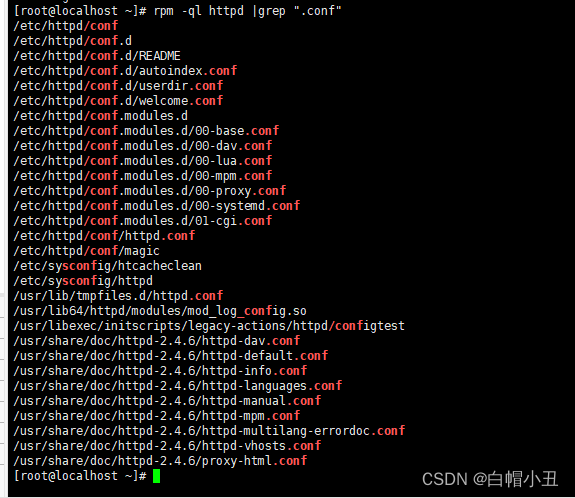
1.主配置文件
/etc/httpd/conf/httpd.conf
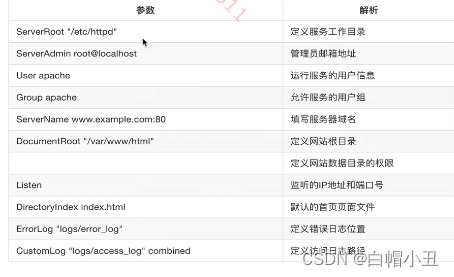
常见参数
2.修改根目录
cd /etc/httpd/conf/
vim httpd.conf
配置成这个
DocumentRoot "/www/html"
<Directory "/www">
    AllowOverride None  #不允许其他配置文件
    # Allow open access:
    Require all granted  #允许所有请求
</Directory>
创建新的站点目录
mkdir -p /www/html
cd /www/html
echo "index" > index.html
重启一下
systemctl restart httpd
关下防火墙和selinux
systemctl stop firewalld
setenforce 0
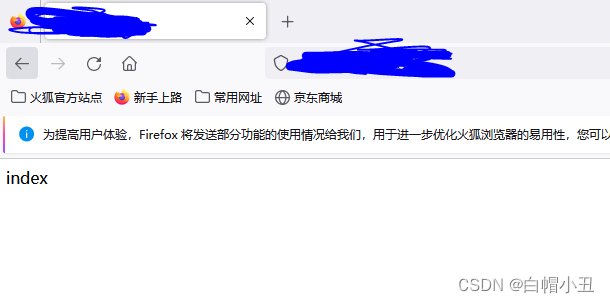
访问一下
3.修改下端口
cd /etc/httpd/conf/
vim httpd.conf
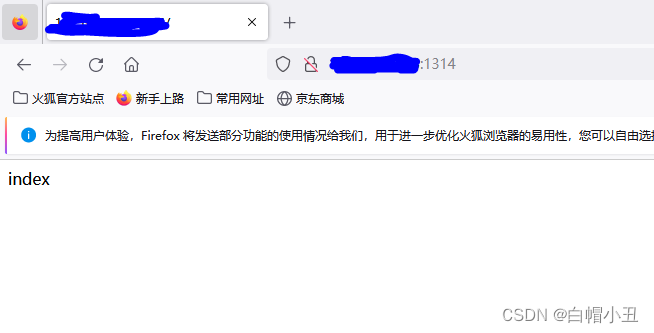
配置listen
Listen 1314
4.apache的工作模式(多进程工作模式)
有三种
- prefork
在apache,httpd服务刚启动的时候,就预先fork一些进程,并且这些进程等待用户的请求,为了减少频繁创建和销毁进程,带来的额外系统开销
prefork模式是一个进程,只有一个线程,一个时间内,只处理一个请求
- worker
使用多进程+多线程的混合模式,也是预先打开了多个进程(数量较少),每个子进程,都会创建一些子线程,同时还会有一个监听线程,每个请求来了之后,会分配给一个线程去处理。
线程单位比起进程单位,消耗的内存更少,在高并发场景下,work模式更合适
- event
和worker模式相似,解决了tcp的keep-alive长连接的问题,但是长连接如果没有及时关闭,会产生浪费,event会默认开启一个监听线程,检测到当子线程处理完毕请求后,会释放该线程,减轻服务器的压力
默认的工作模式
httpd -V |grep -i "Server MPM"

四、userid功能
1.配置文件
userid模块可以很方便的和他人共享服务器的目录资料
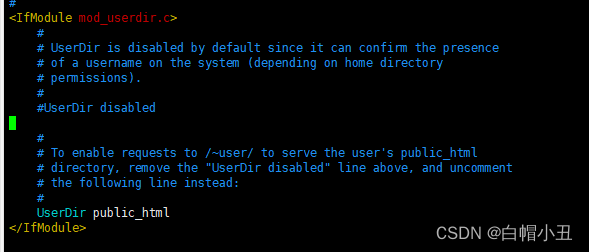
该功能需要修改这个配置文件
/etc/httpd/conf.d/userdir.conf
注释掉
#UserDir disabled
UserDir public_html
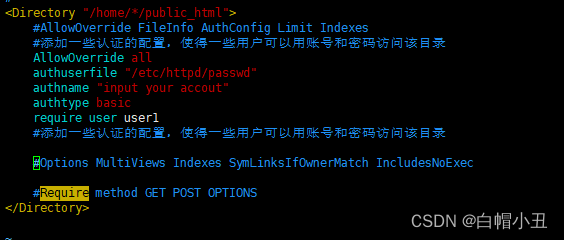
2.共享目录的权限设置
<Directory "/home/*/public_html">
    #AllowOverride FileInfo AuthConfig Limit Indexes
    #添加一些认证的配置,使得一些用户可以用账号和密码访问该目录
    AllowOverride all
    authuserfile "/etc/httpd/passwd"
    authname "input your accout"
    authtype basic
    require user user1
    #添加一些认证的配置,使得一些用户可以用账号和密码访问该目录
    #Options MultiViews Indexes SymLinksIfOwnerMatch IncludesNoExec
    #Require method GET POST OPTIONS
</Directory>
3.用户配置
[root@localhost ~]# useradd -d /home/user1 user1
[root@localhost ~]# su - user1
[ou@localhost ~]$

mkdir public_html
vim public_html/index.html
内容为
<meta charset=utf8>
public_html
4.改下目录权限
chmod -Rf 755 /home/user1/
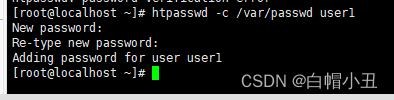
5.创建apache用户认证
[root@localhost ~]# touch /etc/httpd/passwd
用htpasswd配置密码
[root@localhost ~]# htpasswd -c /etc/httpd/passwd user1
6.重启服务并认证
systemctl restart httpd

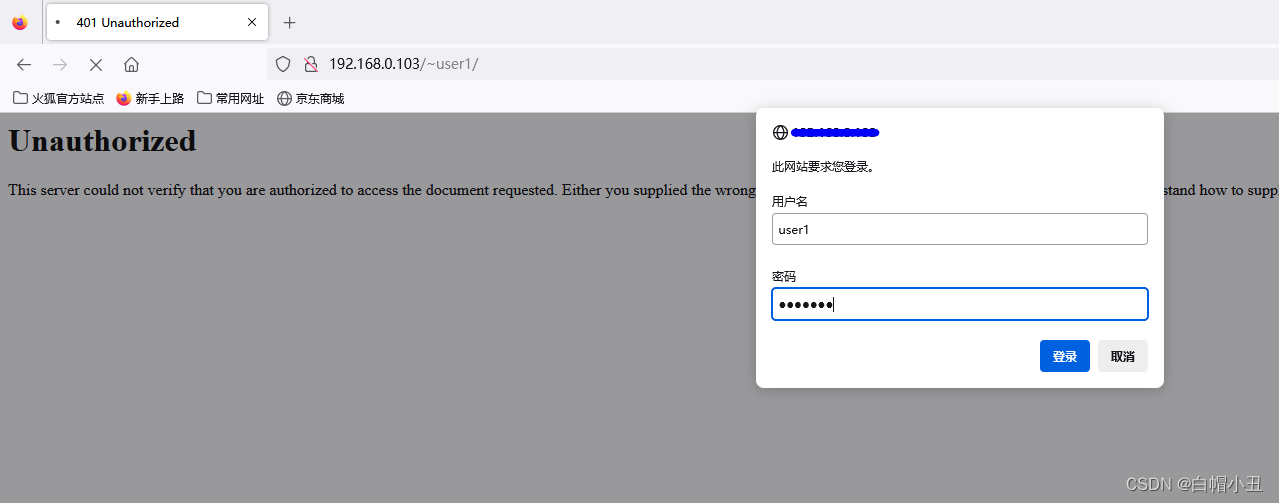
登录成功但是有500报错,这里是因为是用IP访问服务器默认不安全,但是userid这个站点是成功的
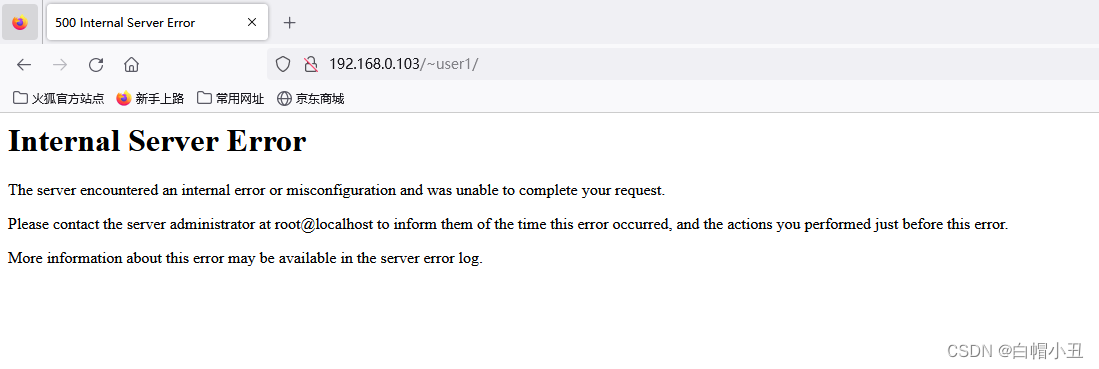
我们配置dns域名解析给这个站点一个域名就可以了
