三.Spring的注入方式
1.set注入
1.1 准备好Action层,定义好属性,提供get,set方法
package com.YU.ioc.web;
import com.YU.ioc.service.UserService;
import com.YU.ioc.service.impl.UserServiceImpl1;
import java.util.List;
/**
 * @author YU
 * @create 2023-08-14 18:29
 */
public class BookAction {
    private UserService userService;
    private String bname;//书名
    private int date;//发行日期
    private List<String> people;//适用人群
    public String getBname() {
        return bname;
    }
    public void setBname(String bname) {
        this.bname = bname;
    }
    public int getDate() {
        return date;
    }
    public void setDate(int date) {
        this.date = date;
    }
    public List<String> getPeople() {
        return people;
    }
    public void setPeople(List<String> people) {
        this.people = people;
    }
    public void pros() {
        System.out.println(this.bname);
        System.out.println(this.date);
        System.out.println(this.people);
    }
    public UserService getUserService() {
        return userService;
    }
    public void setUserService(UserService userService) {
        this.userService = userService;
    }
    public String update() {
        userService.update();
        return "list";
    }
}
2.配置好Xml文件
<bean class="com.YU.ioc.web.BookAction" id = "bookAction">
        <property name="userService" ref="userServiceImpl1"></property>
        <property name="bname" value="亚马逊漂流记"></property>
        <property name="date" value = "12"></property>
        <property name="people" >
            <list>
                <value>儿童</value>
                <value>青少年</value>
            </list>
        </property>
    </bean>
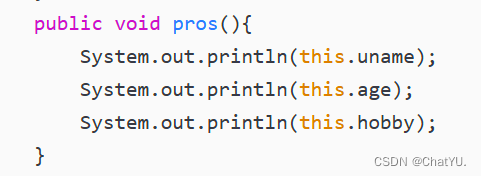
3.编写方法,显示是否注入成功

4.测试
package com.YU.ioc.demo;
import com.YU.ioc.web.BookAction;
import com.YU.ioc.web.UserAction;
import org.springframework.context.support.ClassPathXmlApplicationContext;
/**
 * @author YU
 * @create 2023-08-14 19:16
 */
public class Demo1 {
    public static void main(String[] args) {
        //处理用户请求时,获取spring上下文对象
        ClassPathXmlApplicationContext context = new                     ClassPathXmlApplicationContext("spring-context.xml");
        BookAction bookAction = (BookAction) context.getBean("bookAction");
        bookAction.pros();
    }
}
5.打印结果
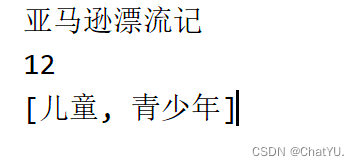
显示注入成功
2.构造方法注入
1.准备好Action层,与set注入的不同的是,用的是构造方法注入
package com.YU.ioc.web;
import com.YU.ioc.service.UserService;
import java.util.List;
/**
 * @author YU
 * @create 2023-08-14 18:35
 */
public class UserAction {
    private UserService userService;
    private String uname;
    private int age;
    private List<String> hobby;
    public UserAction() {
    }
    public UserAction(String uname, int age, List<String> hobby) {
        this.uname = uname;
        this.age = age;
        this.hobby = hobby;
    }
    public void pros(){
        System.out.println(this.uname);
        System.out.println(this.age);
        System.out.println(this.hobby);
    }
    public UserService getUserService() {
        return userService;
    }
    public void setUserService(UserService userService) {
        this.userService = userService;
    }
    public String update(){
        userService.update();
        return "list";
    }
}
2.配置XML文件
<bean class="com.YU.ioc.web.UserAction" id = "userAction">
        <property name="userService" ref="userService"></property>
        <constructor-arg name="uname" value="小刘"></constructor-arg>
        <constructor-arg name="age" value = "18"></constructor-arg>
        <constructor-arg name="hobby" >
            <list>
                <value>打球</value>
                <value>读书</value>
            </list>
        </constructor-arg>
    </bean>
区别在于用到是construct-arg
3.编写测试方法,判断是否注入成功
4.测试
package com.YU.ioc.demo;
import com.YU.ioc.web.BookAction;
import com.YU.ioc.web.UserAction;
import org.springframework.context.support.ClassPathXmlApplicationContext;
/**
 * @author YU
 * @create 2023-08-14 19:16
 */
public class Demo1 {
    public static void main(String[] args) {
        //处理用户请求时,获取spring上下文对象
        ClassPathXmlApplicationContext context = new ClassPathXmlApplicationContext("spring-context.xml");
        UserAction userAction = (UserAction) context.getBean("userAction");
        userAction.pros();
    }
}
5.测试结果
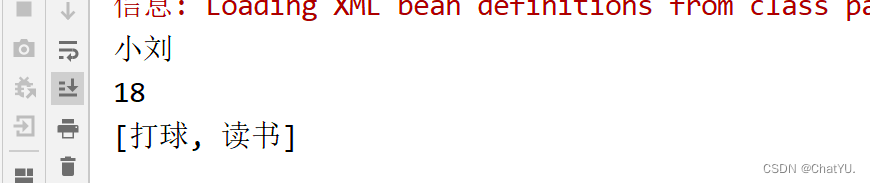
显示注入成功
3.总结
构造方法注入强调依赖的必需性和不变性,适用于一次性注入全部依赖的情况。
Setter方法注入提供了更大的灵活性,允许在对象创建后动态地注入依赖,适用于需要可选依赖或在运行时修改依赖的情况。
在实践中,可以根据具体需求选择适合的注入方式,甚至可以将构造方法注入和Setter方法注入结合起来使用,以达到更好的灵活性和控制。
