说明
【Vue 开发实战】学习笔记。
基本布局
完成下面的一个布局,效果如下
BasicLayout.vue
<template>
    <div :class="[`nav-theme-${navTheme}`, `nav-layout-${navLayout}`]">
        <a-layout id="components-layout-demo-side" style="min-height: 100vh">
            <a-layout-sider
                v-if="navLayout === 'left'"
                v-model="collapsed"
                :theme="navTheme"
                collapsible
                :trigger="null"
            >
                <div class="logo">Ant Design Vue Pro</div>
                <SiderMenu />
            </a-layout-sider>
            <a-layout>
                <a-layout-header style="background: #fff; padding: 0">
                    <a-icon
                        class="trigger"
                        :type="collapsed ? 'menu-unfold' : 'menu-fold'"
                        @click="collapsed = !collapsed"
                    ></a-icon>
                    <Header />
                </a-layout-header>
                <a-layout-content style="margin: 0 16px">
                    <router-view></router-view>
                </a-layout-content>
                <a-layout-footer style="text-align: center">
                    <Footer />
                </a-layout-footer>
            </a-layout>
        </a-layout>
        <SettingDrawer />
    </div>
</template>
<script>
import Header from "./Header";
import SiderMenu from "./SiderMenu";
import Footer from "./Footer";
import SettingDrawer from "../components/SettingDrawer";
export default {
    data() {
        return {
            collapsed: false,
        };
    },
    components: {
        Header,
        SiderMenu,
        Footer,
        SettingDrawer,
    },
    computed: {
        navTheme() {
            return this.$route.query.navTheme || "dark";
        },
        navLayout() {
            return this.$route.query.navLayout || "left";
        },
    },
};
</script>
<style lang="less" scoped>
.trigger {
    padding: 0 20px;
    line-height: 64px;
    font-size: 20px;
    &:hover {
        background-color: #eeeeee;
    }
}
.logo {
    height: 64px;
    line-height: 64px;
    text-align: center;
    overflow: hidden;
}
.nav-theme-dark {
    .logo {
        color: #fff;
    }
}
</style>
SettingDrawer 抽屉配置
<template>
    <div>
        <a-drawer
            width="300px"
            placement="right"
            :closable="false"
            :visible="visible"
            @close="onClose"
        >
            <template v-slot:handle>
                <div class="handle" @click="visible = !visible">
                    <a-icon :type="visible ? 'close' : 'setting'"></a-icon>
                </div>
            </template>
            <div>
                <h2>整体风格定制</h2>
                <a-radio-group
                    :value="$route.query.navTheme || 'dark'"
                    @change="(e) => handleSettingChange('navTheme', e.target.value)"
                >
                    <a-radio value="dark">黑色</a-radio>
                    <a-radio value="light">明亮</a-radio>
                </a-radio-group>
                <h2>导航模式</h2>
                <a-radio-group
                    :value="$route.query.navLayout || 'left'"
                    @change="(e) => handleSettingChange('navLayout', e.target.value)"
                >
                    <a-radio value="left">左侧</a-radio>
                    <a-radio value="top">顶部</a-radio>
                </a-radio-group>
            </div>
        </a-drawer>
    </div>
</template>
<script>
export default {
    data() {
        return {
            visible: false,
            navTheme: "dark",
            navLayout: "left"
        };
    },
    methods: {
        onClose() {
            this.visible = false;
        },
        handleSettingChange(type, value) {
            this.$router.push({
                query: {
                    ...this.$route.query,
                    [type]: value
                }
            });
        }
    },
};
</script>
<style scoped>
.handle {
    position: absolute;
    top: 240px;
    right: 300px;
    width: 48px;
    height: 48px;
    background-color: #1890ff;
    color: #fff;
    font-size: 20px;
    text-align: center;
    line-height: 48px;
    border-radius: 3px 0 0 3px;
}
</style>
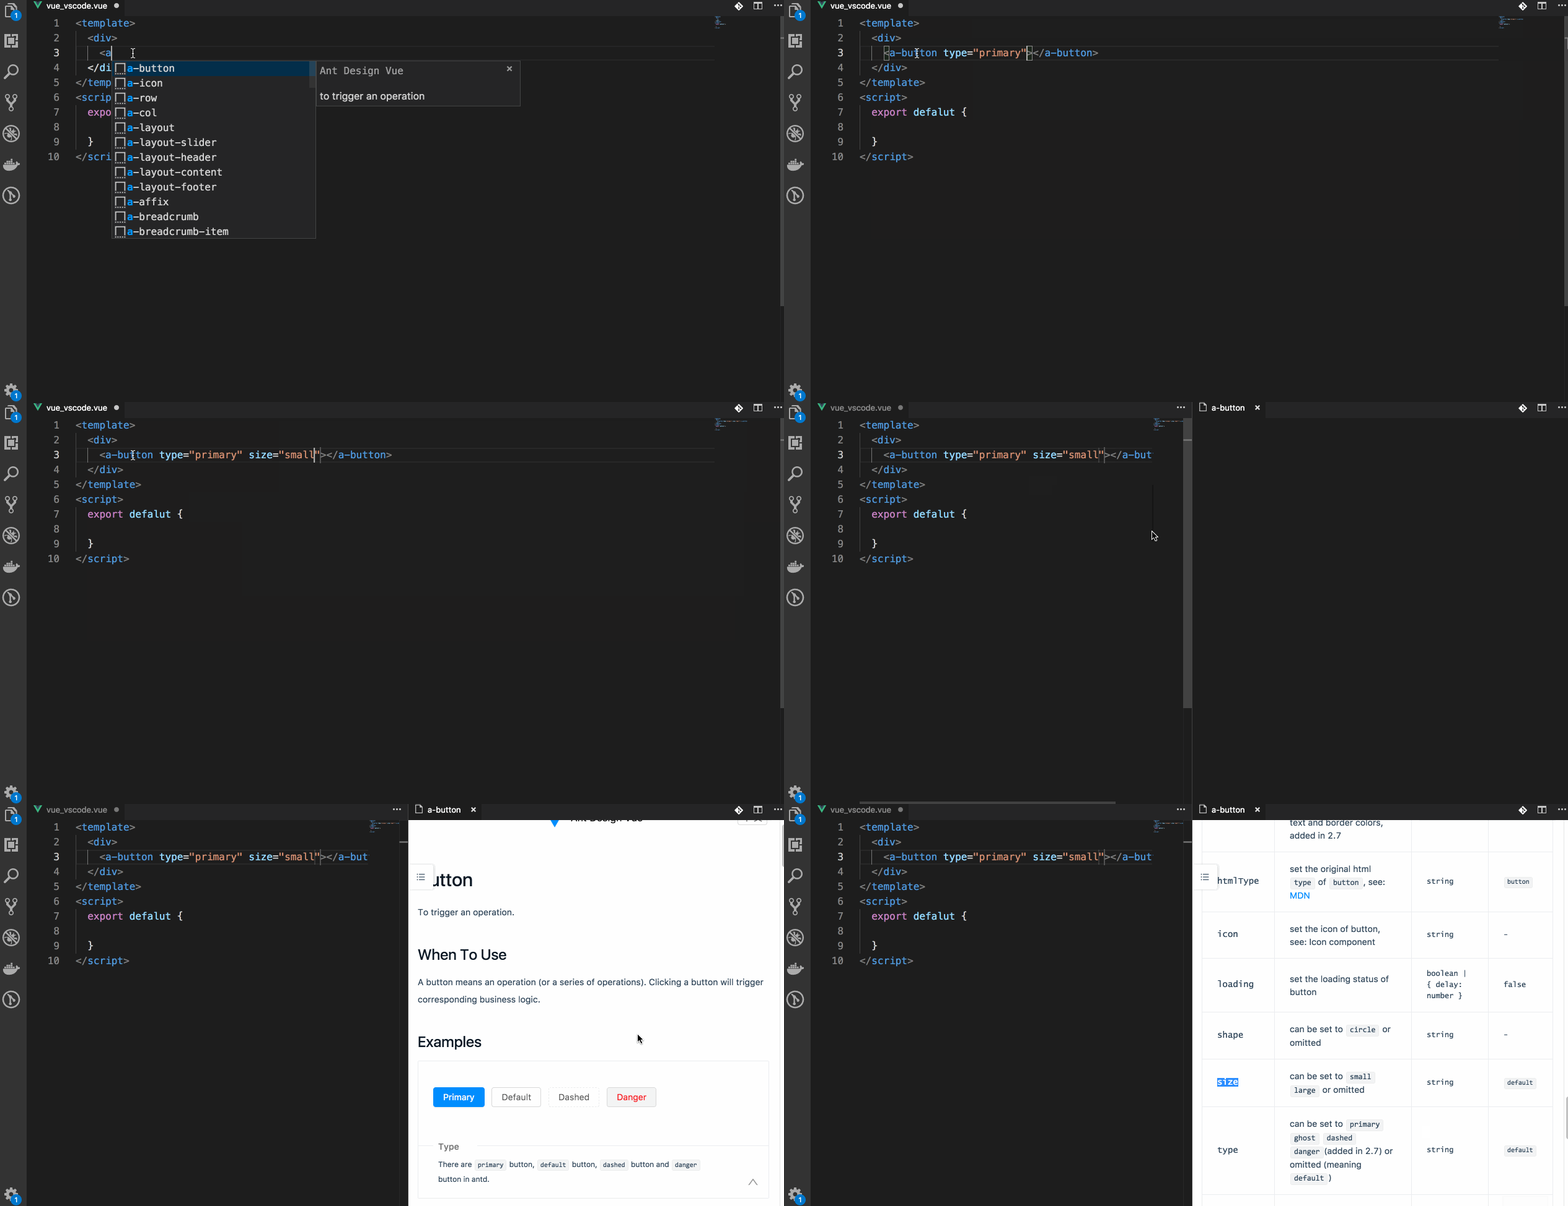
Ant Design Vue helper
ant-design-vue-helper 是 Ant Design Vue 的 VS Code 扩展。可以自己安装 vscode 的扩展。
https://marketplace.visualstudio.com/items?itemName=ant-design-vue.vscode-ant-design-vue-helper


