使用spring-boot-starter-web启动器,开始web支持,内嵌一个Tomcat,添加了对于SpringMVC的支持。Spring Boot默认servlet容器为tomcat。
Spring Boot supports the following embedded servlet containers:

常用的服务器配置
配置端口号Spring Boot 默认端口是8080,如果想要进行更改的话,在配置文件中加入:server.port=8081
配置session的超时时间server.servlet.session.timeout=2M
使用Jetty服务器替换Tomcat
项目目录:
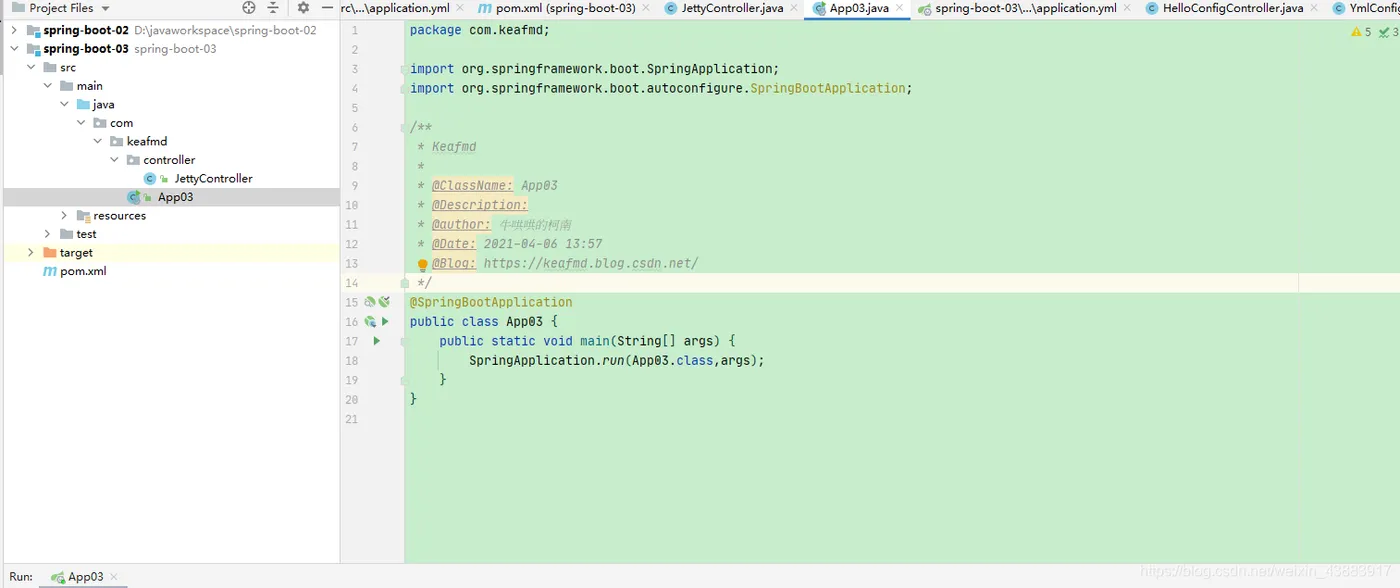
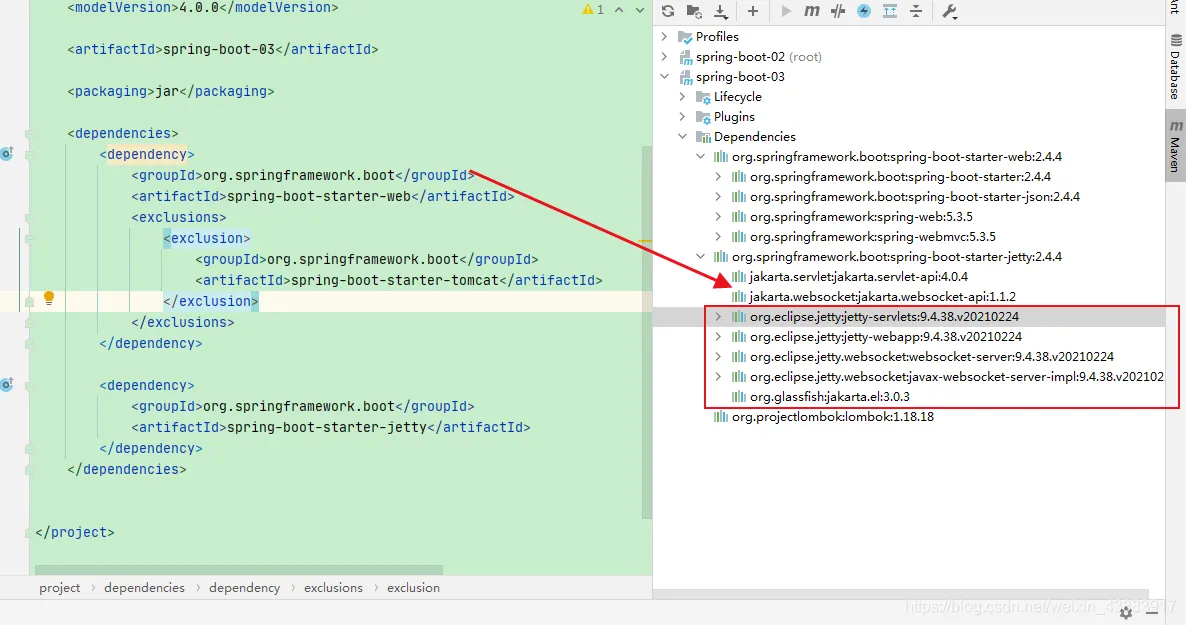
排除Tomcat的启动器,引入Jetty
pom.xml:
<dependencies>
   <dependency>
        <groupId>org.springframework.boot</groupId>
        <artifactId>spring-boot-starter-web</artifactId>
        <exclusions>
            <exclusion>
                <groupId>org.springframework.boot</groupId>
                <artifactId>spring-boot-starter-tomcat</artifactId>
            </exclusion>
        </exclusions>
    </dependency>
    <dependency>
        <groupId>org.springframework.boot</groupId>
        <artifactId>spring-boot-starter-jetty</artifactId>
    </dependency>
</dependencies>
application.yml
application.yml:
server:
  port: 80
编写入口程序
入口程序:
package com.keafmd;
import org.springframework.boot.SpringApplication;
import org.springframework.boot.autoconfigure.SpringBootApplication;
/**
 * Keafmd
 *
 * @ClassName: App03
 * @Description:
 * @author: 牛哄哄的柯南
 * @Date: 2021-04-06 13:57
 * @Blog: https://keafmd.blog.csdn.net/
 */
@SpringBootApplication
public class App03 {
    public static void main(String[] args) {
        SpringApplication.run(App03.class,args);
    }
}
编写Controller测试
Controller测试:
package com.keafmd.controller;
import org.springframework.web.bind.annotation.GetMapping;
import org.springframework.web.bind.annotation.RestController;
/**
 * Keafmd
 *
 * @ClassName: JettyController
 * @Description:
 * @author: 牛哄哄的柯南
 * @Date: 2021-04-06 13:56
 * @Blog: https://keafmd.blog.csdn.net/
 */
@RestController
public class JettyController {
    /**
     * http://127.0.0.1:80/hello
     * @return
     */
    @GetMapping("/hello")
    public String hello(){
        return "hello keafmd";
    }
}
测试结果
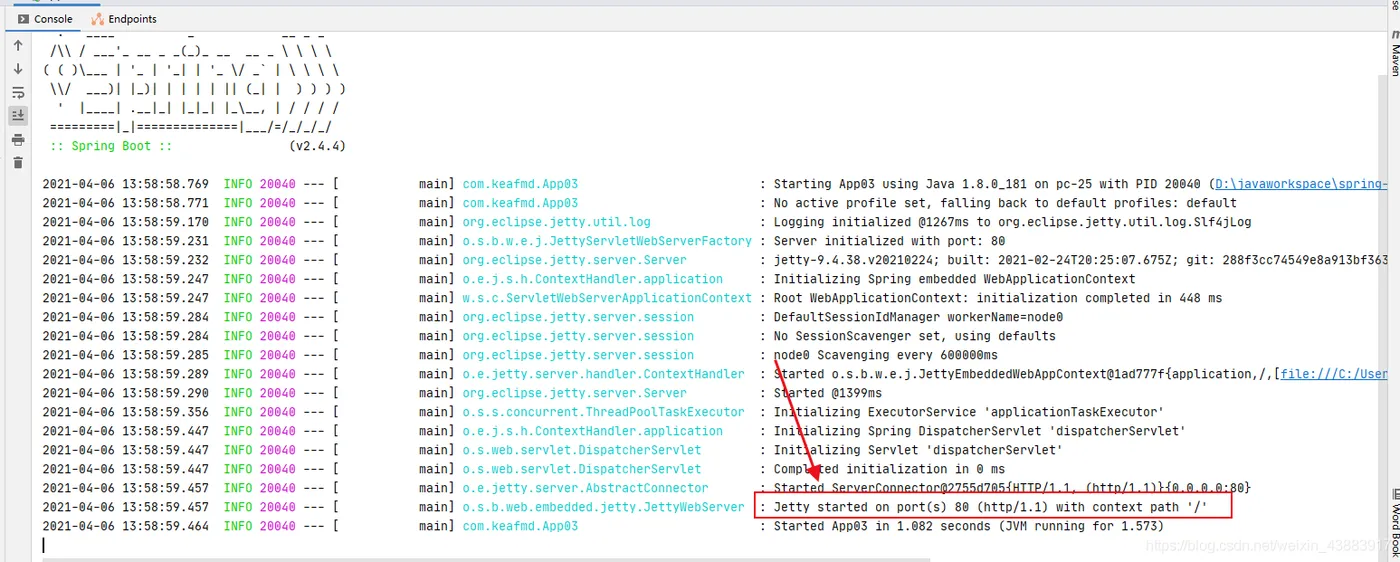
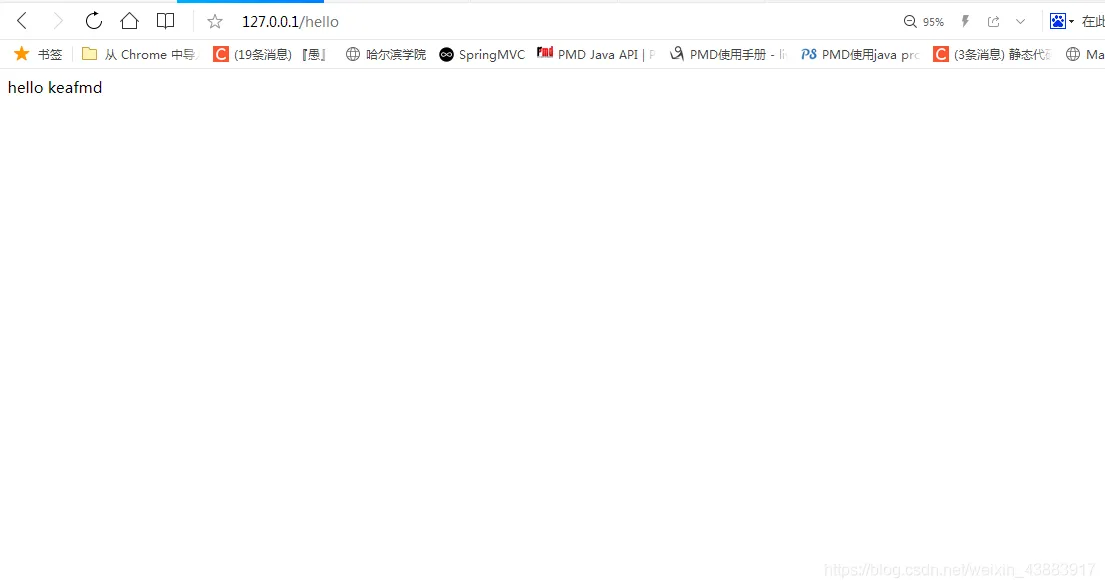
运行启动类,效果如下:
Jetty对jsp的支持
添加依赖
springboot中的jetty为内嵌的jetty,支持jsp需要添加额外的依赖。
在pom.xml中添加如下依赖:
<!--jetty容器支持jsp start-->
      <dependency>
          <groupId>org.eclipse.jetty</groupId>
          <artifactId>jetty-server</artifactId>
      </dependency>
      <dependency>
          <groupId>org.eclipse.jetty</groupId>
          <artifactId>apache-jsp</artifactId>
      </dependency>
      <dependency>
          <groupId>org.eclipse.jetty</groupId>
          <artifactId>apache-jstl</artifactId>
      </dependency>
<!--jetty容器支持jsp end-->
SpringBoot集成使用jsp
编写一个jsp
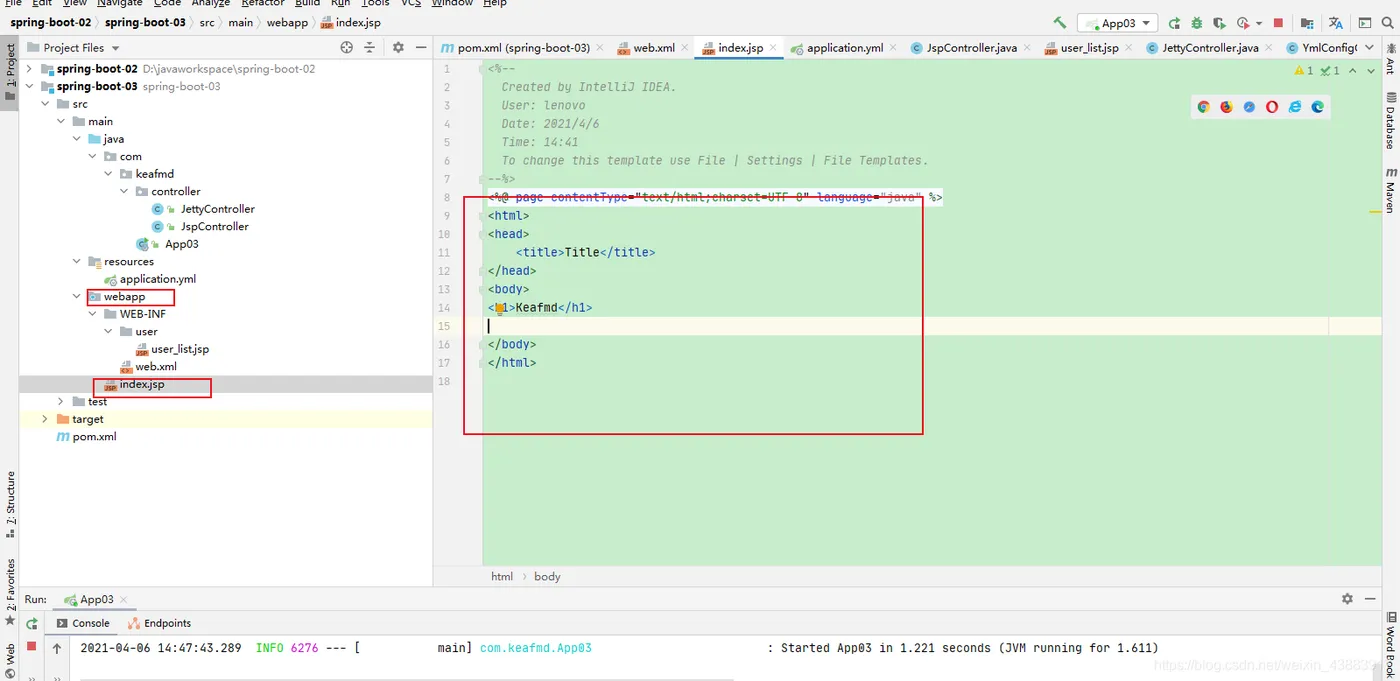
注意是在webapp的目录下。
index.jsp:
<%--
  Created by IntelliJ IDEA.
  User: lenovo
  Date: 2021/4/6
  Time: 14:41
  To change this template use File | Settings | File Templates.
--%>
<%@ page contentType="text/html;charset=UTF-8" language="java" %>
<html>
<head>
    <title>Title</title>
</head>
<body>
<h1>Keafmd</h1>
</body>
</html>
编写Controller
JspController:
package com.keafmd.controller;
import org.springframework.stereotype.Controller;
import org.springframework.web.bind.annotation.GetMapping;
/**
 * Keafmd
 *
 * @ClassName: JspController
 * @Description:
 * @author: 牛哄哄的柯南
 * @Date: 2021-04-06 14:43
 * @Blog: https://keafmd.blog.csdn.net/
 */
@Controller
public class JspController {
    /**
     * http://127.0.0.1/keafmd
     * @return
     */
    @GetMapping("/keafmd")
    public String keafmd(){
        return "/index.jsp";
    }
}
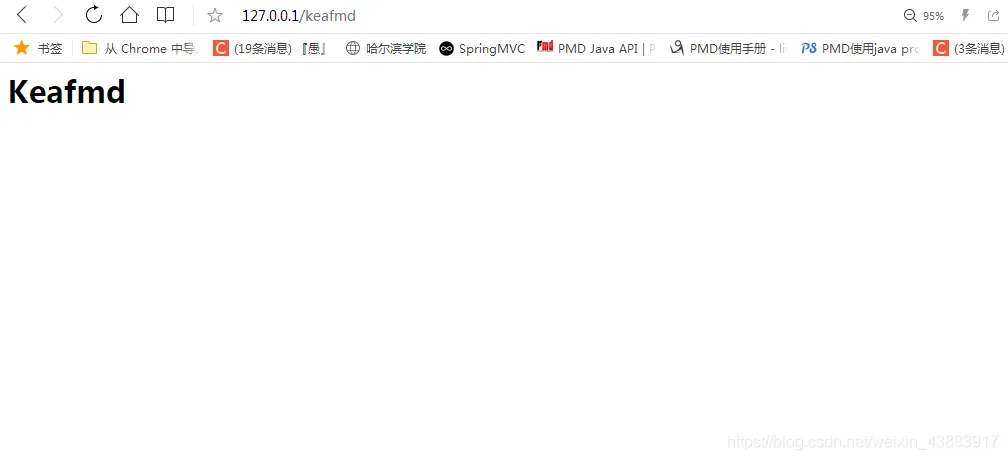
测试结果
我提前配置好了80端口。
配置上下文
application.yml:
server:
  port: 80
spring:
  mvc:
    view:
      prefix: /WEB-INF/user/
      suffix: .jsp
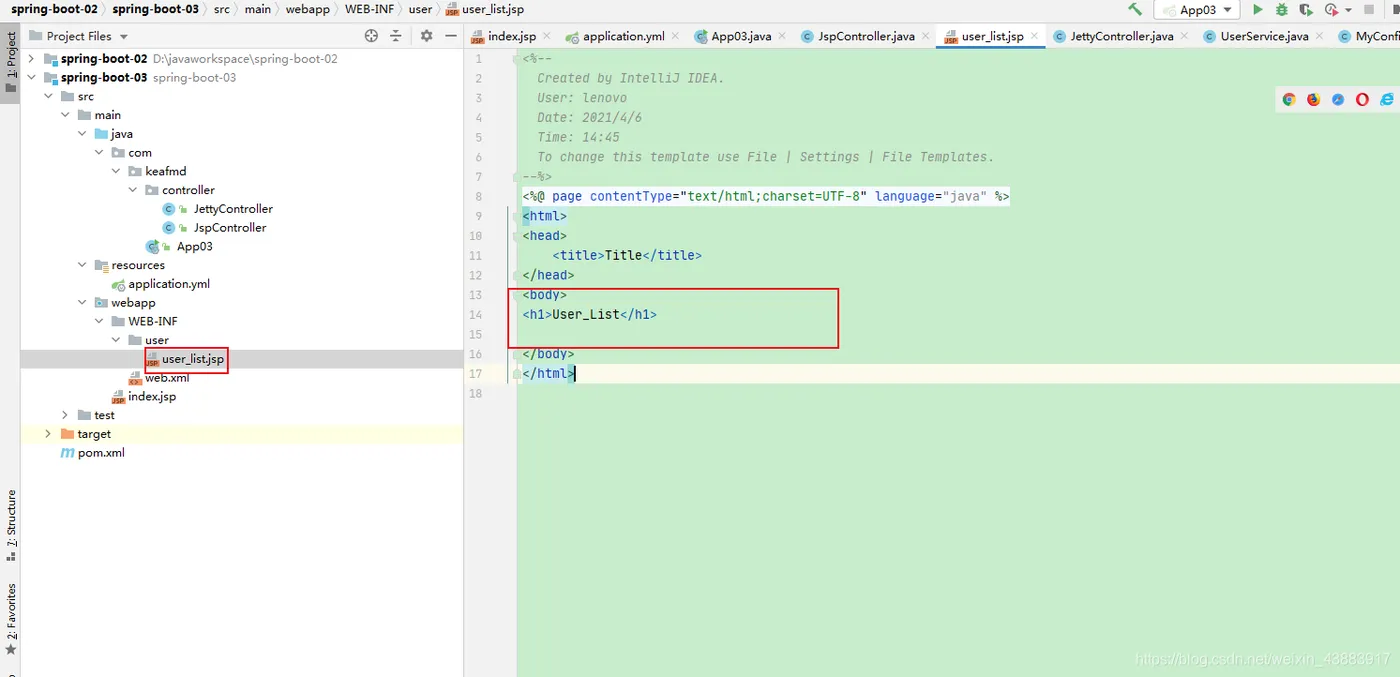
编写user_list.jsp
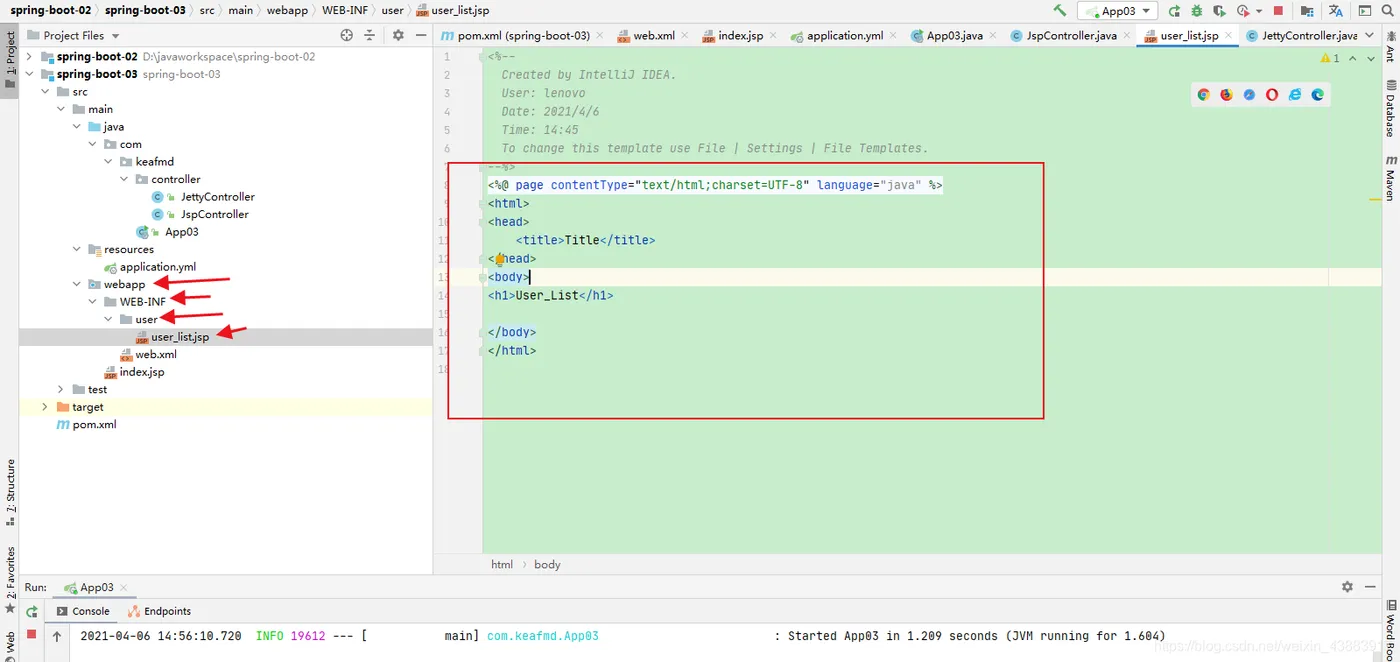
user_list.jsp:
<%--
  Created by IntelliJ IDEA.
  User: lenovo
  Date: 2021/4/6
  Time: 14:45
  To change this template use File | Settings | File Templates.
--%>
<%@ page contentType="text/html;charset=UTF-8" language="java" %>
<html>
<head>
    <title>Title</title>
</head>
<body>
<h1>User_List</h1>
</body>
</html>
编写Controller
JspController:
package com.keafmd.controller;
import org.springframework.stereotype.Controller;
import org.springframework.web.bind.annotation.GetMapping;
/**
 * Keafmd
 *
 * @ClassName: JspController
 * @Description:
 * @author: 牛哄哄的柯南
 * @Date: 2021-04-06 14:43
 * @Blog: https://keafmd.blog.csdn.net/
 */
@Controller
public class JspController {
    /**
     * http://127.0.0.1/keafmd
     * @return
     */
    @GetMapping("/keafmd")
    public String keafmd(){
        return "/index.jsp";
    }
    @GetMapping("/userlist")
    public String userlist(){
        return "user_list";
    }
}
测试结果
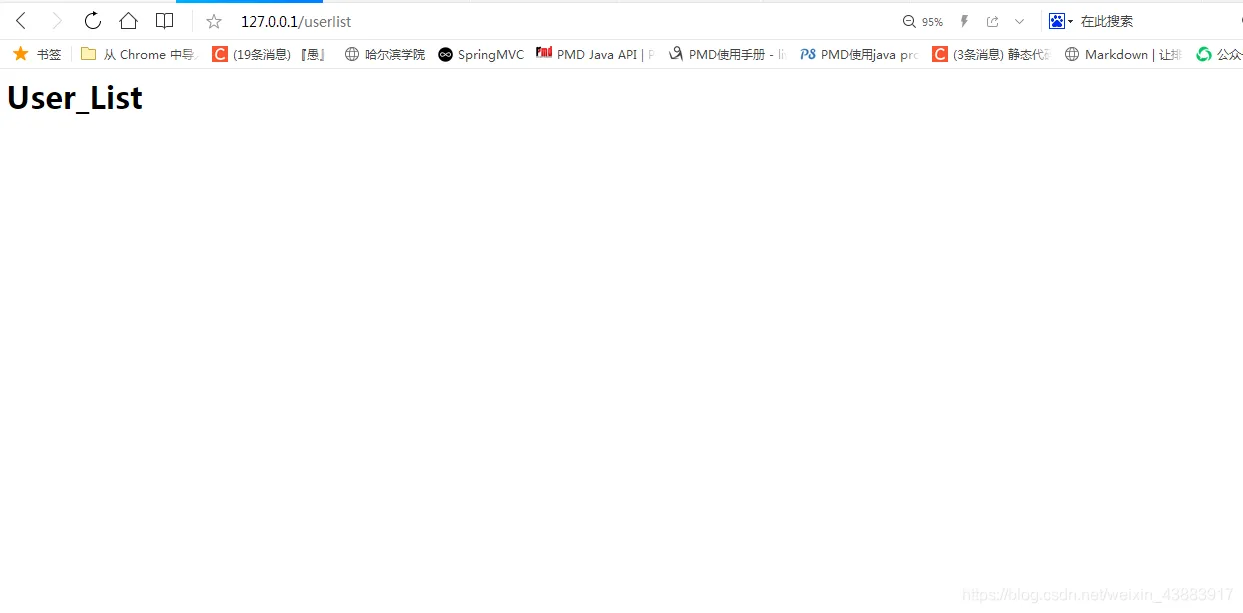
打包(jar和war)
区别:打jar包不能访问jsp资源,war包可以。
引入所需的插件
<build>
    <plugins>
        <plugin>
            <groupId>org.springframework.boot</groupId>
            <artifactId>spring-boot-maven-plugin</artifactId>
            <configuration>
                <fork>true</fork>
            </configuration>
        </plugin>
    </plugins>
</build>
打包
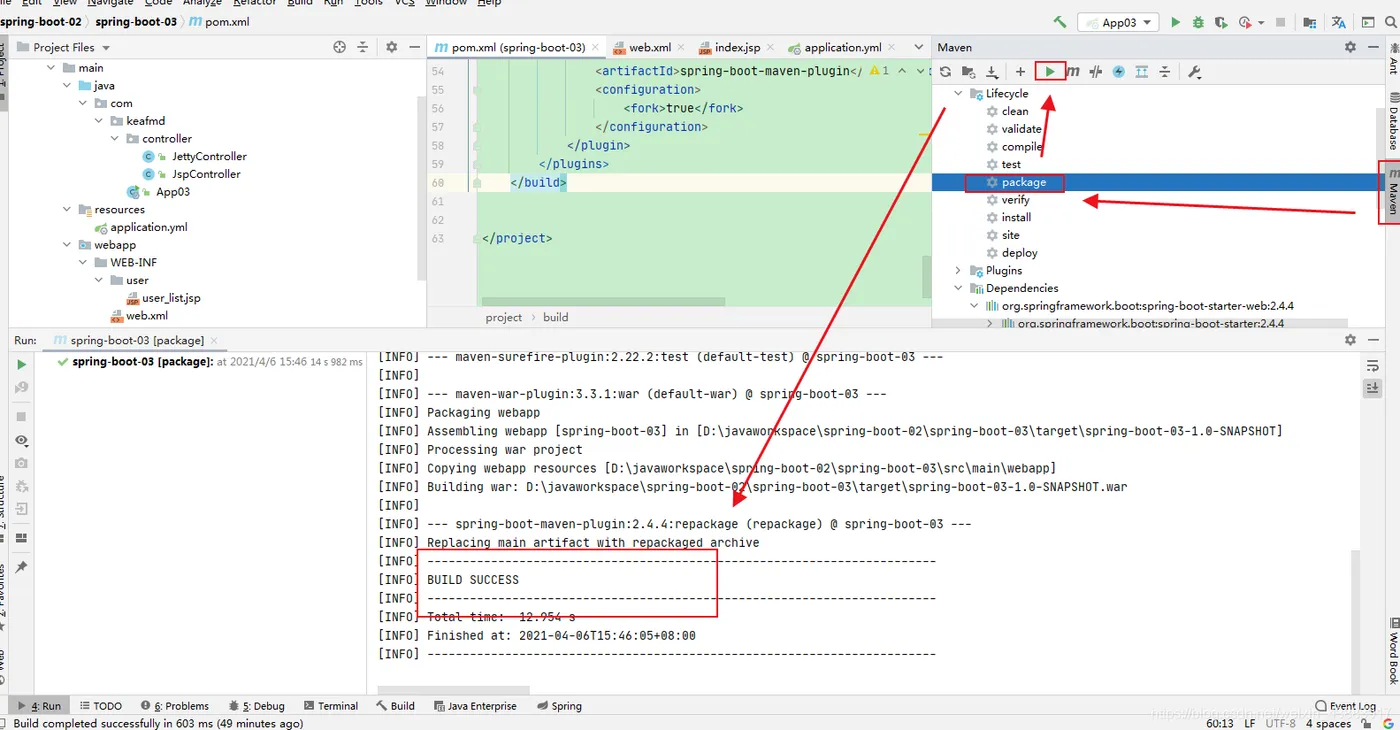
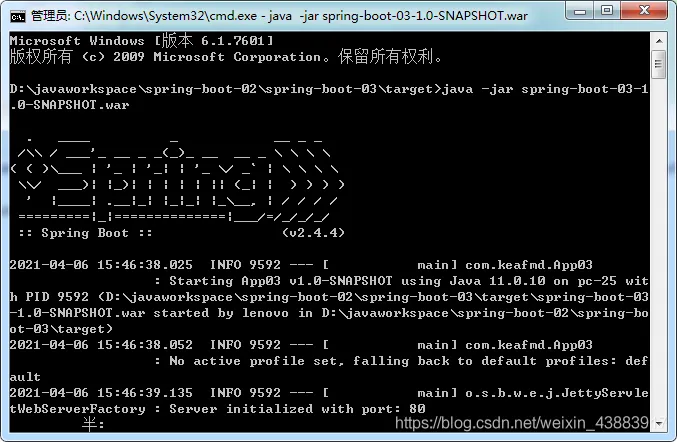
打开war包所在文件位置
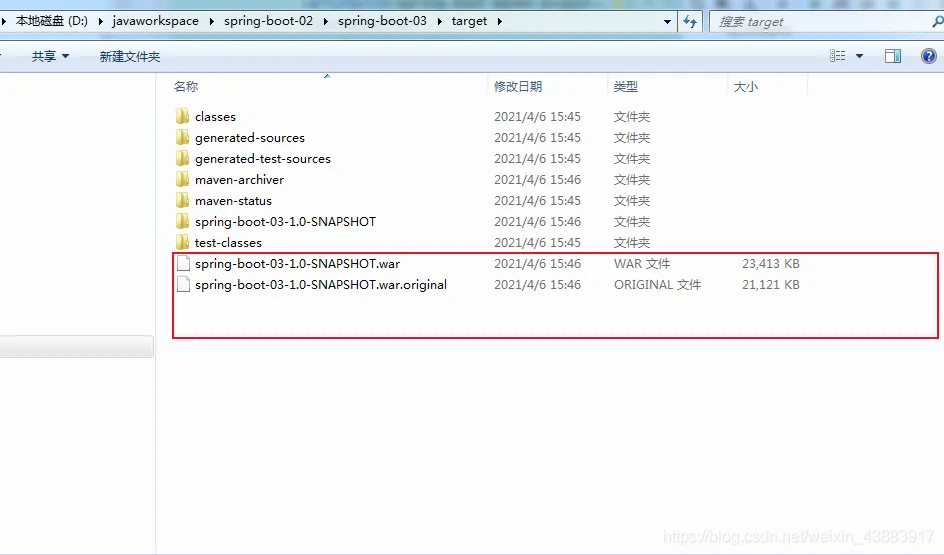
在此处打开cmd,输入启动的命令
java -jar xxxxx.war/.jar
访问jsp页面
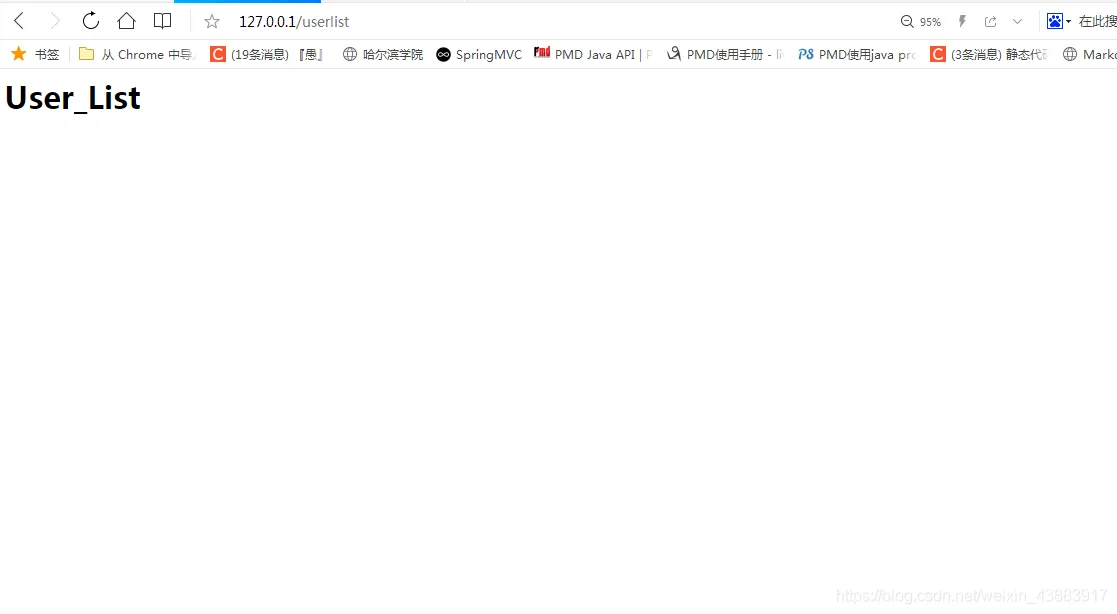
打jar包的话是访问不到user_list.jsp的,这里就不测试了。
对静态资源的配置
把类路径下的 /static、/public、/resources 和 /META-INF/resources 文件夹下的静态文件直接映射为 /,可以直接通过 http://localhost:8080/ 访问。
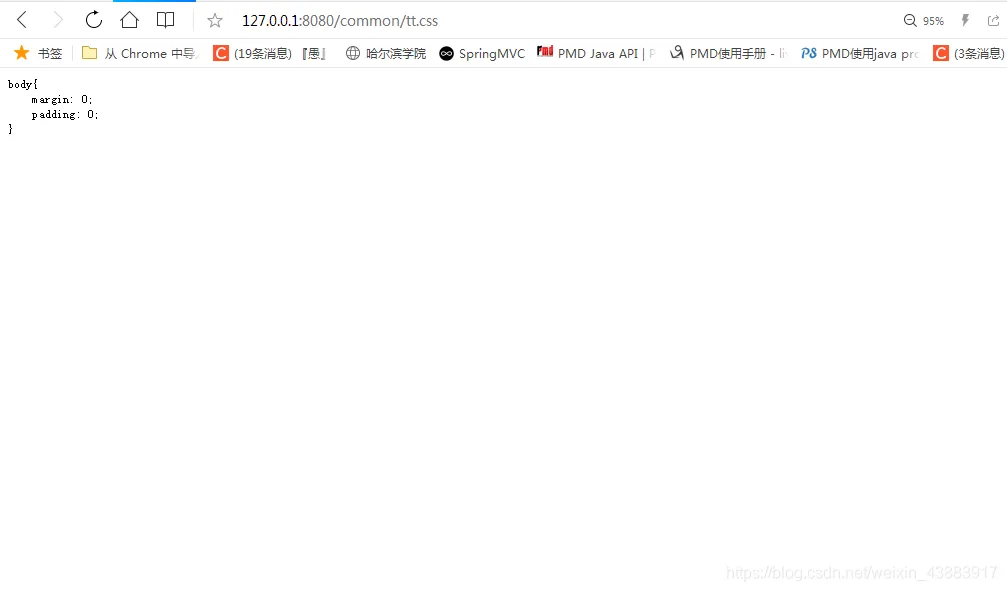
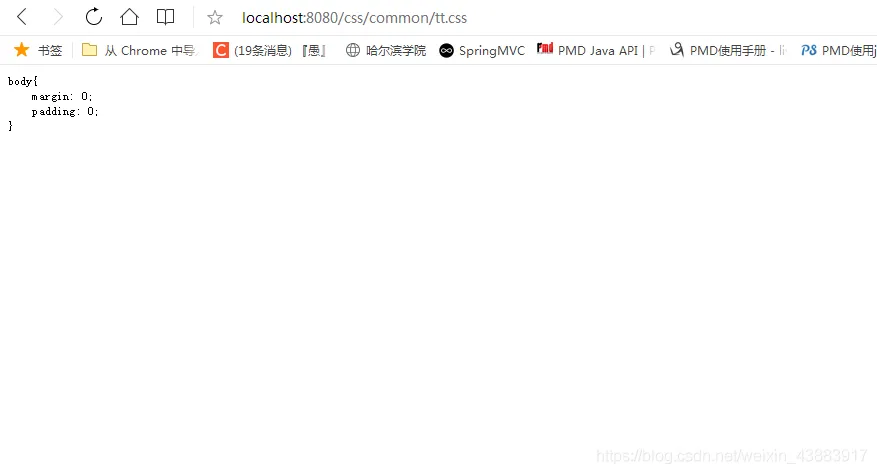
在resources下创建static目录,在创建common目录,然后创建tt.css。
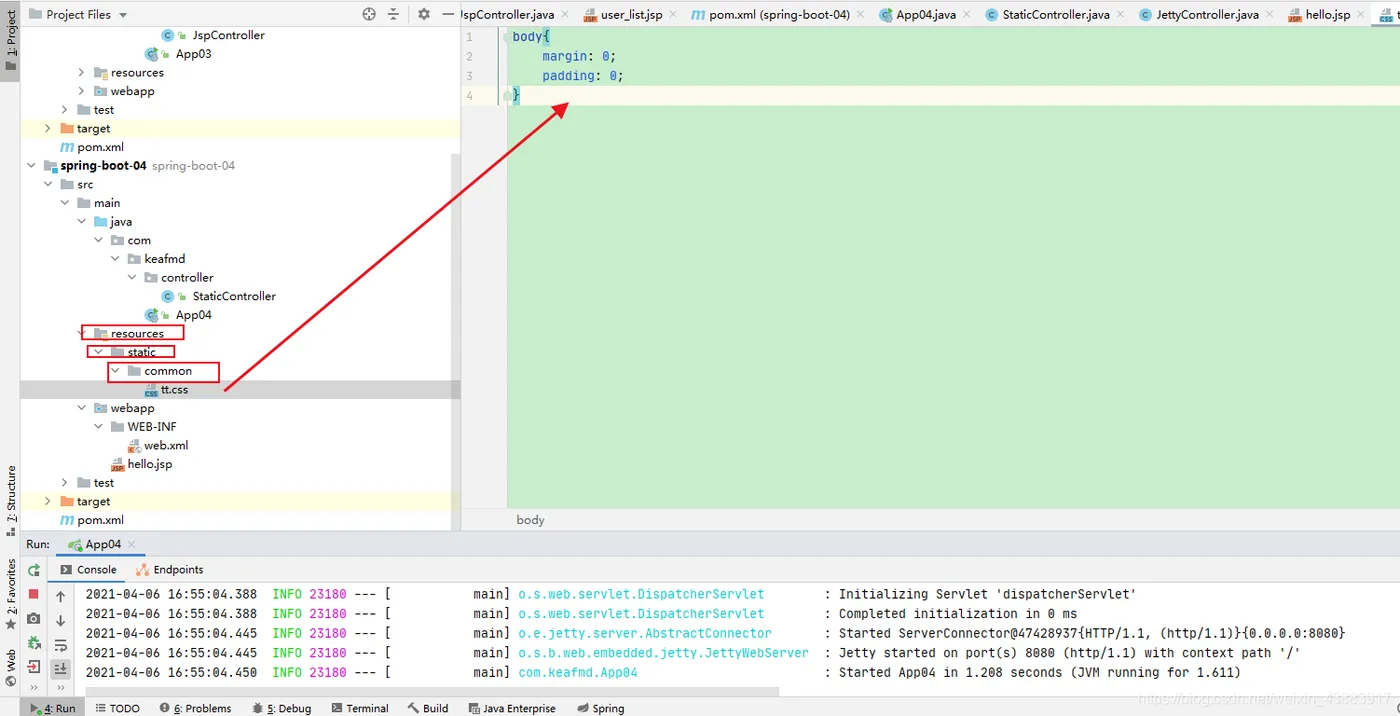
访问:http://127.0.0.1:8080/common/tt.css
自定义资源映射
static-locations
默认支持的文件路径:classpath:/static,classpath:/public,classpath:/resources,classpath:/META-INF/resources
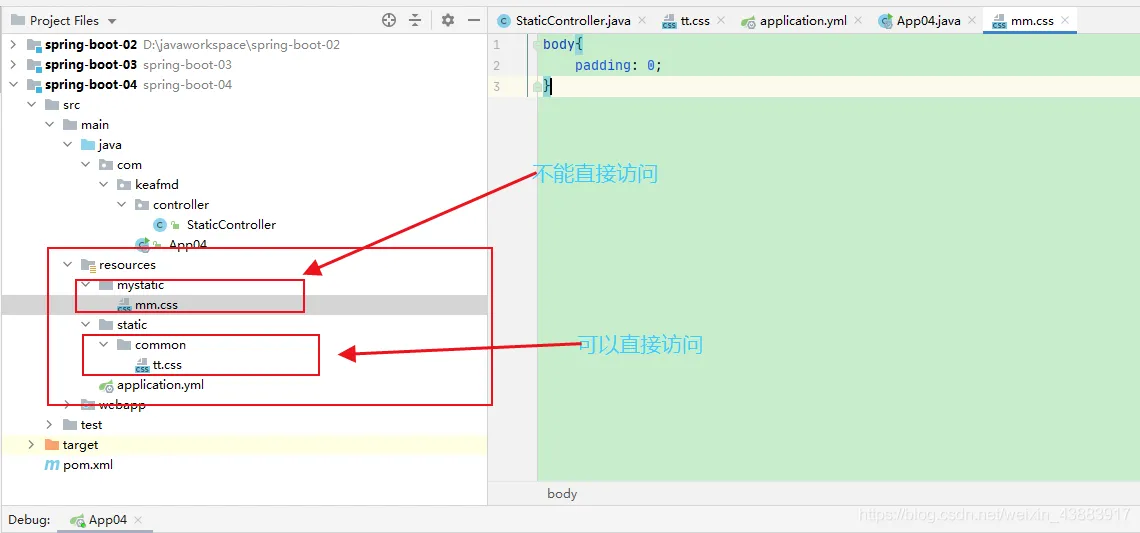
mm.css:
body{
    padding: 0;
}
tt.css:
body{
    margin: 0;
    padding: 0;
}
在我们没有在application.yml配置文件配置前,访问:http://localhost:8080/mm.css,结果如下↓
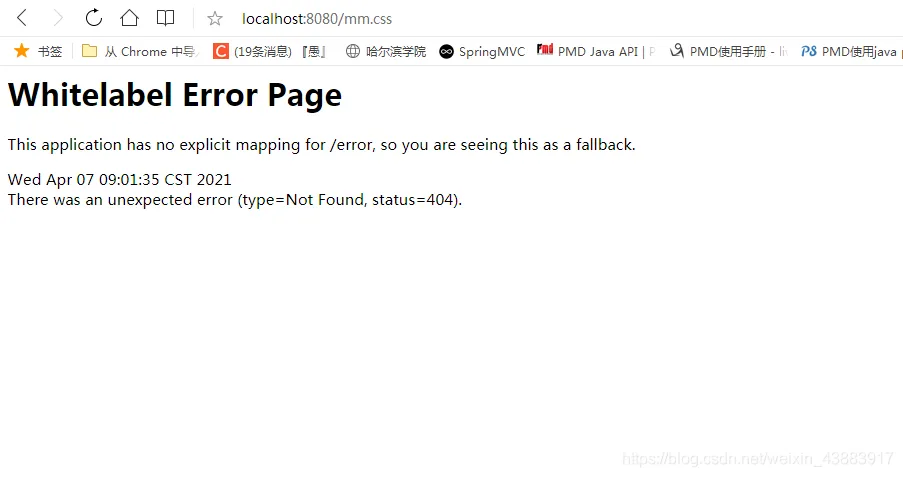
因为mm.css在自定义的mystatic文件夹下,不被静态资源识别,需要自定义。
但是可以直接访问:http://localhost:8080/common/tt.css,因为tt.css在static文件夹下。
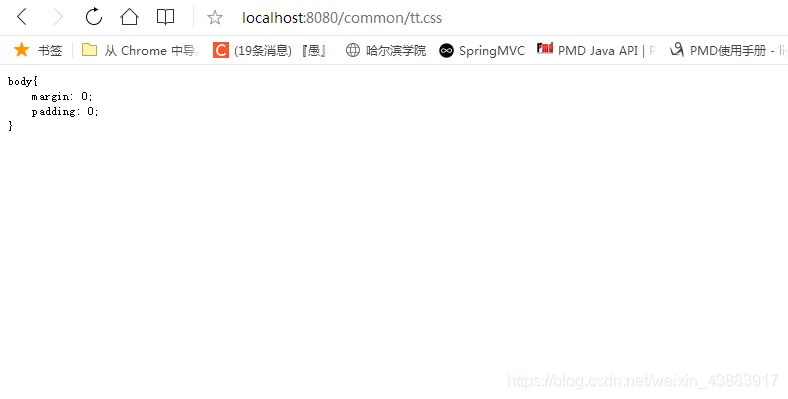
当我们在application.yml配置文件夹下添加上自定义的文件夹后就可以访问了。
application.yml:
spring:
  mvc:
    static-path-pattern: /**
  web:
    resources:
      static-locations: classpath:/mystatic,classpath:/static,classpath:/public,classpath:/resources,classpath:/META-INF/resources
访问:http://localhost:8080/mm.css,结果如下↓,配置后可以直接访问。
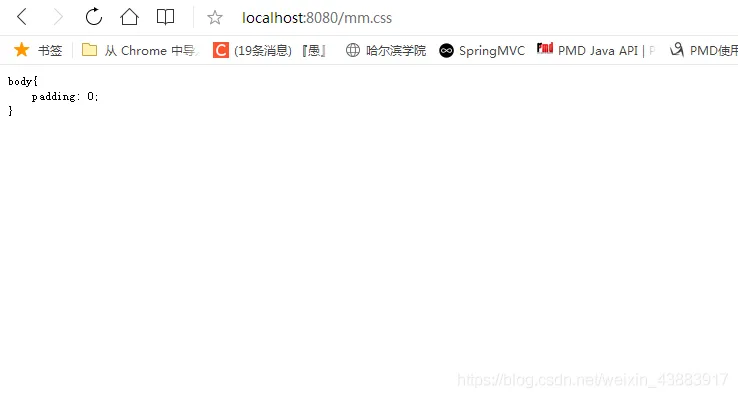
static-path-pattern
当我们修改application.xml文件后:
spring:
  mvc:
    static-path-pattern: /css/**
  web:
    resources:
      static-locations: classpath:/mystatic,classpath:/static,classpath:/public,classpath:/resources,classpath:/META-INF/resources
像上面那样访问都是失败的了
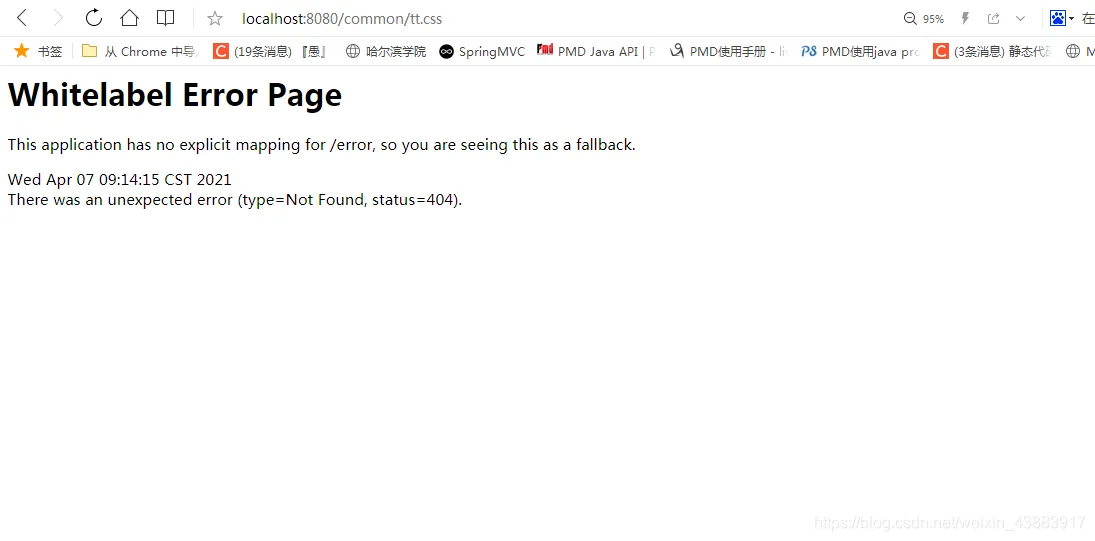
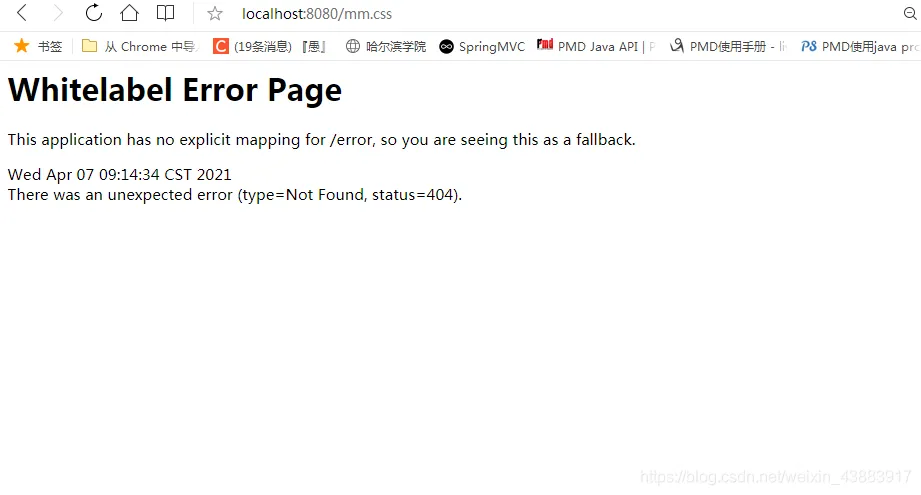
我们需要加上/css才可以
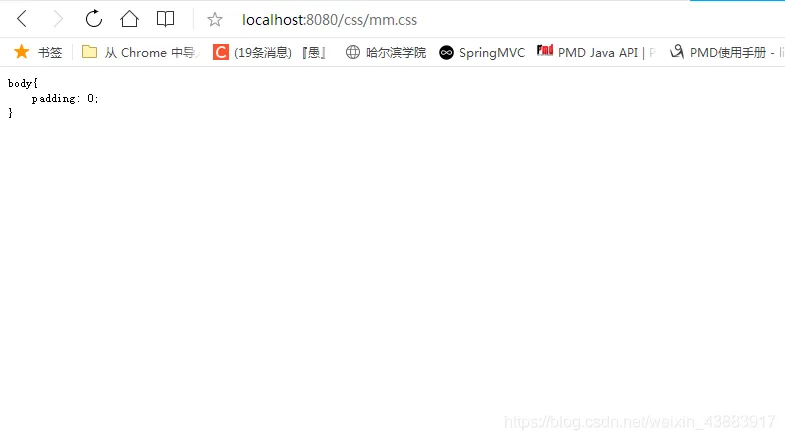
配置自定义的Convert解决日期类型的参数转换
Convert、Formatter:用于接收浏览器请求的参数自动转化成响应类型的数据Stirng(1988-01-01)-Date(1988-01-01)
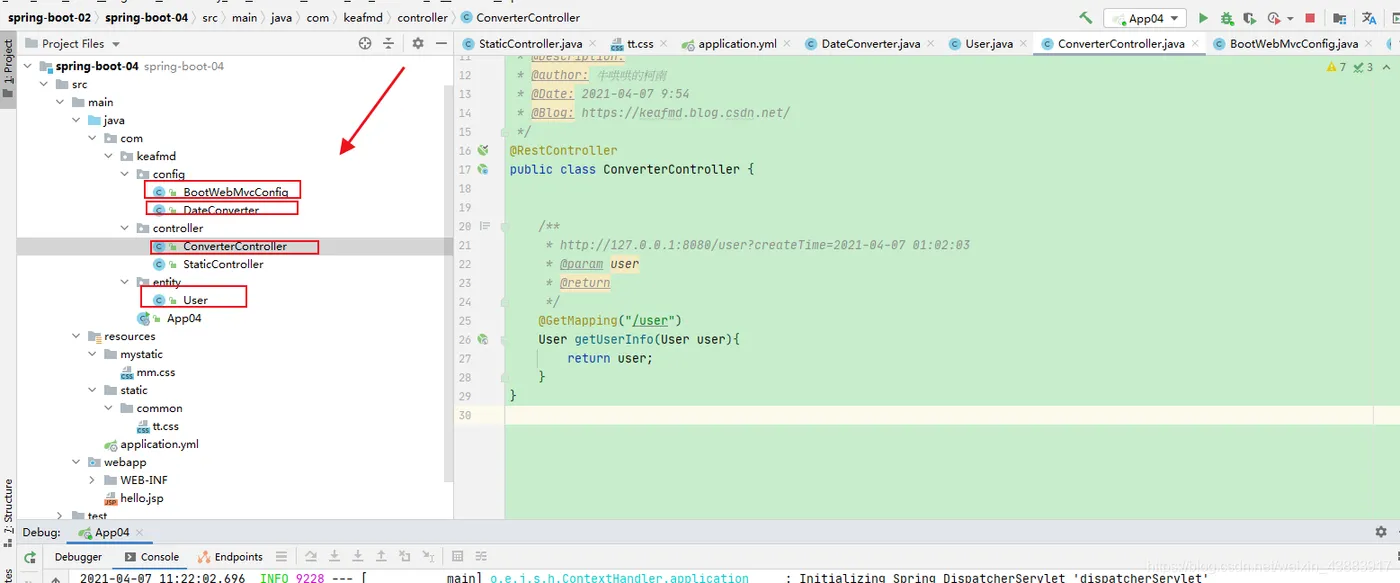
User:
package com.keafmd.entity;
import lombok.Data;
import java.util.Date;
/**
 * Keafmd
 *
 * @ClassName: User
 * @Description:
 * @author: 牛哄哄的柯南
 * @Date: 2021-04-07 9:53
 * @Blog: https://keafmd.blog.csdn.net/
 */
@Data
public class User {
    private String id;
    private Integer age;
    private String address;
    private Date createTime;
}
ConverterController:
package com.keafmd.controller;
import com.keafmd.entity.User;
import org.springframework.web.bind.annotation.GetMapping;
import org.springframework.web.bind.annotation.RestController;
/**
 * Keafmd
 *
 * @ClassName: ConverterController
 * @Description:
 * @author: 牛哄哄的柯南
 * @Date: 2021-04-07 9:54
 * @Blog: https://keafmd.blog.csdn.net/
 */
@RestController
public class ConverterController {
    /**
     * http://127.0.0.1:8080/user?createTime=2021-04-07 01:02:03
     * @param user
     * @return
     */
    @GetMapping("/user")
    User getUserInfo(User user){
        return user;
    }
}
DateConverter:
package com.keafmd.config;
import org.springframework.core.convert.converter.Converter;
import java.text.ParseException;
import java.text.SimpleDateFormat;
import java.util.Date;
/**
 * Keafmd
 *
 * @ClassName: DateConverter
 * @Description:
 * @author: 牛哄哄的柯南
 * @Date: 2021-04-07 9:58
 * @Blog: https://keafmd.blog.csdn.net/
 */
public class DateConverter implements Converter<String, Date> {
    /**
     * yyyy-MM-dd
     *
     * @param source
     * @return
     */
    @Override
    public Date convert(String source) {
        try {
            return new SimpleDateFormat("yyyy-MM-dd HH:mm:ss").parse(source);
        } catch (ParseException e) {
            e.printStackTrace();
        }
        return null;
    }
}
BootWebMvcConfig:
package com.keafmd.config;
import org.springframework.context.annotation.Configuration;
import org.springframework.format.FormatterRegistry;
import org.springframework.web.servlet.config.annotation.WebMvcConfigurer;
/**
 * Keafmd
 *
 * @ClassName: BootWebMvcConfig
 * @Description:
 * @author: 牛哄哄的柯南
 * @Date: 2021-04-07 10:27
 * @Blog: https://keafmd.blog.csdn.net/
 */
@Configuration(proxyBeanMethods = false)
public class BootWebMvcConfig implements WebMvcConfigurer {
    @Override
    public void addFormatters(FormatterRegistry registry) {
        registry.addConverter(new DateConverter());
    }
}
还需要在application.yml配置一下时区和格式。
spring:
  jackson:
    time-zone: GMT+8
    date-format: yyyy-MM-dd HH:mm:ss
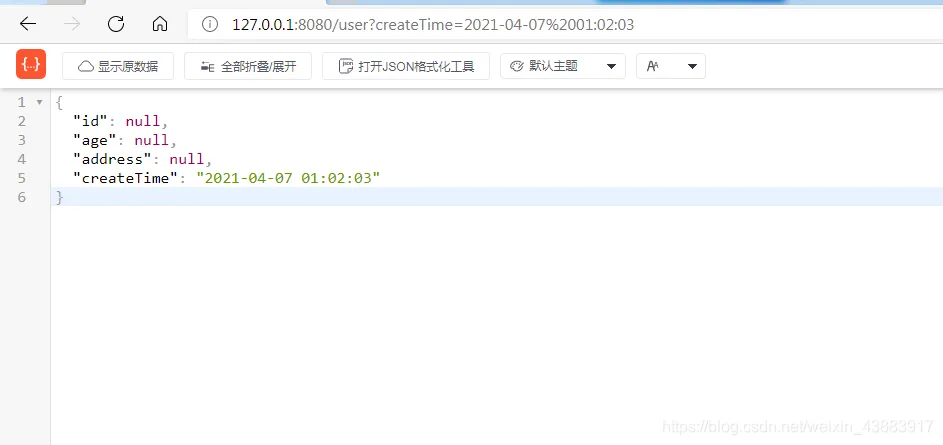
启动springboot,访问:http://127.0.0.1:8080/user?createTime=2021-04-07 01:02:03
自定义拦截器的配置
实现基础springmvc的拦截器
自定义类实现HandlerInterceptor接口
MyInterceptor:
package com.keafmd.config;
import org.springframework.web.servlet.HandlerInterceptor;
import org.springframework.web.servlet.ModelAndView;
import javax.servlet.http.HttpServletRequest;
import javax.servlet.http.HttpServletResponse;
/**
 * Keafmd
 *
 * @ClassName: MyInterceptor
 * @Description:
 * @author: 牛哄哄的柯南
 * @Date: 2021-04-07 11:41
 * @Blog: https://keafmd.blog.csdn.net/
 */
public class MyInterceptor implements HandlerInterceptor {
    @Override
    public boolean preHandle(HttpServletRequest request, HttpServletResponse response, Object handler) throws Exception {
        System.out.println("MyInterceptor.preHandle");
        return true;
    }
    @Override
    public void postHandle(HttpServletRequest request, HttpServletResponse response, Object handler, ModelAndView modelAndView) throws Exception {
        System.out.println("MyInterceptor.postHandle");
    }
    @Override
    public void afterCompletion(HttpServletRequest request, HttpServletResponse response, Object handler, Exception ex) throws Exception {
        System.out.println("MyInterceptor.afterCompletion");
    }
}
使用Java的形式配置拦截器的拦截路径
在WebMvcConfig中注册拦截器,实现WebMvcConfigrer接口,并声明Bean。
BootWebMvcConfig:
package com.keafmd.config;
import org.springframework.context.annotation.Configuration;
import org.springframework.format.FormatterRegistry;
import org.springframework.web.servlet.HandlerExceptionResolver;
import org.springframework.web.servlet.config.annotation.InterceptorRegistry;
import org.springframework.web.servlet.config.annotation.ResourceHandlerRegistry;
import org.springframework.web.servlet.config.annotation.WebMvcConfigurer;
import java.util.List;
/**
 * Keafmd
 *
 * @ClassName: BootWebMvcConfig
 * @Description:
 * @author: 牛哄哄的柯南
 * @Date: 2021-04-07 10:27
 * @Blog: https://keafmd.blog.csdn.net/
 */
@Configuration(proxyBeanMethods = false)
public class BootWebMvcConfig implements WebMvcConfigurer {
    @Override
    public void addFormatters(FormatterRegistry registry) {
        registry.addConverter(new DateConverter());
    }
    @Override
    public void addInterceptors(InterceptorRegistry registry) {
        //注册拦截
        registry.addInterceptor(new MyInterceptor()).addPathPatterns("/**");
    }
    @Override
    public void addResourceHandlers(ResourceHandlerRegistry registry) {
    }
    @Override
    public void configureHandlerExceptionResolvers(List<HandlerExceptionResolver> resolvers) {
    }
}
自定义页面跳转
BootWebMvcConfig:
package com.keafmd.config;
import org.springframework.context.annotation.Configuration;
import org.springframework.format.FormatterRegistry;
import org.springframework.web.servlet.HandlerExceptionResolver;
import org.springframework.web.servlet.config.annotation.InterceptorRegistry;
import org.springframework.web.servlet.config.annotation.ResourceHandlerRegistry;
import org.springframework.web.servlet.config.annotation.ViewControllerRegistry;
import org.springframework.web.servlet.config.annotation.WebMvcConfigurer;
import java.util.List;
/**
 * Keafmd
 *
 * @ClassName: BootWebMvcConfig
 * @Description:
 * @author: 牛哄哄的柯南
 * @Date: 2021-04-07 10:27
 * @Blog: https://keafmd.blog.csdn.net/
 */
@Configuration(proxyBeanMethods = false)
public class BootWebMvcConfig implements WebMvcConfigurer {
    @Override
    public void addFormatters(FormatterRegistry registry) {
        registry.addConverter(new DateConverter());
    }
    @Override
    public void addInterceptors(InterceptorRegistry registry) {
        //注册拦截
        registry.addInterceptor(new MyInterceptor()).addPathPatterns("/**");
    }
    /**
     * 映射自定义的跳转界面
     * @param registry
     */
    @Override
    public void addViewControllers(ViewControllerRegistry registry) {
        registry.addViewController("/index").setViewName("index.html");
        registry.addViewController("/home").setViewName("index.html");
    }
}
自定义资源映射
1、自动配置(在全局额配置文件中修改)
spring.mvc.static-path-pattern=/
spring.resources.static-locations= classpath:/static,classpath:/public,classpath:/resources,classpath:/META-INF/resources
2、自定义资源路径
自定义资源映射,重写WebMvcConfiger实现类的 重写addResourceHandler 方法
调用:addResourceHandler 用于处理哪些路径是静态资源
调用:addResourceLocations用于指定静态资源的实际目录
此方法会覆盖配置文件和默认的静态资源配置
BootWebMvcConfig:
package com.keafmd.config;
import org.springframework.context.annotation.Configuration;
import org.springframework.format.FormatterRegistry;
import org.springframework.web.servlet.HandlerExceptionResolver;
import org.springframework.web.servlet.config.annotation.InterceptorRegistry;
import org.springframework.web.servlet.config.annotation.ResourceHandlerRegistry;
import org.springframework.web.servlet.config.annotation.ViewControllerRegistry;
import org.springframework.web.servlet.config.annotation.WebMvcConfigurer;
import java.util.List;
/**
 * Keafmd
 *
 * @ClassName: BootWebMvcConfig
 * @Description:
 * @author: 牛哄哄的柯南
 * @Date: 2021-04-07 10:27
 * @Blog: https://keafmd.blog.csdn.net/
 */
@Configuration(proxyBeanMethods = false)
public class BootWebMvcConfig implements WebMvcConfigurer {
    @Override
    public void addFormatters(FormatterRegistry registry) {
        registry.addConverter(new DateConverter());
    }
    @Override
    public void addInterceptors(InterceptorRegistry registry) {
        //注册拦截
        registry.addInterceptor(new MyInterceptor()).addPathPatterns("/**");
    }
    @Override
    public void addResourceHandlers(ResourceHandlerRegistry registry) {
        /**
         * http://127.0.0.1:8080/images/holiday.png
         */
        // registry.addResourceHandler()
        // registry.addResourceHandler("/images/").addResourceLocations("classpath:/imgs/");
        registry.addResourceHandler("/images/**").
                addResourceLocations("classpath:/imgs/",
                        "classpath:/mystatic/" ,
                        "classpath:/static/" ,
                        "classpath:/public/" ,
                        "classpath:/META-INF/resources",
                        "classpath:/resources");
    }
}
错误处理、异常处理
错误的类型:
因为后台程序出错导致的Exception(http 500)
因为参数传递错误(http 400)
客户端的原因造成的路径不对(http 404)
当有错误产生,默认跳转到/error,指向的是BasicErrorController。
定制错误响应:
1、有模板引擎的情况下;error/状态码; 【将错误页面命名为 错误状态码.html 放在模板引擎文件夹里面的error文件夹下】,发生此状态码的错误就会来到对应的页面
2、没有模板引擎(模板引擎找不到这个错误页面),静态资源文件夹下找
3、以上都没有错误页面,就是默认来到Spring Boot默认的错误提示页面
可以使用4xx和5xx作为错误页面的文件名来匹配这种类型的所有错误,精确优先(优先寻找精确的状态码.html)
页面能获取的信息:
timestamp:时间戳
status:状态码
error:错误提示
exception:异常对象
message:异常消息
errors:JSR303数据校验的错误都在这里
在WebMvcConfiger的实现类中重写addViewConroller方法。
使用Java异常处理器
1、在Controller层面定义异常处理,哪里有异常哪里处理,只在某一个Controller中生效
JspController:
package com.keafmd.controller;
import org.springframework.stereotype.Controller;
import org.springframework.web.bind.annotation.ExceptionHandler;
import org.springframework.web.bind.annotation.GetMapping;
import org.springframework.web.bind.annotation.ResponseBody;
import javax.servlet.http.HttpServletRequest;
import javax.servlet.http.HttpServletResponse;
/**
 * Keafmd
 *
 * @ClassName: JspController
 * @Description:
 * @author: 牛哄哄的柯南
 * @Date: 2021-04-07 14:09
 * @Blog: https://keafmd.blog.csdn.net/
 */
@Controller
public class JspController {
    /**
     * http://127.0.0.1:8080/toview
     * @return
     */
    @GetMapping("/toview")
    String toview(){
        return "/hello.jsp";
    }
    @GetMapping("/business")
    String business(){
        int result = 0/0;
        return "/index.jsp";
    }
   /* @ExceptionHandler(value = Exception.class )
    @ResponseBody
    String resolveException(HttpServletRequest request, HttpServletResponse response, Exception ex  ){
        System.out.println(ex.getMessage());
        return "{status:'unup',msg:'出错了'}";
    }*/
}
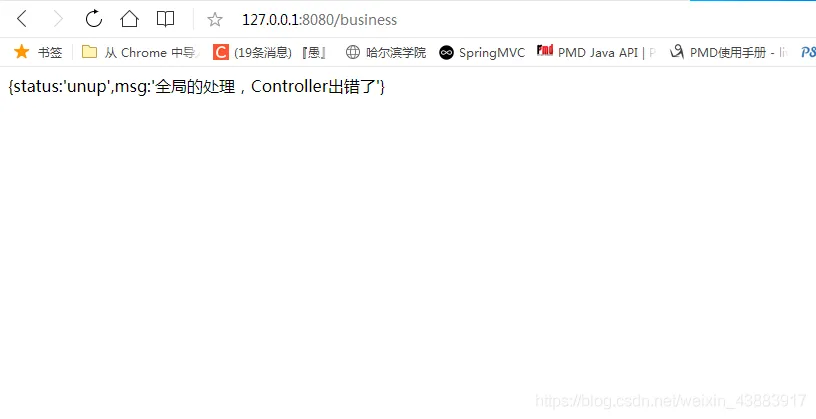
2、定义全局的异常处理方式,定义一个类使用@ControllerAdvice ,在类中定义@ExceptionHandler的注解方法。
MyControllerAdvice:
package com.keafmd.controller;
import org.springframework.web.bind.annotation.ExceptionHandler;
import org.springframework.web.bind.annotation.RestControllerAdvice;
import org.springframework.web.servlet.ModelAndView;
import javax.servlet.http.HttpServletRequest;
import javax.servlet.http.HttpServletResponse;
/**
 * Keafmd
 *
 * @ClassName: MyControllerAdvice
 * @Description:
 * @author: 牛哄哄的柯南
 * @Date: 2021-04-07 14:07
 * @Blog: https://keafmd.blog.csdn.net/
 */
@RestControllerAdvice
public class MyControllerAdvice {
    @ExceptionHandler(value = Exception.class )
//    @ResponseBody
    String resolveException(HttpServletRequest request, HttpServletResponse response, Exception ex  ){
        System.out.println(ex.getMessage());
        return "{status:'unup',msg:'全局的处理,Controller出错了'}";
    }
}
效果: