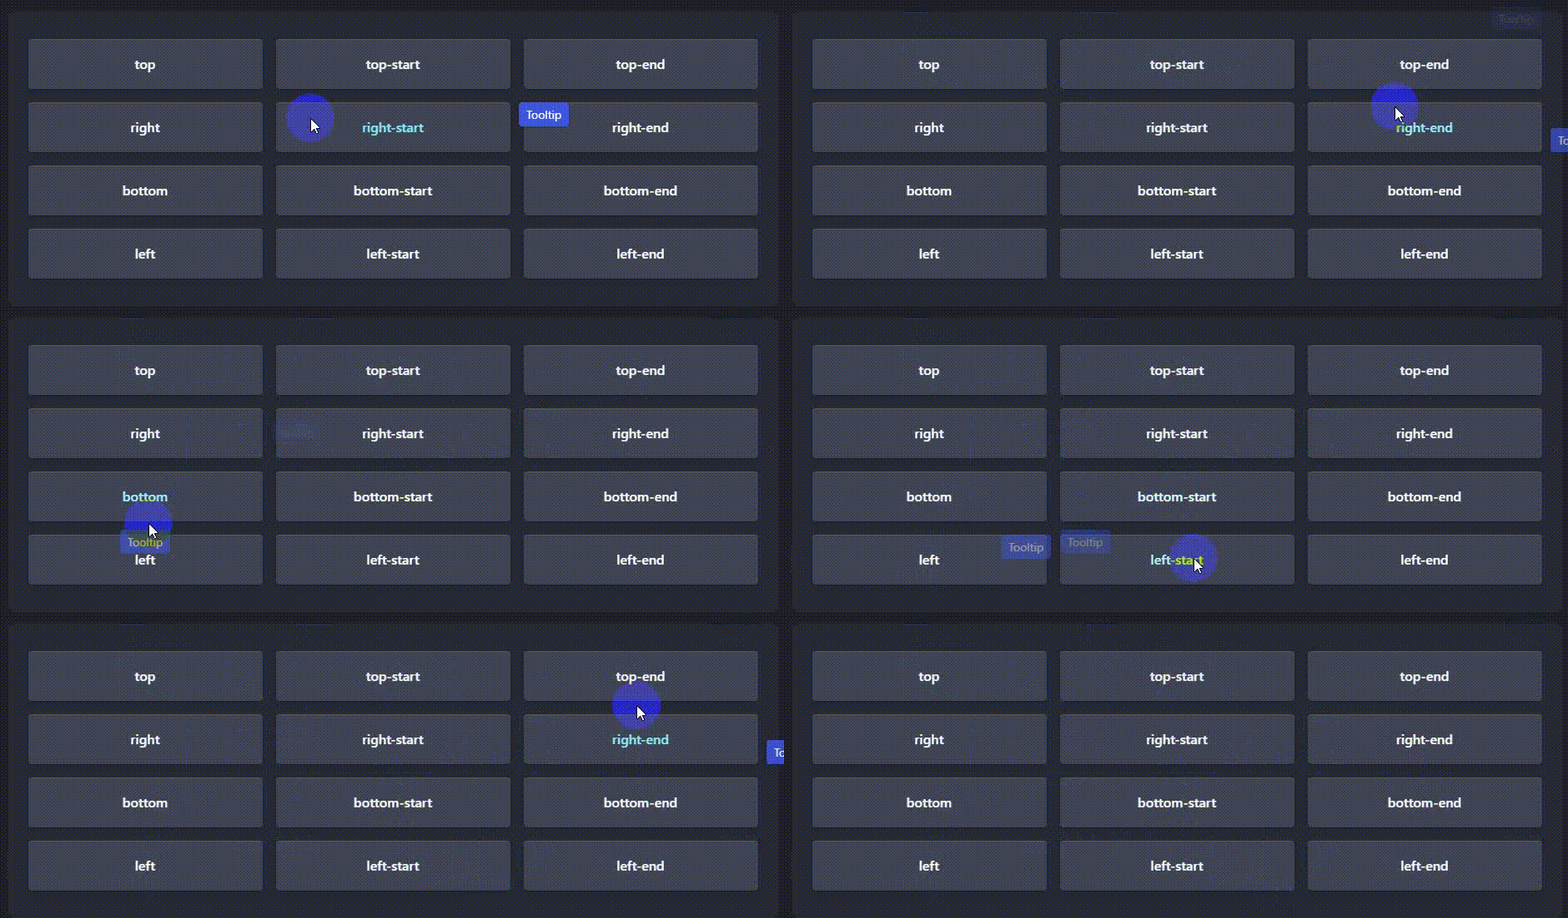
网页设计师对 tooltips 鼠标经过提示效果应该不陌生,这种效果虽然可以直接用 css hover 来实现,但是如果想更友好的、更美观的效果,可能就要借助 JS 来实现啦。今天和大家分享的 Tippy.js 就是很不错的鼠标悬停插件,多种提示信息用法及样式,并且是轻量级哦 🐟
什么是 Tippy.js
Tippy.js 是完整的工具提示、弹出窗口、下拉菜单和 Web 菜单解决方案,由Popper提供支持。它提供了从文档流中“弹出”并漂浮在目标元素旁边的元素的逻辑和可选样式。
Tippy.js 提供了哪些效果
Default
默认的提示如下所示:它由
mouseenter或focus事件触发,因此在悬停、通过键盘导航聚焦或在使用触摸设备时点击时出现。在文档上有一个按钮元素,如下所示:
<button id="myButton">My Button</button>您可以像这样初始化它:
tippy('#myButton', {
  content: "I'm a Tippy tooltip!",
});
Placements
您的
tippy可以相对于参考元素以四种基本方式放置,还可以沿着对应的轴线移动tippy(button, { // default placement: 'top-start', });Arrows
可以修改指向元素
箭头的形状大小等,设置多种类型
tippy(button, {
  // default
  arrow: true,
});
Animations
你的
tippy可以有任何类型的过渡动画。默认情况下,它是一个简单的fade(不透明度转换)
tippy(button, {
  // default
  animation: 'fade',
});
Extra included animationsInertia / slingshot elastic effect
将
CSS弹簧物理添加到动画中transition-timing-function。
Themes
你的
tippy可以有自定义样式。
tippy(button, {
  theme: 'light',
});
Included themes
这些主题,可以
单独导入。
Triggers
你可以通过各种不同的事件:
click,focus等任何其他事件触发:
tippy(button, {
  // default
  trigger: 'click',
});
Interactivity
您的
tippy可以是交互式的,允许您将鼠标悬停在上面并在其中单击。
tippy(button, {
  interactive: true,
});
HTML Content
您的提示可以包含
HTML。
tippy(button, {
  content: '<strong>Bolded <span style="color: aqua;">content</span></strong>',
  allowHTML: true,
});
Delay
您的提示可以在触发后延迟隐藏或显示。
tippy(button, {
  delay: 500, // ms
});
Follow Cursor
您的
tippy可以跟随鼠标光标移动
tippy(button, {
  followCursor: true,
});
SVGs
您的
tippy可以放置在SVG节点上,在这里followCursor: 'initial'变得非常有用,因为它可以直接放置在行上。
Nesting
一个
tippy可以嵌套在另一个tippy中。
如何安装使用
官方提供了两种安装方式,一种是
Package Manager,一种是CDN:
1.Package Manager
# npm
npm i tippy.js
# Yarn
yarn add tippy.js
import tippy from 'tippy.js';
import 'tippy.js/dist/tippy.css'; // optional for styling
2.CDN
<!-- Development -->
<script src="https://unpkg.com/@popperjs/core@2/dist/umd/popper.min.js"></script>
<script src="https://unpkg.com/tippy.js@6/dist/tippy-bundle.umd.js"></script>
<!-- Production -->
<script src="https://unpkg.com/@popperjs/core@2"></script>
<script src="https://unpkg.com/tippy.js@6"></script>
<html>
  <head>
    <title>Tippy</title>
  </head>
  <body>
    <button id="myButton">My button</button>
    <script src="https://unpkg.com/@popperjs/core@2"></script>
    <script src="https://unpkg.com/tippy.js@6"></script>
    <script>
      // With the above scripts loaded, you can call `tippy()` with a CSS
      // selector and a `content` prop:
      tippy('#myButton', {
        content: 'My tooltip!',
      });
    </script>
  </body>
</html>
Vue 中如何使用
这么强大的
js库怎么会没有vue版本呢?vue版本链接:https://kabbouchi.github.io/vue-tippy/4.0/getting-started.html
# 安装
npm install --save vue-tippy@v4
yarn add vue-tippy@v4
//vue 中使用
import Vue from "vue";
import VueTippy, { TippyComponent } from "vue-tippy";
Vue.use(VueTippy);
// or
Vue.use(VueTippy, {
  directive: "tippy", // => v-tippy
  flipDuration: 0,
  popperOptions: {
    modifiers: {
      preventOverflow: {
        enabled: false
      }
    }
  }
});
Vue.component("tippy", TippyComponent);
react 中使用
react版本链接:https://github.com/atomiks/tippyjs-react
# npm
npm i @tippyjs/react
# Yarn
yarn add @tippyjs/react
// react 中使用
import React from 'react';
import Tippy from '@tippyjs/react';
import 'tippy.js/dist/tippy.css'; // optional
const StringContent = () => (
  <Tippy content="Hello">
    <button>My button</button>
  </Tippy>
);
const JSXContent = () => (
  <Tippy content={<span>Tooltip</span>}>
    <button>My button</button>
  </Tippy>
);


