前言
今天笔者在逛 CodePen 的时候,突然发现了一个用 JS 实现的动画效果,仔细一看又发现了一个以前没有见过的东西 ———— Web Animations API。
翻了翻 MDN 文档才发现这部分功能已经出来5年多了!这怎么能忍,于是赶紧 fork 学习了一波。
Web Animations API
MDN 定义是:允许同步和定时更改网页的呈现,即 DOM 元素的动画。它通过组合两个模型来实现:时序模型和动画模型。
目前该部分功能包含以下几个 类(class) 和一些 元素的扩展方法/属性。
类 Classes:
- Animation:提供播放控制、动画节点或源的时间轴。控制方法有四个:finish 终止、pause 暂停、play 开始/恢复动画执行、reverse 反转动画,再加上一个清除动画的方法 cancel;另外还有两个监听事件用来配置对应的回调:oncancel 动画被取消、onfinish 动画执行结束,这两个属性直接读取时是获取对应的事件回调函数,进行赋值操作时才是设置对应的事件回调,并且都支持 Promise 方式使用
- KeyframeEffect:用来创建动画的关键帧,然后提供给 Animation 的动画使用
- AnimationTimeLine:动画执行的时间轴,提供一个 currentTime 属性,但本身并不能使用
- DocumentTimeLine:用来定义一个动画的执行时间线,可以在实例化多个 Animation 时共用同一个 timeline 实例来控制一组动画
方法 Functions:
- document.getAnimations:返回文档流中所有的 Animation 实例数组
- element.getAnimations:返回该动画对应的 Animation 实例数组
- element.animate:为一个元素创建一个 Animation 实例 的便捷方法,每次调用都会返回一个新的 Animation 实例。
属性 Properties:
- document.timeline:一个只读属性,用来获取当前文档的时间轴,在网页加载时创建
当然,一般来说我们 常常使用的也只有 Animation 和 KeyframeEffect,以及 element.animate。
1. Class KeyframeEffect
因为在创建一个动画之前,肯定要先定义一个动画的关键帧,所以我们从 KeyframeEffect 关键帧定义 开始。
构造函数参数和说明:
该类可以通过下面三种方式进行实例化:
new KeyframeEffect(target, keyframes, options)
new KeyframeEffect(target, keyframes)
new KeyframeEffect(sourceKeyFrames)
其中:
- target 为需要执行动画的元素,可以为 null
- keyframes 则是一个动画帧定义的 对象数组,也可以是 null
- options 可以是一个 number,也可以是一个配置对象
- 是数字时表示动画的 执行总时间
- 是对象时可以配置 delay 延迟、duration 动画时间、easing 动画运动曲线 等
- sourceKeyFrames 是一个通过 KeyframeEffect 实例化后的动画定义,这么使用会 复制 传入的动画定义来创建一个新的动画帧定义实例
一般情况下,都是通过 第一种方式并且指定 target 为 null 来定义动画,可以增加动画的复用性。
使用:
假设我们现在要定义一个元素向下移动的动画(transform)
const downKeyframes = new KeyframeEffect(
    null,
    [
      { transform: 'translateY(0%)' },
      { transform: 'translateY(100%)' }
    ],
    { duration: 3000 }
  );
这个实例的代表的动画效果就是:在 3s 内元素会通过 transformY 向下偏移整个元素的高度。
2. Class Animation
上面介绍过,这个类就是创建一个用来控制动画以及这种动画状态监听/读取的实例对象。
构造函数参数和说明:
该类的实例化方式只有一种:
const animation = new Animation(effect, timeline);
其中:
- effect:就是上面通过 KeyframeEffect 实例化的动画帧定义
- timeline:指定与动画相关联的时间轴,当前阶段还没有相关功能实现,默认是 document.timeline;使用时可以省略
使用:
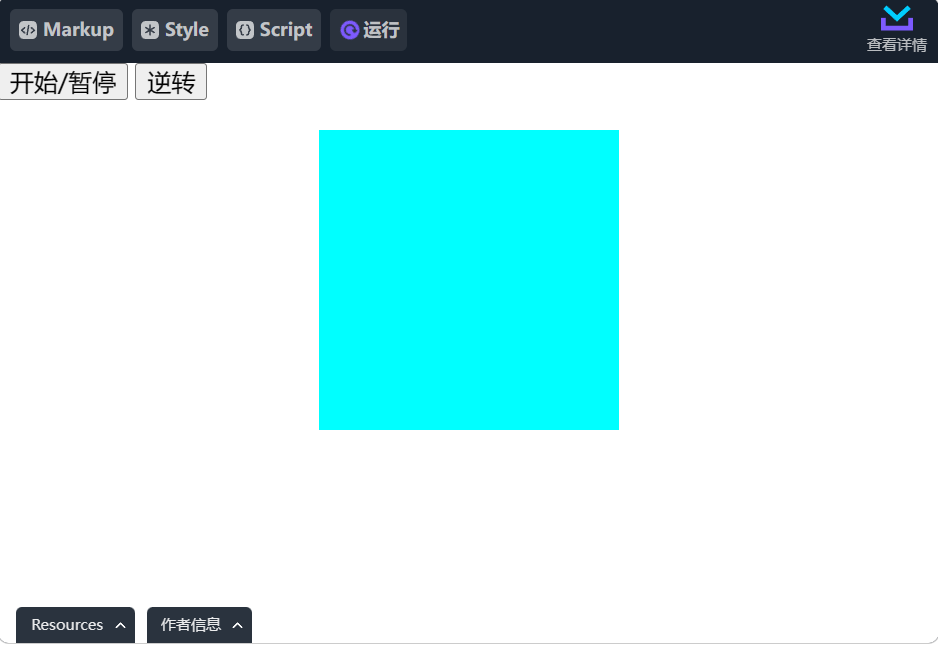
现在我们就使用上面定义的那个下移动画(当然,此时上面的动画帧定义实例需要绑定动画的目标元素):
const el = document.getElementById("active")
downKeyframes.target = el;
const downAnimation = new Animation(downKeyframes, document.timeline);
效果如下:
Markup:
<div id="app">
  <button id="button1">开始/暂停</button>
  <button id="button2">逆转</button>
  <div id="active"></div>
</div>
Style:
#active {
  width: 200px;
  height: 200px;
  margin: 20px auto;
  background-color: aqua;
}
Script:
const el = document.getElementById("active")
const btn1 = document.getElementById("button1")
const btn2 = document.getElementById("button2")
const downKeyframes = new KeyframeEffect(
  null,
  [
    { transform: 'translateY(0%)' },
    { transform: 'translateY(100%)' }
  ],
  { duration: 3000 }
);
downKeyframes.target = el;
const downAnimation = new Animation(downKeyframes, document.timeline);
btn1.addEventListener('click', () => {
  if (downAnimation.playState === 'running') {
    downAnimation.pause()
  } else {
    downAnimation.play()
  }
})
btn2.addEventListener('click', () => {
  downAnimation.reverse()
})
然后,我们还可以 通过调用该实例的相关方法来控制这个动画的执行:
const btn1 = document.getElementById("button1")
const btn2 = document.getElementById("button2")
btn1.addEventListener('click', () => {
  if (downAnimation.playState === 'running') {
    downAnimation.pause()
  } else {
    downAnimation.play()
  }
})
btn2.addEventListener('click', () => {
  downAnimation.reverse()
})
这里介绍一下 playState 属性:用来获取该动画的 执行状态,是一个 枚举值。具体值有以下几个:
- idle:此时动画的事件还无法解析,并且队列里也没有处于等待执行的动画任务
- pending:还处于等待过程中,需要等待其他任务执行完毕
- running:正处于动画过程中
- paused:动画被暂停
- finished:动画已经执行结束
3. element.animate()
当然,上面这种方式对实际使用来说还是有点繁琐,所以又有一种比较快捷的方式来创建一个 Animation 实例,也就是上面提到的 element.animate()。并且,该方式创建的动画 将直接作用于元素并开始执行动画过程。
用法和参数说明:
在使用时,和一般的函数使用一样:
const animation = element.animate(keyframes, options);
其中的参数:
- keyframes:与 KeyframeEffect 中的 keyframes 参数类似,都是用来定义动画执行过程中的关键帧,只是这里是一个 对象 形式
- options:与 KeyframeEffect 中的 options 参数一致,可以是数字或者对象;但是这里 多了一个 id 配置,用来作为该动画的唯一标识
当然,MDN 中的文档还表示未来可能会增加composite、spacing 等多个配置项,不过目前还不是所有浏览器都支持
使用:
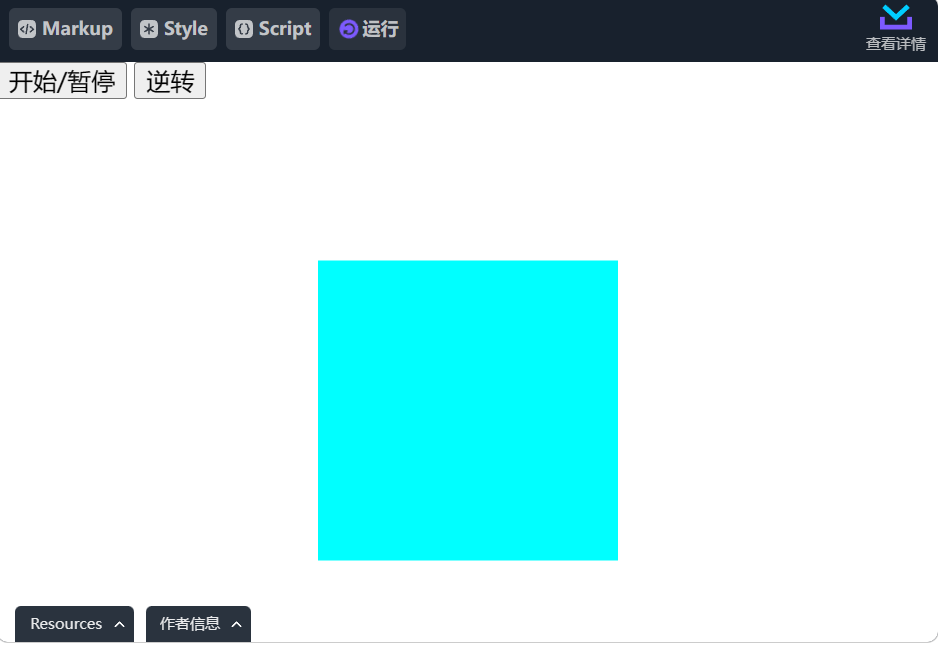
此时假设我们还要实现上面的那个下移效果的话,就可以这么写:
const el = document.getElementById("active")
const animation = el.animate(
  { transform: 'translateY(100%)' },
  3000
)
页面加载完成时该动画就会直接执行
假设我们要加上相关的一些控制的话,也可以和控制 Animation 实例一样:
const btn1 = document.getElementById("button1")
const btn2 = document.getElementById("button2")
btn1.addEventListener('click', () => {
  if (animation.playState === 'running') {
    animation.pause()
  } else {
    animation.play()
  }
})
btn2.addEventListener('click', () => {
  animation.reverse()
})
效果如下:
Markup:
<div id="app">
  <button id="button1">开始/暂停</button>
  <button id="button2">逆转</button>
  <div id="active"></div>
</div>
Style:
#active {
  width: 200px;
  height: 200px;
  margin: 20px auto;
  background-color: aqua;
}
Script:
const el = document.getElementById("active")
const btn1 = document.getElementById("button1")
const btn2 = document.getElementById("button2")
const animation = el.animate(
  { transform: 'translateY(100%)' },
  3000
)
btn1.addEventListener('click', () => {
  if (animation.playState === 'running') {
    animation.pause()
  } else {
    animation.play()
  }
})
btn2.addEventListener('click', () => {
  animation.reverse()
})
借助 animate() 实现鼠标跟随
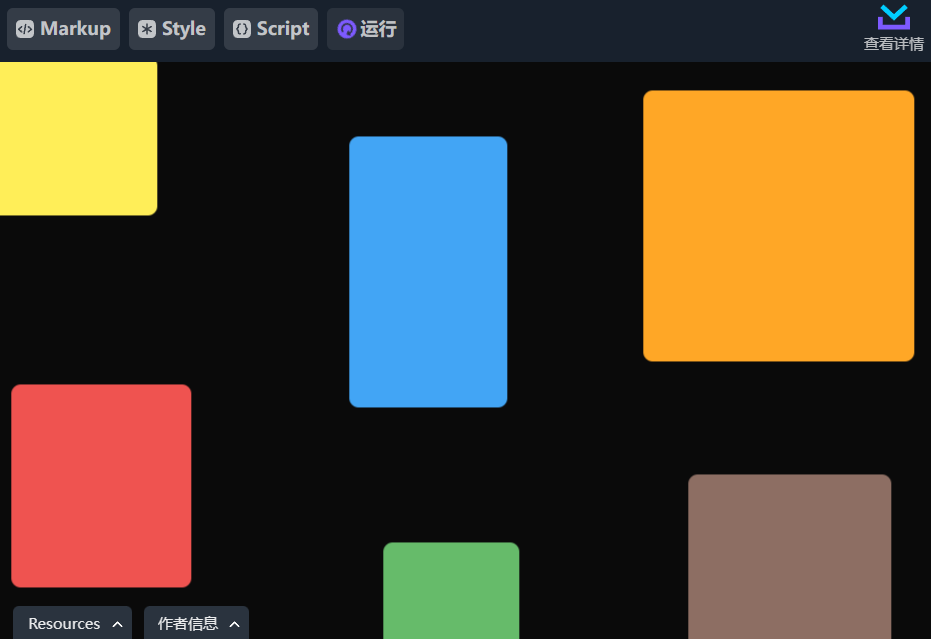
首先上效果:
Markup:
<div class="animation-box" id="box">
  <div id="gallery">
    <div class="tile">
      <img
          src="https://p9-juejin.byteimg.com/tos-cn-i-k3u1fbpfcp/515258c213064463b1fac843363ece92~tplv-k3u1fbpfcp-no-mark:480:400:0:0.awebp?"
        />
    </div>
    <div class="tile">
      <img
          src="https://img01.yzcdn.cn/upload_files/2022/03/15/FpS314YGk0tJ6CKFGF1CO49ql1Wn.jpg!280x280.jpg"
        />
    </div>
    <div class="tile">
      <img
          src="https://img01.yzcdn.cn/upload_files/2022/03/16/lpj-asxbmJDP6ig9DAnRWRQ12qwl.png!280x280.jpg"
        />
    </div>
    <div class="tile">
      <img
          src="https://img01.yzcdn.cn/upload_files/2022/03/16/Fl7X9CJjkJkexYEz8hjweZB1nc5v.png!280x280.jpg"
        />
    </div>
    <div class="tile">
      <img
          src="https://img01.yzcdn.cn/upload_files/2022/05/09/FtniwlmXIdCRMrFBfEMemJUwsmpc.jpg!280x280.jpg"
        />
    </div>
    <div class="tile">
      <img
          src="https://img01.yzcdn.cn/upload_files/2022/03/15/lpzDtULqBYXYQYn9KRLvancGAyOn.png!280x280.jpg"
        />
    </div>
    <div class="tile">
      <img
          src="https://img01.yzcdn.cn/upload_files/2022/03/15/FkSpDHY7P9ygn-rn9vfY6A7nXw7W.jpg!280x280.jpg"
        />
    </div>
    <div class="tile">
      <img
          src="https://img01.yzcdn.cn/upload_files/2022/05/30/Fpht4CzextqfHA048FGU8m_t4NP5.jpeg!280x280.jpg"
        />
    </div>
    <div class="tile">
      <img
          src="https://p6-juejin.byteimg.com/tos-cn-i-k3u1fbpfcp/54c5bda89428417f8009279464776b1f~tplv-k3u1fbpfcp-watermark.image?"
        />
    </div>
  </div>
</div>
Style:
body {
  width: 100vw;
  height: 100vh;
  margin: 0;
  padding: 0;
  box-sizing: border-box;
}
.animation-box {
  background-color: rgb(10, 10, 10);
  height: 100%;
  margin: 0;
  overflow: hidden;
  position: relative;
}
#gallery {
  height: 120vmax;
  width: 120vmax;
  position: absolute;
}
.tile {
  border-radius: 1vmax;
  position: absolute;
  transition: transform 800ms ease;
}
.tile:hover {
  transform: scale(1.1);
}
.tile:hover > img {
  opacity: 1;
  transform: scale(1.01);
}
.tile > img {
  height: 100%;
  width: 100%;
  object-fit: cover;
  border-radius: inherit;
  opacity: 0;
  transition: opacity 800ms ease, transform 800ms ease;
}
.tile:nth-child(1) {
  background-color: rgb(255, 238, 88);
  height: 14%;
  width: 20%;
  left: 5%;
  top: 5%;
}
.tile:nth-child(2) {
  background-color: rgb(66, 165, 245);
  height: 24%;
  width: 14%;
  left: 42%;
  top: 12%;
}
.tile:nth-child(3) {
  background-color: rgb(239, 83, 80);
  height: 18%;
  width: 16%;
  left: 12%;
  top: 34%;
}
.tile:nth-child(4) {
  background-color: rgb(102, 187, 106);
  height: 14%;
  width: 12%;
  left: 45%;
  top: 48%;
}
.tile:nth-child(5) {
  background-color: rgb(171, 71, 188);
  height: 16%;
  width: 32%;
  left: 8%;
  top: 70%;
}
.tile:nth-child(6) {
  background-color: rgb(255, 167, 38);
  height: 24%;
  width: 24%;
  left: 68%;
  top: 8%;
}
.tile:nth-child(7) {
  background-color: rgb(63, 81, 181);
  height: 16%;
  width: 20%;
  left: 50%;
  top: 74%;
}
.tile:nth-child(8) {
  background-color: rgb(141, 110, 99);
  height: 24%;
  width: 18%;
  left: 72%;
  top: 42%;
}
.tile:nth-child(9) {
  background-color: rgb(250, 250, 250);
  height: 10%;
  width: 8%;
  left: 84%;
  top: 84%;
}
Script:
const box = document.getElementById('box')
const gallery = document.getElementById("gallery");
function animation(e) {
  const mouseX = e.clientX,
    mouseY = e.clientY;
  const xDecimal = mouseX / box.clientWidth,
    yDecimal = mouseY / box.clientHeight;
  const maxX = gallery.offsetWidth - box.clientWidth,
    maxY = gallery.offsetHeight - box.clientHeight;
  const panX = maxX * xDecimal * -1,
    panY = maxY * yDecimal * -1;
  const animation = gallery.animate(
    {
      transform: `translate(${panX}px, ${panY}px)`
    },
    {
      duration: 4000,
      fill: "forwards",
      easing: "ease"
    }
  );
  animation.onfinish = () => animation.cancel()
}
window.addEventListener("mousemove", animation);
1. 布局
整个界面包含 一个外层的限制元素、一个尺寸大于外层元素的内层元素、以及一系列图片显示的元素
<div class="animation-box" id="box">
  <div id="gallery">
    <div class="tile">
      <img
          src="https://p9-juejin.byteimg.com/tos-cn-i-k3u1fbpfcp/515258c213064463b1fac843363ece92~tplv-k3u1fbpfcp-no-mark:480:400:0:0.awebp?"
        />
    </div>
    <div class="tile">
      <img
          src="https://img01.yzcdn.cn/upload_files/2022/03/15/FpS314YGk0tJ6CKFGF1CO49ql1Wn.jpg!280x280.jpg"
        />
    </div>
    ...
  </div>
</div>
2. 样式
为了增加一个交互效果,给图片添加了一个 带颜色的遮罩层,并设置透明,在鼠标 Hover 时在显示图片并稍微放大。
body {
  width: 100vw;
  height: 100vh;
  margin: 0;
  padding: 0;
  box-sizing: border-box;
}
.animation-box {
  background-color: rgb(10, 10, 10);
  height: 100%;
  margin: 0;
  overflow: hidden;
  position: relative;
}
#gallery {
  height: 120vmax;
  width: 120vmax;
  position: absolute;
}
.tile {
  border-radius: 1vmax;
  position: absolute;
  transition: transform 800ms ease;
}
.tile:hover {
  transform: scale(1.1);
}
.tile:hover > img {
  opacity: 1;
  transform: scale(1.01);
}
.tile > img {
  height: 100%;
  width: 100%;
  object-fit: cover;
  border-radius: inherit;
  opacity: 0;
  transition: opacity 800ms ease, transform 800ms ease;
}
.tile:nth-child(1) {
  background-color: rgb(255, 238, 88);
  height: 14%;
  width: 20%;
  left: 5%;
  top: 5%;
}
.tile:nth-child(2) {
  background-color: rgb(66, 165, 245);
  height: 24%;
  width: 14%;
  left: 42%;
  top: 12%;
}
// ...
Animate 动画
这里需要实现的其实就是 计算出鼠标当前在窗口的位置,然后按比例换算成内部区域的偏移量,最后通过 animate 方法定义一个动画将内层元素移动到相应的位置
const box = document.getElementById('box')
const gallery = document.getElementById("gallery");
function animation(e) {
  const mouseX = e.clientX,
    mouseY = e.clientY;
  const xDecimal = mouseX / box.clientWidth,
    yDecimal = mouseY / box.clientHeight;
  const maxX = gallery.offsetWidth - box.clientWidth,
    maxY = gallery.offsetHeight - box.clientHeight;
  const panX = maxX * xDecimal * -1,
    panY = maxY * yDecimal * -1;
  const animation = gallery.animate(
    {
      transform: `translate(${panX}px, ${panY}px)`
    },
    {
      duration: 4000,
      fill: "forwards",
      easing: "ease"
    }
  );
  animation.onfinish = () => animation.cancel()
}
window.addEventListener("mousemove", animation);
值得注意的是,通过 element.animate 创建的 Animation 实例每次都是新的,并且 不会自动清除,所以建议通过设置 onfinished 事件回调来清除掉原来的动画实例。
最后
本文也只是大致说明了一下这几个 API 的功能和使用方式,但是具体还有哪些坑或者彩蛋还需要大家去实际体验一下才知道。
总的来说,这个功能的出现对于我们前端来说 可以更加方便且准确的实现和控制页面的动画内容,但是部分属性与 CSS 的动画配置还是有些区别,大家需要多多注意呀


