- 知识点:
1.使用SQL Helper创建数据库
2.数据的增删查改(PRDU:Put、Read、Delete、Update)
- 背景知识:
上篇文章学习了保存文件,今天学习的是保存数据到SQL数据库中。相信大家对数据库都不陌生。对于
大量重复的,有特定结构的
数据的保存,用 SQL数据库 来保存是最理想不过了。
下面将用一个关于联系人的数据库Demo来具体学习。
- 具体知识:
1.定义Contract类
在创建SQL数据库之前,要创建Contract类。那什么是Contract类呢?

Contract Class的定义:
    Contract Class,又可以叫做Companion Class。
    Android Developer的帮助文档是这么说的:
   < A contract class is a container for constants that define names for URIs,

tables, and columns. The contract class allows you to use the same constants

across all the other classes in the same package. This lets you change a

column name in one place and have it propagate throughout your code.>
     Contact 类是定义URI、表、列的名字的容器。这个类允许我们在同一包的不同类下使用相同的常量。

我们在一处修改了列名,同时传播到我们代码的每个地方。
 1 package com.example.sqlitetest;
 2 //Contract类
 3 public class Contact {
 4
 5     int _id;
 6     String _name;
 7     String _phone_number;
 8
 9     public Contact(){
10
11     }
12     public Contact(int id, String name, String _phone_number){
13         this._id = id;
14         this._name = name;
15         this._phone_number = _phone_number;
16     }
17
18     public Contact(String name, String _phone_number){
19         this._name = name;
20         this._phone_number = _phone_number;
21     }
22     public int getID(){
23         return this._id;
24     }
25
26     public void setID(int id){
27         this._id = id;
28     }
29
30     public String getName(){
31         return this._name;
32     }
33
34     public void setName(String name){
35         this._name = name;
36     }
37
38     public String getPhoneNumber(){
39         return this._phone_number;
40     }
41
42     public void setPhoneNumber(String phone_number){
43         this._phone_number = phone_number;
44     }
45 }
2.使用SQLHelper创建数据库
就像保存文件在内部存储一样,Android在私有的应用存储空间存储我们的数据库,这样就保证我们的数据是安全的。不能被其他应用访问到。
在设备上存储的数据库保存在:
             /data/data/<package_name>/databases目录下
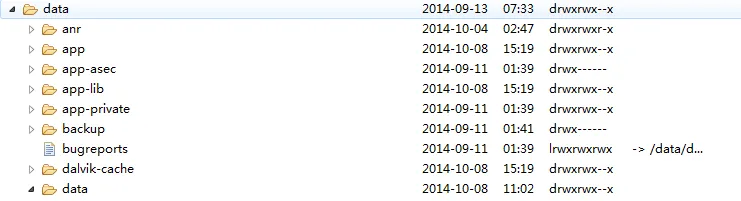

为了使用SQLiteOpenHelper,我们需要创建一个重写了onCreate(),onUpgrade()和onOpen()回调方法的子类。
3.数据的增删改查
增:传ContentValue值到insert()方法。
SQLiteDatabase db = this.getWritableDatabase();

ContentValues values = new ContentValues();
values.put(KEY_NAME, contact.getName());
values.put(KEY_PH_NO, contact.getPhoneNumber());

db.insert(TABLE_CONTACTS, null, values);
db.close();
删:delete()方法
SQLiteDatabase db = this.getWritableDatabase();
db.delete(TABLE_CONTACTS, KEY_ID + " = ?",
        new String[] { String.valueOf(contact.getID()) });
db.close();
改:update()方法
SQLiteDatabase db = this.getWritableDatabase();

ContentValues values = new ContentValues();
values.put(KEY_NAME, contact.getName());
values.put(KEY_PH_NO, contact.getPhoneNumber());


return db.update(TABLE_CONTACTS, values, KEY_ID + " = ?",
          ew String[] { String.valueOf(contact.getID()) });
查:query()方法
SQLiteDatabase db = this.getReadableDatabase();

Cursor cursor = db.query(TABLE_CONTACTS, new String[] { KEY_ID,
                KEY_NAME, KEY_PH_NO }, KEY_ID + "=?",
                new String[] { String.valueOf(id) }, null, null, null, null);
if (cursor != null)
cursor.moveToFirst();

Contact contact = new Contact(Integer.parseInt(cursor.getString(0)),
                cursor.getString(1), cursor.getString(2));

return contact;
完整DatabaseHelper代码如下:
  1 package com.example.sqlitetest;
  2
  3 import java.util.ArrayList;
  4 import java.util.List;
  5
  6 import android.content.ContentValues;
  7 import android.content.Context;
  8 import android.database.Cursor;
  9 import android.database.sqlite.SQLiteDatabase;
 10 import android.database.sqlite.SQLiteOpenHelper;
 11
 12 public class DatabaseHelper extends SQLiteOpenHelper {
 13
 14     // 数据库版本
 15     private static final int DATABASE_VERSION = 1;
 16
 17     // 数据库名
 18     private static final String DATABASE_NAME = "contactsManager";
 19
 20     //Contact表名
 21     private static final String TABLE_CONTACTS = "contacts";
 22
 23     //Contact表的列名
 24     private static final String KEY_ID = "id";
 25     private static final String KEY_NAME = "name";
 26     private static final String KEY_PH_NO = "phone_number";
 27
 28     public DatabaseHelper(Context context) {
 29         super(context, DATABASE_NAME, null, DATABASE_VERSION);
 30     }
 31
 32     // 创建表
 33     @Override
 34     public void onCreate(SQLiteDatabase db) {
 35         String CREATE_CONTACTS_TABLE = "CREATE TABLE " + TABLE_CONTACTS + "("
 36                 + KEY_ID + " INTEGER PRIMARY KEY," + KEY_NAME + " TEXT,"
 37                 + KEY_PH_NO + " TEXT" + ")";
 38         db.execSQL(CREATE_CONTACTS_TABLE);
 39     }
 40
 41     // 更新表
 42     @Override
 43     public void onUpgrade(SQLiteDatabase db, int oldVersion, int newVersion) {
 44         // 删除旧表
 45         db.execSQL("DROP TABLE IF EXISTS " + TABLE_CONTACTS);
 46
 47         //再次创建表
 48         onCreate(db);
 49     }
 50
 51     /**
 52      *增删改查操作
 53      */
 54
 55     // 增加新的联系人
 56     void addContact(Contact contact) {
 57         SQLiteDatabase db = this.getWritableDatabase();
 58
 59         ContentValues values = new ContentValues();
 60         values.put(KEY_NAME, contact.getName());
 61         values.put(KEY_PH_NO, contact.getPhoneNumber());
 62
 63         // 插入行
 64         db.insert(TABLE_CONTACTS, null, values);
 65         db.close(); // 关闭数据库的连接
 66     }
 67
 68     // 获取联系人
 69     Contact getContact(int id) {
 70         SQLiteDatabase db = this.getReadableDatabase();
 71
 72         Cursor cursor = db.query(TABLE_CONTACTS, new String[] { KEY_ID,
 73                 KEY_NAME, KEY_PH_NO }, KEY_ID + "=?",
 74                 new String[] { String.valueOf(id) }, null, null, null, null);
 75         if (cursor != null)
 76             cursor.moveToFirst();
 77
 78         Contact contact = new Contact(Integer.parseInt(cursor.getString(0)),
 79                 cursor.getString(1), cursor.getString(2));
 80         return contact;
 81     }
 82
 83     // 获取所有联系人
 84     public List<Contact> getAllContacts() {
 85         List<Contact> contactList = new ArrayList<Contact>();
 86         // Select All Query
 87         String selectQuery = "SELECT  * FROM " + TABLE_CONTACTS;
 88
 89         SQLiteDatabase db = this.getWritableDatabase();
 90         Cursor cursor = db.rawQuery(selectQuery, null);
 91
 92         if (cursor.moveToFirst()) {
 93             do {
 94                 Contact contact = new Contact();
 95                 contact.setID(Integer.parseInt(cursor.getString(0)));
 96                 contact.setName(cursor.getString(1));
 97                 contact.setPhoneNumber(cursor.getString(2));
 98                 contactList.add(contact);
 99             } while (cursor.moveToNext());
100         }
101
102         return contactList;
103     }
104
105     // 更新单个联系人
106     public int updateContact(Contact contact) {
107         SQLiteDatabase db = this.getWritableDatabase();
108
109         ContentValues values = new ContentValues();
110         values.put(KEY_NAME, contact.getName());
111         values.put(KEY_PH_NO, contact.getPhoneNumber());
112
113         //更新行
114         return db.update(TABLE_CONTACTS, values, KEY_ID + " = ?",
115                 new String[] { String.valueOf(contact.getID()) });
116     }
117
118     // 删除单个联系人
119     public void deleteContact(Contact contact) {
120         SQLiteDatabase db = this.getWritableDatabase();
121         db.delete(TABLE_CONTACTS, KEY_ID + " = ?",
122                 new String[] { String.valueOf(contact.getID()) });
123         db.close();
124     }
125
126
127     // 获取联系人数量
128     public int getContactsCount() {
129         String countQuery = "SELECT  * FROM " + TABLE_CONTACTS;
130         SQLiteDatabase db = this.getReadableDatabase();
131         Cursor cursor = db.rawQuery(countQuery, null);
132         cursor.close();
133
134         return cursor.getCount();
135     }
136 }
还有一些代码不是本次学习的重点,就不贴出来了。有需要的留言找我要。
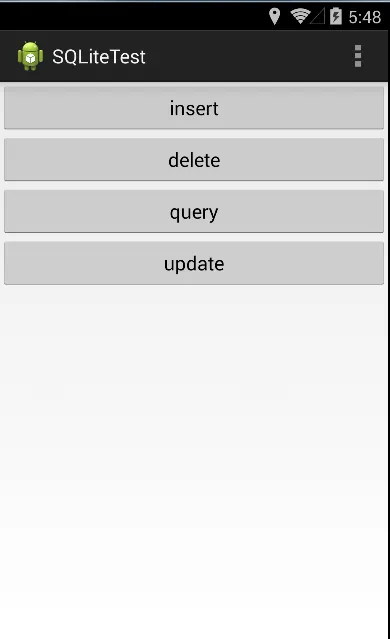
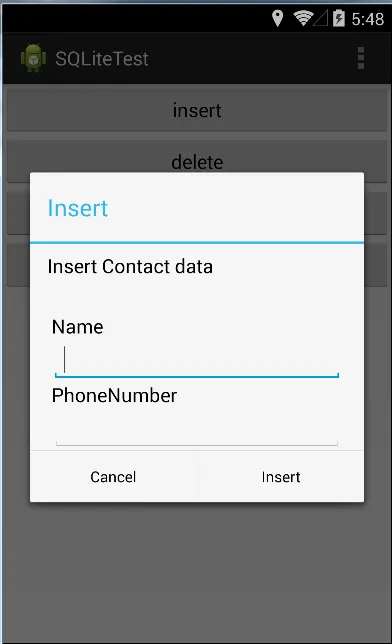
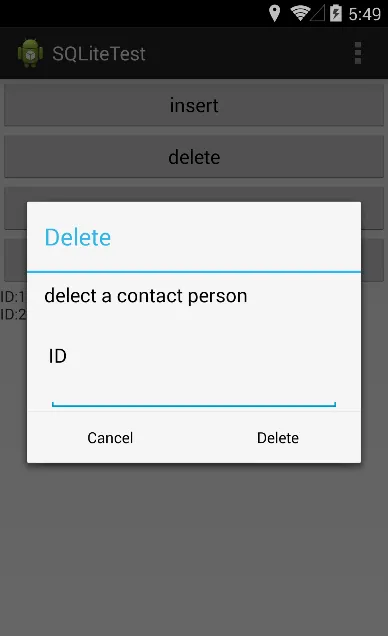
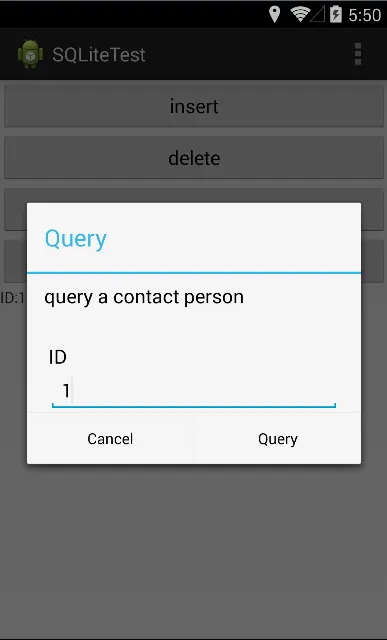
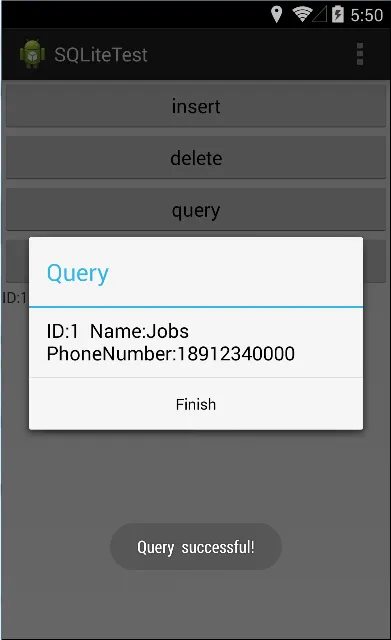
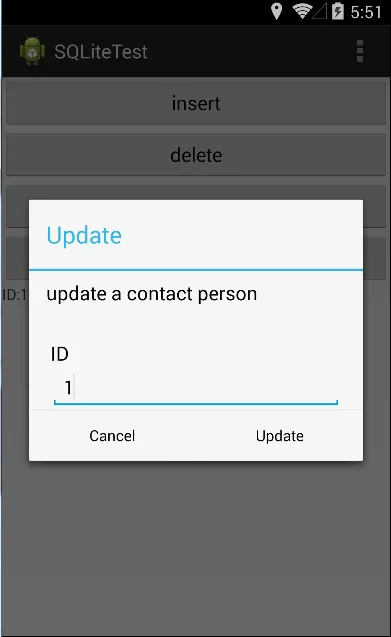
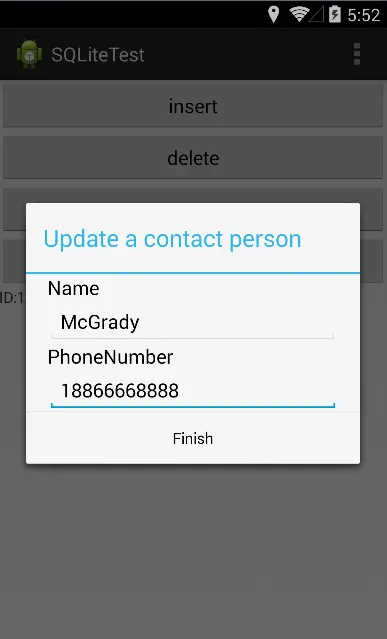
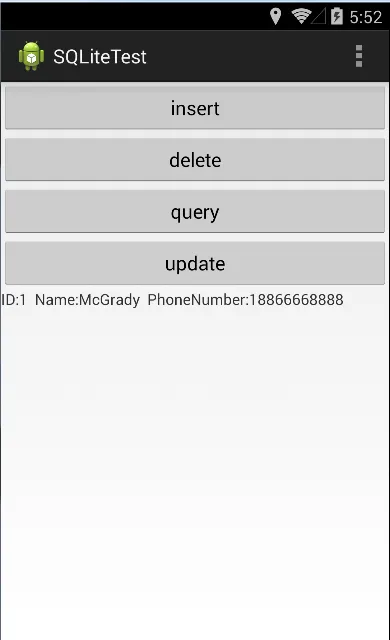
Demo运行效果图: