插槽
6.1 普通插槽
1、在父组件中直接调用子组件的标签,是可以渲染出子组件的内容;如果在子组件标签中添加了内容,父组件就渲染不出来了;
ParentComponent.vue:
<template>
  <div>
    <h1>Parent Component</h1>
    <child-component>
      <p>This is custom content inside the child component.</p>
    </child-component>
  </div>
</template>
<script>
import ChildComponent from './ChildComponent.vue';
export default {
  name: 'ParentComponent',
  components: {
    ChildComponent
  }
};
</script>

无名插槽(默认插槽)
ChildComponent.vue:
<!--    第一种方式-->
<template>
  <div>
    <h2>Child Component</h2>
    <slot></slot>
    <p>This is content from the child component.</p>
  </div>
</template>
<script>
export default {
  name: 'ChildComponent'
};
</script>

2、如果父组件调用的子组件标签中和子组件中的插槽中都有文本内容,那么父组件中的会覆盖子组件插槽中的内容;
<!--    第二种方式-->
<template>
  <div>
    <h2>Child Component</h2>
    <slot><p>我们一起学猫叫</p></slot>
    <p>This is content from the child component.</p>
  </div>
</template>
<script>
export default {
  name: 'ChildComponent'
};
</script>

在上述示例中,
ChildComponent组件使用了一个无名插槽(默认插槽)。在ParentComponent中,通过将内容包裹在<child-component>标签中,该内容就会被插入到ChildComponent的插槽中。
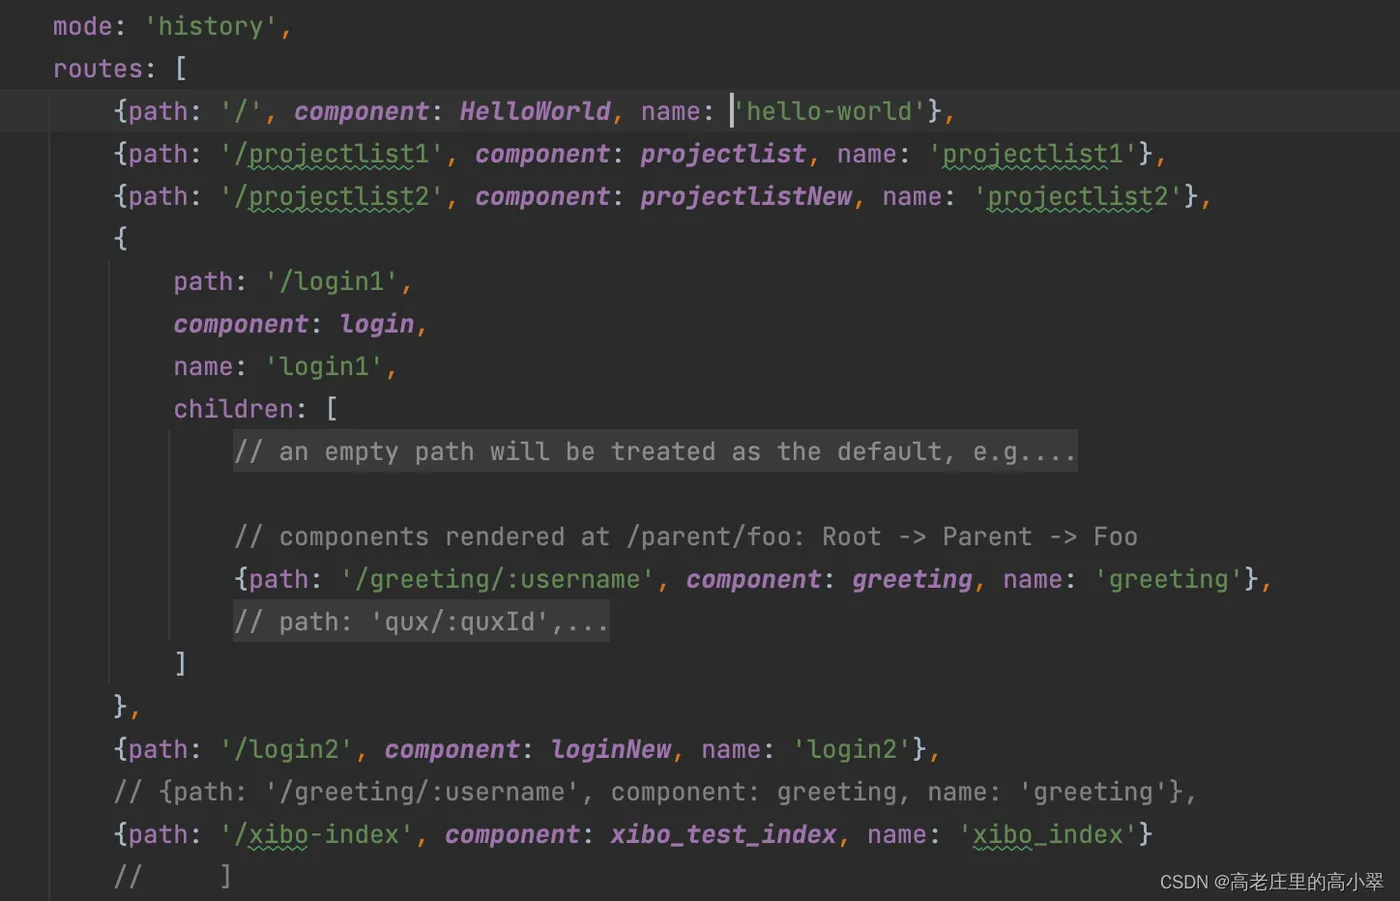
index.js
 编辑
编辑
以父组件为loginnew,子组件为hello-world为例;
<!--父组件loginnew.vue->>
<hello-world></hello-world>
<hello-world>这是个hello-world插槽位</hello-world>
<!--如果想要渲染出父组件中调用子组件标签中的内容,就要在子组件中添加插槽-->
<!--子组件hello-world.vue文件-->
<!--如果父组件调用的子组件标签中和子组件中的插槽中都有文本内容,那么父组件中的会覆盖子组件插槽中的内容-->
<slot><p>hello-world:我们一起学猫叫</p></slot>

6.2 具名/命名插槽
是 Vue.js 组件中的一种高级插槽技术,允许您在组件中定义多个具有名称的插槽,以便更精细地控制不同部分的内容插入位置。通过使用具名插槽,您可以在父组件中传递不同的内容到不同的插槽位置,从而实现更灵活和定制化的布局和组件复用。
以下是一个使用具名插槽的示例:
ChildComponent.vue:
<template>
  <div>
    <h2>Child Component</h2>
    <slot name="header"></slot>
    <slot></slot>
    <slot name="footer"></slot>
  </div>
</template>
<script>
export default {
  name: 'ChildComponent'
};
</script>

ParentComponent.vue:
<template>
  <div>
    <h1>Parent Component</h1>
    <child-component>
      <template v-slot:header>
        <p>This is the header content.</p>
      </template>
      <p>This is the main content.</p>
      <template v-slot:footer>
        <p>This is the footer content.</p>
      </template>
    </child-component>
  </div>
</template>
<script>
import ChildComponent from './ChildComponent.vue';
export default {
  name: 'ParentComponent',
  components: {
    ChildComponent
  }
};
</script>

在上述示例中,
ChildComponent组件定义了三个插槽,分别是默认插槽以及具名插槽header和footer。在ParentComponent中,使用<template>元素配合v-slot指令来填充具名插槽的内容。注意,Vue 2.6.0 及以上版本引入了新的缩写语法,将
v-slot:header缩写为#header,这样可以更简洁地使用具名插槽。示例中的
ParentComponent会渲染成如下内容:
<div>
  <h1>Parent Component</h1>
  <div>
    <h2>Child Component</h2>
    <p>This is the header content.</p>
    <p>This is the main content.</p>
    <p>This is the footer content.</p>
  </div>
</div>

通过使用具名插槽,您可以在不同的插槽位置插入不同的内容,从而实现更灵活和可配置的组件。具名插槽使得您的组件能够更好地适应各种不同的使用场景。
父组件loginNew.vue:
<template>
  <div>
    <el-form :model="ruleForm" status-icon ref="ruleForm" label-width="70px" class="demo-ruleForm"
             :label-position="labelPosition">
      <el-form-item label="用户名" prop="username">
        <el-input type="username" v-model="ruleForm.username" autocomplete="off"></el-input>
      </el-form-item>
      <el-form-item label="密码" prop="password">
        <el-input type="password" v-model="ruleForm.password" autocomplete="off"></el-input>
      </el-form-item>
      <el-form-item>
        <el-button type="primary" @click="submitForm('ruleForm')">提交</el-button>
        <el-button @click="resetForm('ruleForm')">重置</el-button>
      </el-form-item>
    </el-form>
    <!--  如果父组件调用的子组件标签中和子组件中的插槽中都有文本内容,那么父组件中的会覆盖子组件插槽中的内容-->
    <!--  <hello-world>这是个hello-world插槽位</hello-world>-->
    <!--  如果父组件调用的子组件标签中和子组件中的插槽中都有文本内容,那么父组件中的会覆盖子组件插槽中的内容-->
    <!--  <hello-world></hello-world>-->
    <hello-world>
      <!--    方法二  命名插槽-->
      <!--    在vue2.6之前版本-->
      <p slot="part1">一起喵喵喵</p>
      <!--    在vue2.6之后版本-->
      <template v-slot:part2>
        <p>在你面前撒个娇</p>
      </template>
      <!--       v-slot:可以简写成"#" -->
      <template #part3>
        <p>还是喵喵喵喵</p>
      </template>
      <!--        插槽作用域:父组件调取子组件的插槽内部要获取子组件的属性-->
      <!--        2.6 之前-->
      <p slot="part4" slot-scope="scope">
        {{ scope.user }}我得心脏砰砰跳
      </p>
      <template slot="part5" slot-scope="scope">
        <p>{{ scope.user }}我得心脏砰砰跳aaaaaa</p>
      </template>
      <!--        2.6 之后-->
      <template v-slot:part6="scope">
        <p>{{scope.user}}都是你的味道</p>
      </template>
      <template v-slot:part7="{user}">
        <p>{{user}}都是你的味道</p>
      </template>
    </hello-world>
  </div>
</template>
<script>
export default {
  name: "loginNew",
  data() {
    return {
      username: "daxiao",
      password: "123456",
      labelPosition: "right",
      ruleForm: {
        username: "111",
        password: "222",
      }
    }
  },
}
</script>
<style scoped>
.el-form {
  width: 350px;
  margin: 50px auto;
}
</style>

子组件HelloWorld.vue:
<template>
  <div class="hello">
    <h1>{{ msg }}</h1>
    <h>{{ msg1 }}</h>
    <p>这是一个hello-world页面</p>
    <div>
      <el-image
          style="width: 300px; height: 200px"
          :src="url"
          fit="cover"></el-image>
    </div>
    <!--    第一种方式-->
    <!--    <slot></slot>-->
    <!--    第二种方式-->
    <slot><p>我们一起学猫叫</p></slot>
    <!--    第三种方式 命名插槽-->
    <slot name="part1"></slot>
    <slot name="part2"></slot>
    <slot name="part3"></slot>
    <!--    插槽作用域-->
    <slot name="part4" :user="username"></slot>
    <slot name="part5" user="六啊"></slot>
    <slot name="part6" user="七啊"></slot>
    <slot name="part7" user="八啊"></slot>
    <!--    <slot ></slot>-->
  </div>
</template>
<script>
// import axios from 'axios';
import {dogs} from '../api/api'
export default {
  name: 'HelloWorld',
  props: {
    msg: String
  },
  data() {
    return {
      url: '',
      username: "木子"
    }
  },
  mounted() {
    //方法一:不推荐
    // axios.get('https://dog.ceo/api/breeds/image/random')
    //     //如果请求成功,就会执行.then回调函数
    //     .then(function (response) {
    //       console.log('data:',response.data)
    //       console.log('response:',response)
    //       //此时的this指的是当前函数的应用
    //       this.url=response.data.message
    //     })
    //     //如果请求失败,就会执行.catch回调函数
    //     .catch(function (err) {
    //       console.log(err)
    //     });
    // axios.get('https://dog.ceo/api/breeds/image/random')
    //     //如果请求成功,就会执行.then回调函数
    //     //方法二:使用箭头函数
    //     .then(response => {
    //       console.log('data:', response.data)
    //       console.log('response:', response)
    //       //此时的this指的是当前函数的应用
    //       this.url = response.data.message
    //     })
    //     //如果请求失败,就会执行.catch回调函数
    //     .catch(function (err) {
    //       console.log(err)
    //     });
    dogs()
        //如果请求成功,就会执行.then回调函数
        //方法二:使用箭头函数
        .then(response => {
          console.log('data:', response.data)
          console.log('response:', response)
          //此时的this指的是当前函数的应用
          this.url = response.data.message
        })
        //如果请求失败,就会执行.catch回调函数
        .catch(function (err) {
          console.log(err)
        });
  }
}
</script>
<!-- Add "scoped" attribute to limit CSS to this component only -->
<style scoped>
</style>

6.3 作用域插槽
是 Vue.js 组件中一种高级插槽技术,它允许父组件向子组件传递数据,并在子组件中根据这些数据自定义渲染逻辑。作用域插槽允许子组件对传递的数据进行更灵活的处理和展示,从而实现更高级的定制。
作用域插槽适用于以下情况:
- 当父组件需要向子组件传递数据,以在子组件内部进行渲染和处理。
- 当子组件需要在不同的上下文中使用传递的数据,例如在列表渲染或嵌套组件中。
以下是一个使用作用域插槽的示例:
List.vue:
<template>
  <div>
    <ul>
      <li v-for="(item, index) in items" :key="item.id">
        <slot :item="item" :index="index"></slot>
      </li>
    </ul>
  </div>
</template>
<script>
export default {
  name: 'List',
  props: {
    items: Array
  }
};
</script>

ParentComponent.vue:
<template>
  <div>
    <h1>Parent Component</h1>
    <list :items="dataItems">
      <template v-slot="slotProps">
        <p>Item {{ slotProps.index }}: {{ slotProps.item.name }}</p>
      </template>
    </list>
  </div>
</template>
<script>
import List from './List.vue';
export default {
  name: 'ParentComponent',
  components: {
    List
  },
  data() {
    return {
      dataItems: [
        { id: 1, name: 'Item 1' },
        { id: 2, name: 'Item 2' },
        { id: 3, name: 'Item 3' }
      ]
    };
  }
};
</script>

在上述示例中,
List组件使用作用域插槽将每个列表项的数据和索引传递给插槽内容。在ParentComponent中,通过<template>元素使用v-slot缩写来定义作用域插槽,并在插槽内部使用传递的数据进行渲染。作用域插槽的特点是,它将子组件内部的渲染逻辑交由父组件控制,子组件只需要关心数据的展示。这样可以实现更大程度的组件复用和定制。
作用域插槽是 Vue.js 中非常强大和有用的特性,能够使您的组件更加灵活和高效