文章目录
一、上拉加载更多数据
1. 在 pages.json 中配置上拉刷新&上拉距离
    ,{
                    "path" : "goods_list/goods_list",
                    "style" :
                {
                 // 下拉刷新距离
                    "onReachBottomDistance": 150
                }
2. 定义上拉触底行为
   onReachBottom( ) {
      // 显示加载效果
       uni.showLoading({
        title:"数据请求中..."
      })
      //  页面数自增加一
      this.queryObj.pagenum ++
      // 再次请求数据
      this.getGoodlist()
      // 隐藏加载效果
      uni.hideLoading()
    },
3. 修改调取数据方法
 methods: {
      async getGoodlist() {
        const {
          data: res
        } = await uni.$http.get('/api/public/v1/goods/search', this.queryObj)
        console.log(res)
        if (res.meta.status != 200) return uni.$showMsg("数据调取失败")
        // 展开拼接
        this.goodlist = [...this.goodlist,...res.message.goods]
        this.total = res.message.total
      }
    },
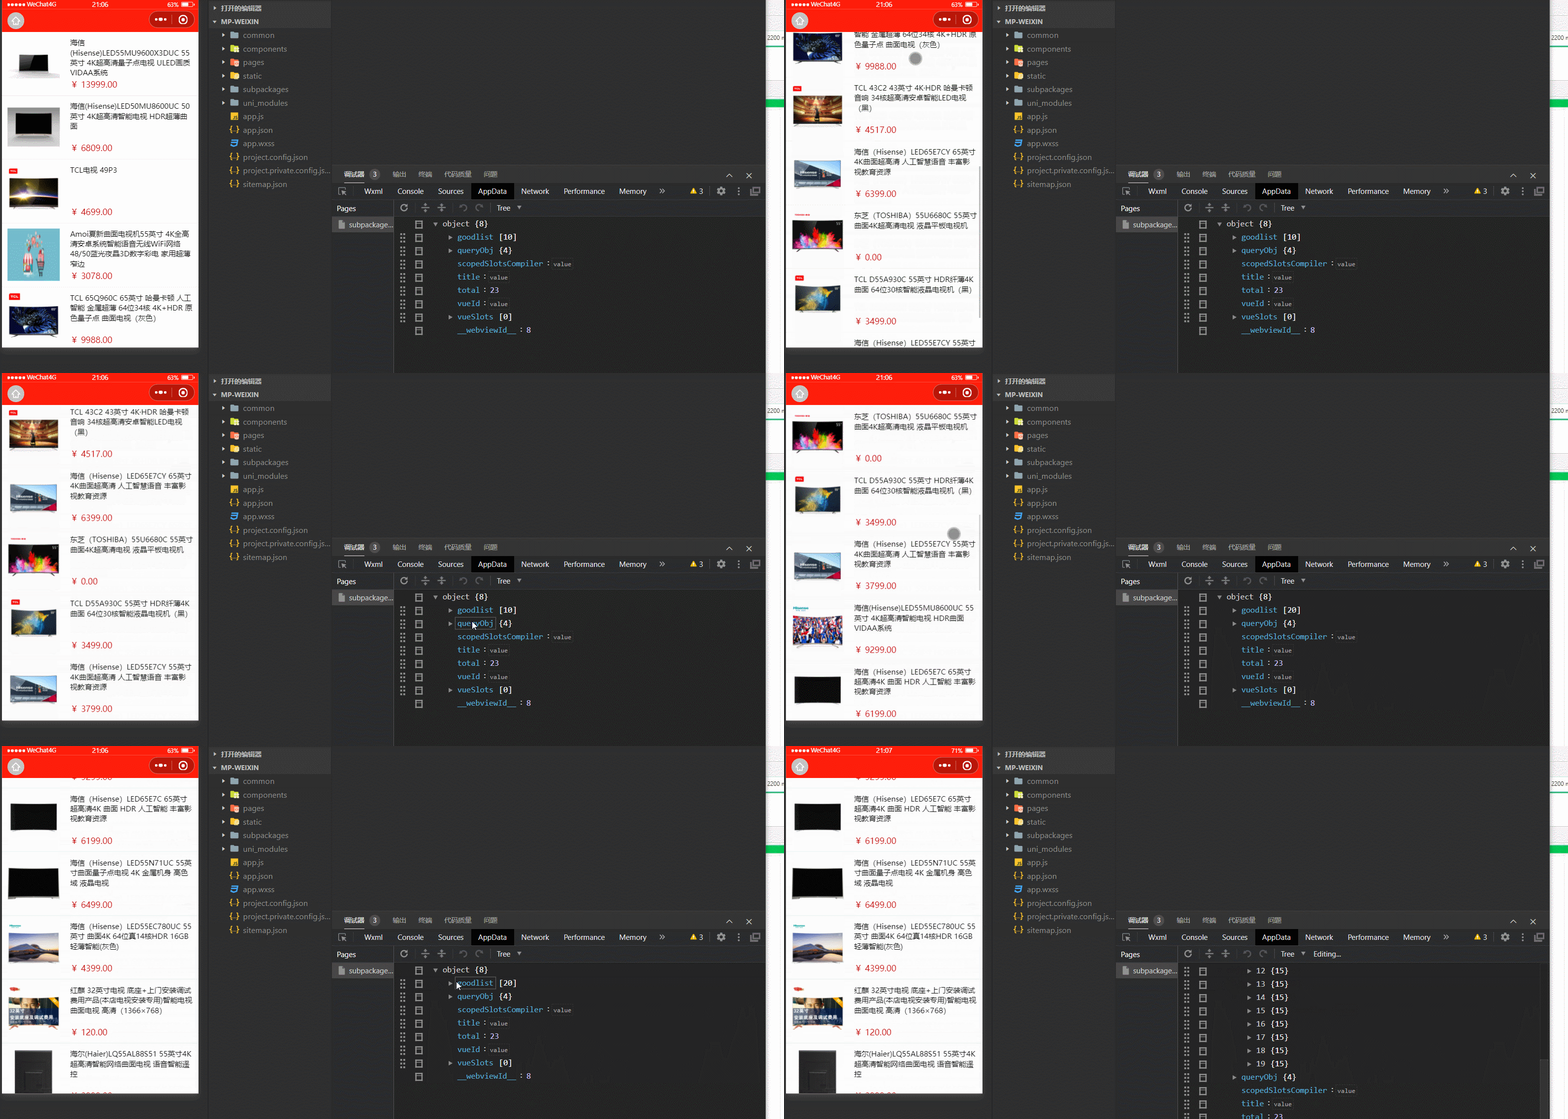
4. 效果
二、设置节流阀控制数据请求
我们在下拉刷新过程会由于网速慢或各种原因,数据请求慢,此时我们在还没请求到数据又下拉刷新一次,但此时数据还未加载完成(函数还未运行完) ,此时页数加一,后面等到数据再次请求就不是下一页了
1. 定义节流阀
   data() {
      return {
        // 节流阀
         isLoading : false
·······
2. 添加判断
(在获取数据前设置为true(允许加载数据,添加页码后设置为false,真正请求到数据在设置为true)
 onReachBottom() {
          // 显示加载效果
      uni.showLoading()
      // 如果正在加载 跳出函数
      if  (this.isLoading) return
      //  页面数自增加一
      this.queryObj.pagenum++
      // 再次请求数据
      this.getGoodlist()
      // 隐藏加载效果
      uni.hideLoading()
    },
 methods: {
      async getGoodlist() {
        // 此时开始加载 设置为 true
        this.isLoading = true
        const {
          data: res
        } = await uni.$http.get('/api/public/v1/goods/search', this.queryObj)
        console.log(res)
        if (res.meta.status != 200) return uni.$showMsg("数据调取失败")
        // 展开拼接
        this.goodlist = [...this.goodlist, ...res.message.goods]
        this.total = res.message.total
        // 请求成功 设置为false ( 没有走完函数是不允许再次请求)
        this.isLoading = false
      }
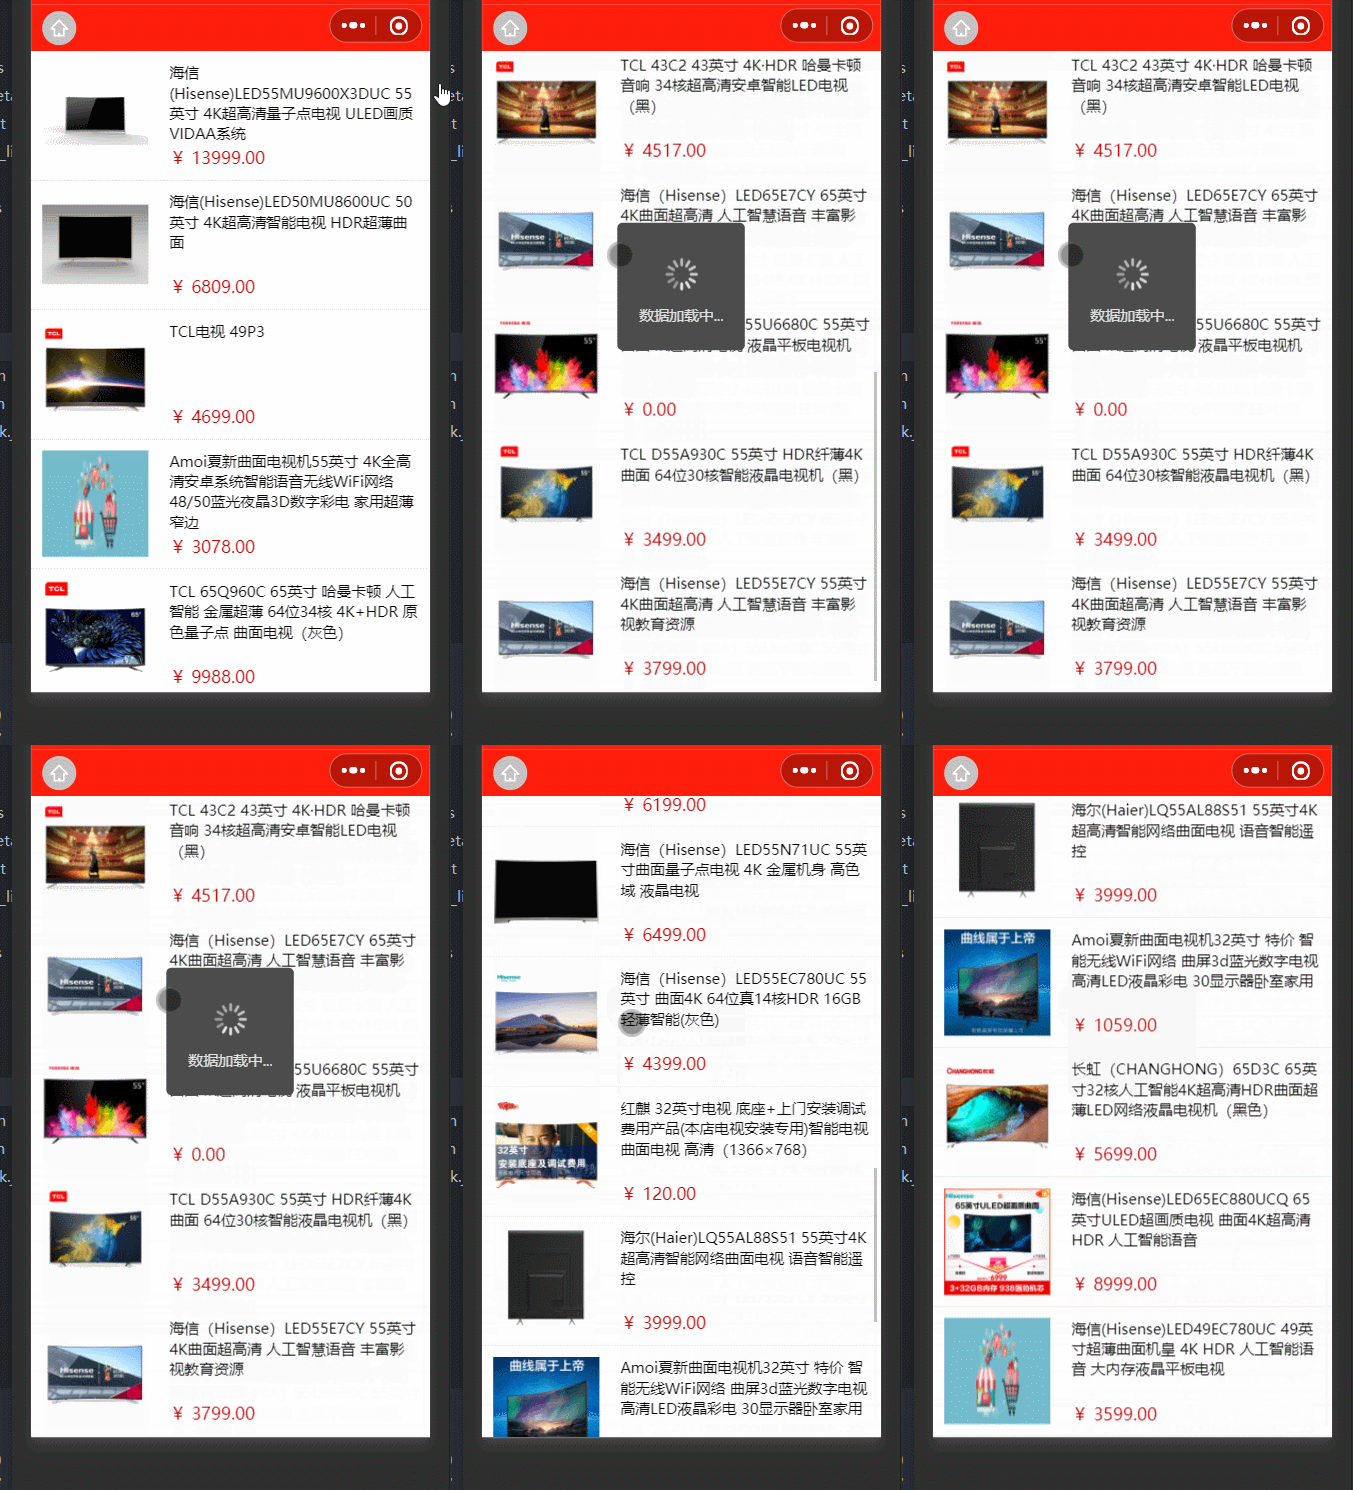
3. 效果
三、判断是否加载数据完毕
- 在
onReachButtom函数中修改如下 ( 这里我们假设你的数据条数为23条)
 onReachBottom() {
      // 判断是否加载完毕
      // 方法一 ( 总长度相加 )
      if (this.goodlist.length + this.queryObj.pagesize >= this.total) return uni.$showMsg('没有更多的数据啦...')
      // 方法二 ( 页面数 * 页面数据条数)
      // if (this.queryObj.pagenum * this.queryObj.pagesize >= this.total) return uni.$showMsg('没有更多的数据啦...')
四、 上拉刷新效果
1. 配置可下拉刷新
2. 监听事件函数(重置全部数据)
  onPullDownRefresh() {
      // 重置所有数据
      this.queryObj.pagenum = 1
      this.goodlist = []
      this.total = 0
      this.isLoading = false
      // 重写获取数据,并传箭头函数进行取消下拉刷新
      this.getGoodlist(() => uni.stopPullDownRefresh())
    },
3. 修改获取数据函数(添加停止下拉刷新)
async getGoodlist(callback) {
        // 此时开始加载 设置为 true
        this.isLoading = true
        const { data: res } = await uni.$http.get('/api/public/v1/goods/search', this.queryObj)
        console.log(res)
        // 取消下拉刷新 (如果有则往后走达到存在则允许函数的效果)
        callback && callback()
        // 请求成功 设置为false (没有走完函数是不允许再次请求)
        this.isLoading = false
        // 隐藏加载效果
        uni.hideLoading()
        if (res.meta.status != 200) return uni.$showMsg("数据调取失败")
        // 展开拼接
        this.goodlist = [...this.goodlist, ...res.message.goods]
        this.total = res.message.total
      }
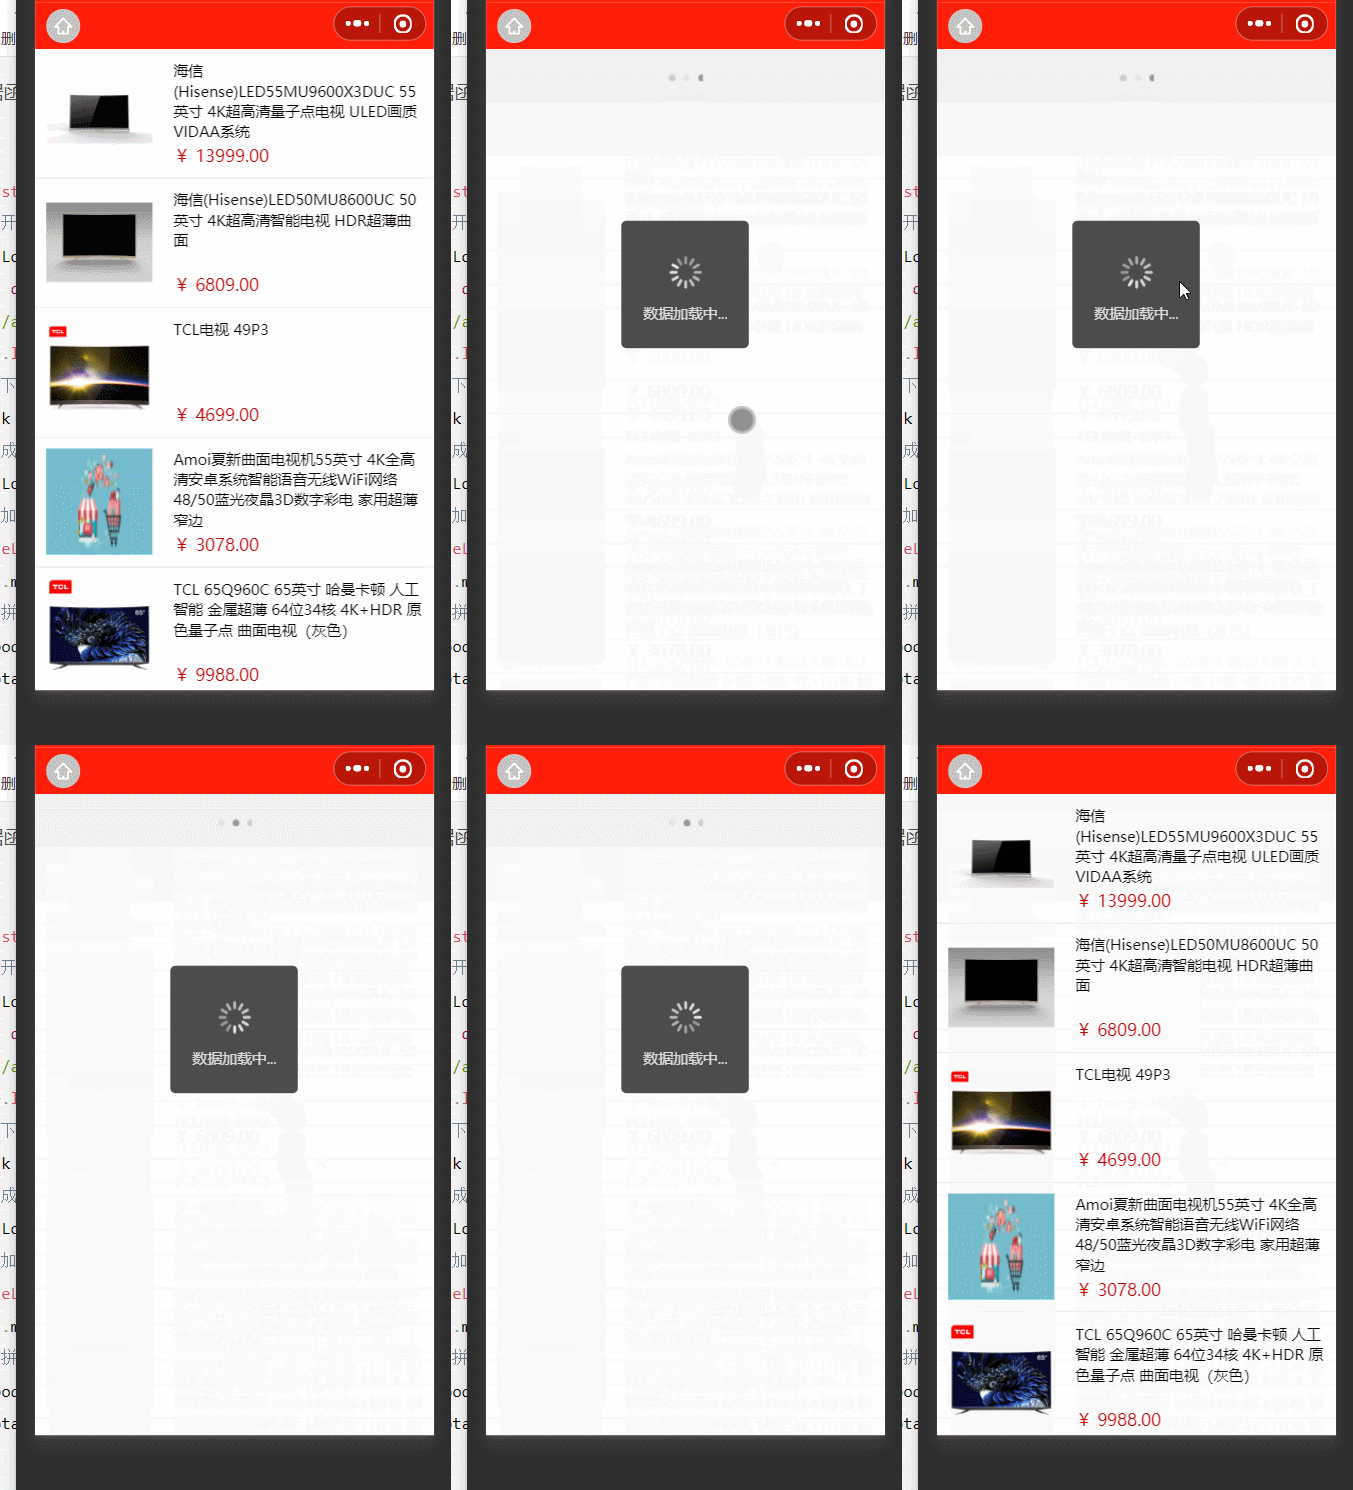
4. 效果
六、配置列表项链接跳转
1. 更改页面结构
将
block更改为view,并添加onclick事件跳转页面,由于需要更多的操作所以这里不单纯更改为navigator组件
< <!-- 列表页 -->
    <view class="goods-list">
      <view v-for="(item,i) in goodlist" v-bind:key="i" @click="goToUrl(item)">
        <my-goods :good="item"></my-goods>
      </view>
    </view>
2. 定义参数跳转函数
  methods: {
      goToUrl(item){
        uni.navigateTo({
          url:"/subpackages/goods_detail/goods_detail?goods_id=" + item.goods_id,
        })
      },
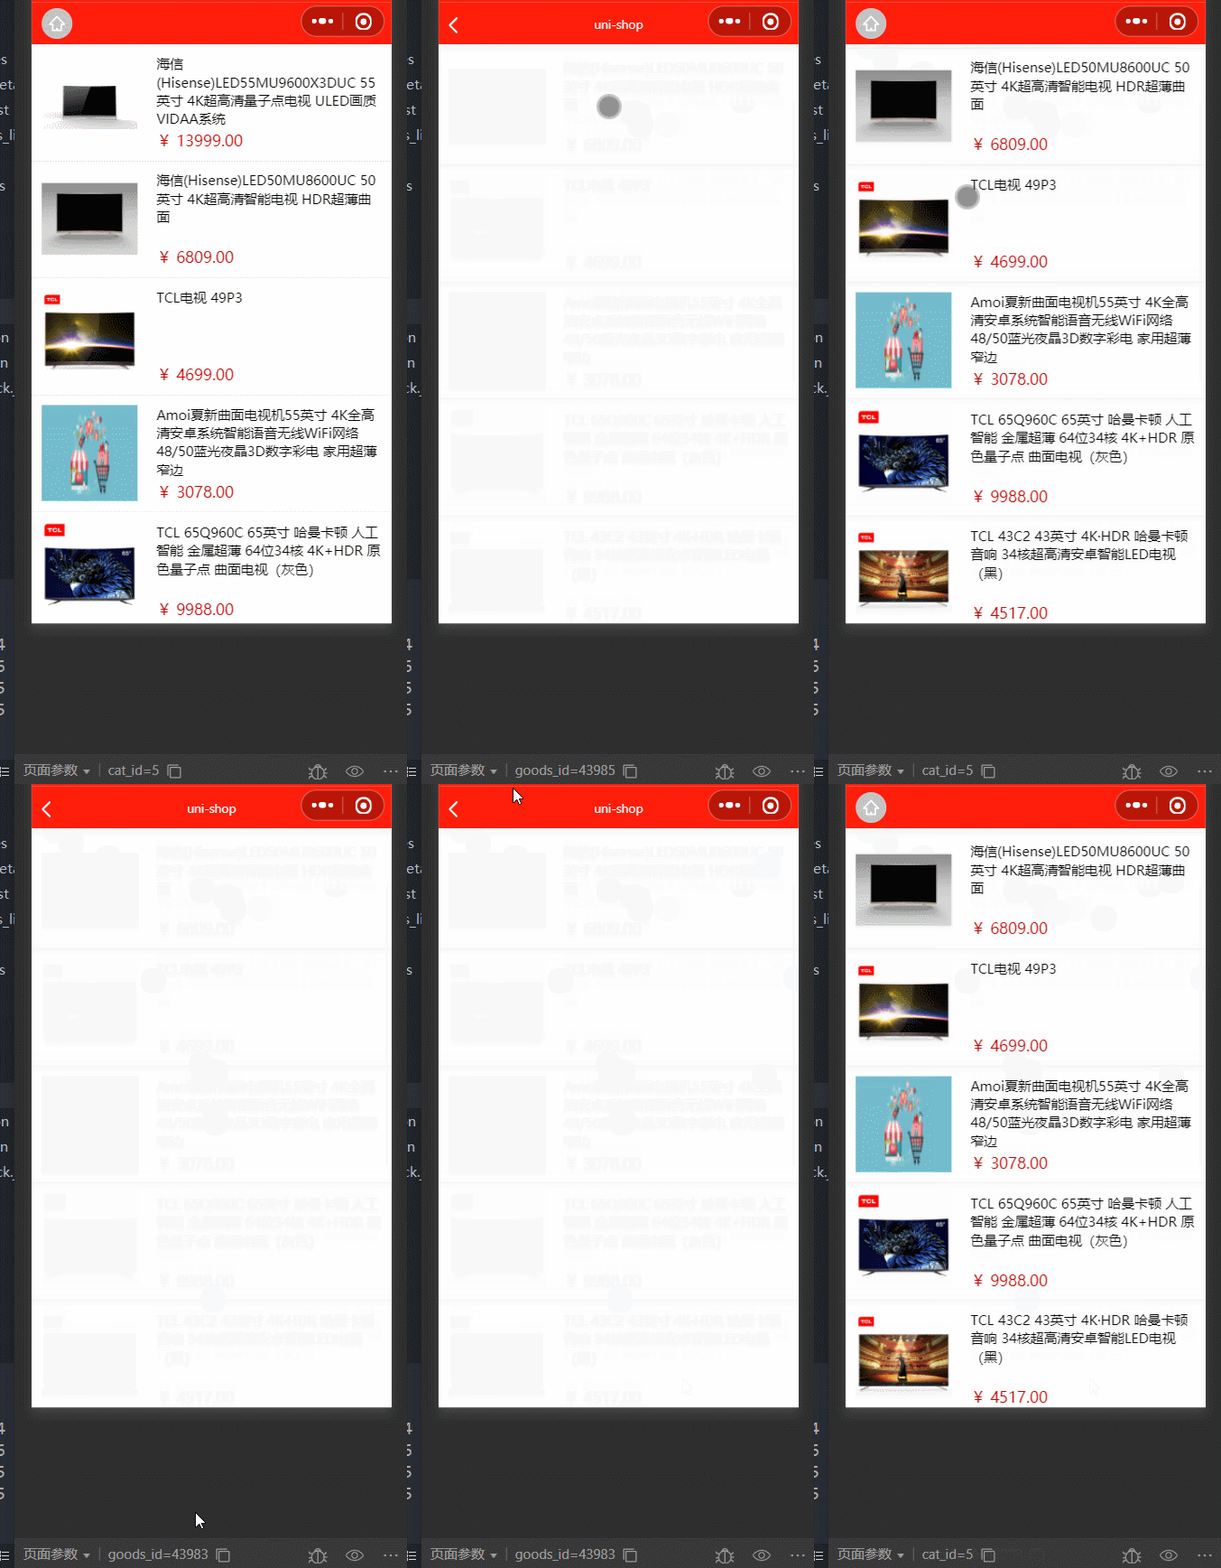
3. 效果
六、分支的提交
git add .
git commit -m "商品分类页面开发完成"
git push origin -u goodlist
git checkout master
git merge goodlist
git push
git branch -d goodlist
七、小结
在项目开发中经常会遇到列表页开发,如之前文章的搜索组件,显示建立列表 ✨ 京东商城uni-app之自定义搜索组件(中) ✨, 而这些列表页都有以下开发共性
- 获取列表数据
- 渲染列表数据结构到页面
- 美化样式
- 下拉刷新请求数据( 经典参数:请求数据关键字、页码数、每页数据量、其他属性等, 经典接口返回数据:状态meta(是否查询成功)、所含数据总数、)
- 下拉刷新节流阀
- 上拉刷新重新加载数据
- 为列表项添加链接
🤞到这里,如果还有什么疑问🤞
🎩欢迎私信博主问题哦,博主会尽自己能力为你解答疑惑的!🎩
   🥳如果对你有帮助,你的赞是对博主最大的支持!!🥳


