概述:要知道,做一个游戏,摄像头是必不可少的。接下来,我将讲解libgdx里面摄像头的移动
2d摄像头OrthographicCamera也叫做正交相机
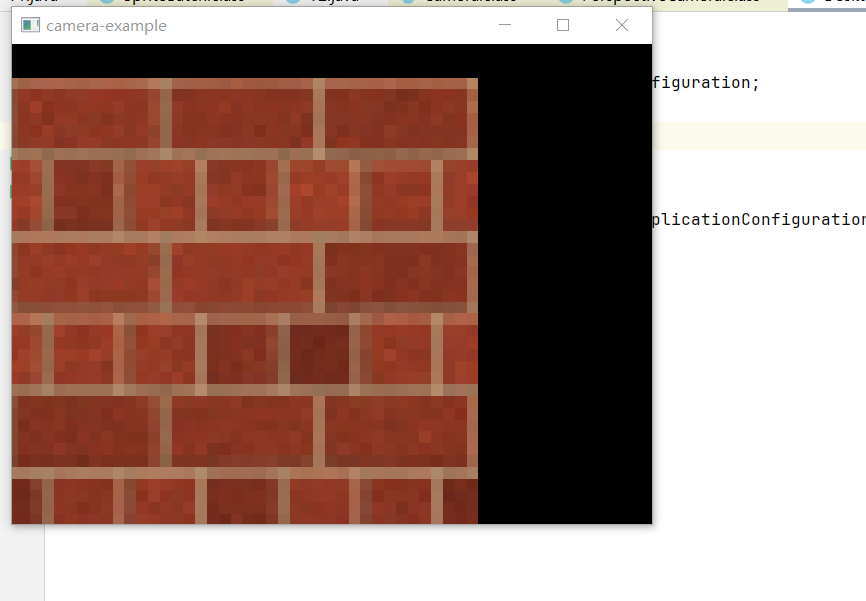
结果展示:
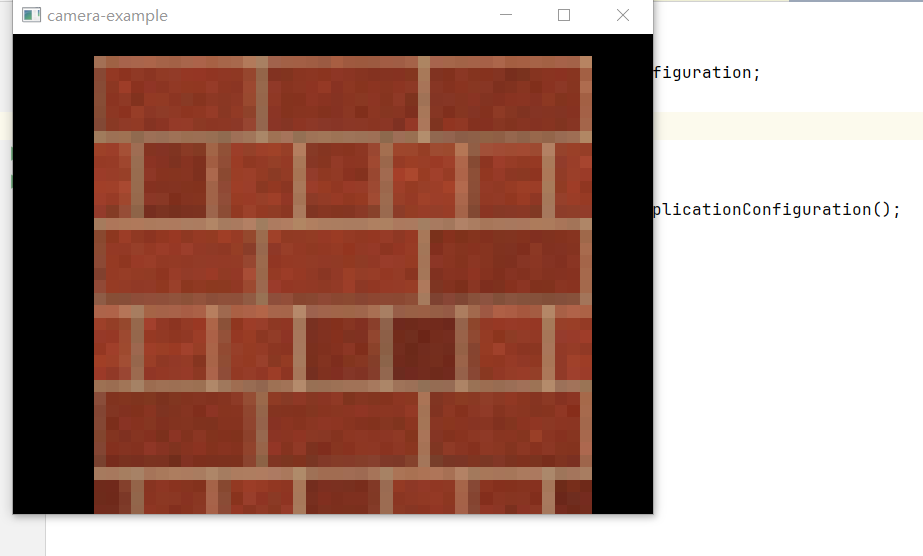
按上下左右是可以移动的
OrthographicCamera camera的使用:
完整代码:
package com.brentaureli.mariobros.cam;


import com.badlogic.gdx.ApplicationListener;
import com.badlogic.gdx.Gdx;
import com.badlogic.gdx.Input;
import com.badlogic.gdx.graphics.GL20;
import com.badlogic.gdx.graphics.OrthographicCamera;
import com.badlogic.gdx.graphics.Texture;
import com.badlogic.gdx.graphics.g2d.Sprite;
import com.badlogic.gdx.graphics.g2d.SpriteBatch;
import com.badlogic.gdx.math.MathUtils;

import static com.badlogic.gdx.Gdx.gl;

public class T1 implements ApplicationListener {

    private OrthographicCamera camera;
    private float VIEWPORT_WIDTH=100f;
    private float VIEWPORT_HEIGHT=100f;
    private SpriteBatch batch;
    private Sprite sprite;
    @Override
    public void create() {
        sprite=new Sprite(new Texture(Gdx.files.internal("block.png")));
        sprite.setSize(VIEWPORT_WIDTH,VIEWPORT_HEIGHT);
        sprite.setPosition(0, 0);
        float w = Gdx.graphics.getWidth();
        float h = Gdx.graphics.getHeight();
        camera=new OrthographicCamera(100,100*h/w);
        camera.position.set(15f,11.25f,0);
        camera.update();
        batch=new SpriteBatch();
    }

    @Override
    public void resize(int width, int height) {

        //调整窗口,相机位置不变
        camera.viewportWidth = 30f;
        camera.viewportHeight = 30f * height / width;
        camera.update();
    }

    @Override
    public void render() {

        handleInput();
        resetCamera();
        camera.update();
        batch.setProjectionMatrix(camera.combined);
        Gdx.gl.glClear(GL20.GL_COLOR_BUFFER_BIT);
        batch.begin();
        sprite.draw(batch);
        batch.end();
    }

    private void resetCamera() {
        if (Gdx.input.isKeyPressed(Input.Keys.R)) {
            camera.position.set(camera.viewportWidth / 2f, camera.viewportHeight / 2f, 0);
            camera.zoom = 1;
            camera.rotate(0, 0, 0, 1);
        }
    }

    private void handleInput() {
        //放大相机
        if (Gdx.input.isKeyPressed(Input.Keys.A)) {
            camera.zoom += 0.02;
        }
        //缩小相机
        if (Gdx.input.isKeyPressed(Input.Keys.Q)) {
            camera.zoom -= 0.02;
        }
        //左移相机
        if (Gdx.input.isKeyPressed(Input.Keys.LEFT)) {
            camera.translate(-3, 0, 0);
        }
        //右移相机
        if (Gdx.input.isKeyPressed(Input.Keys.RIGHT)) {
            camera.translate(3, 0, 0);
        }
        //下移相机
        if (Gdx.input.isKeyPressed(Input.Keys.DOWN)) {
            camera.translate(0, -3, 0);
        }
        //上移相机
        if (Gdx.input.isKeyPressed(Input.Keys.UP)) {
            camera.translate(0, 3, 0);
        }
    }

    @Override
    public void pause() {

    }

    @Override
    public void resume() {

    }

    @Override
    public void dispose() {
        sprite.getTexture().dispose();
        batch.dispose();
    }
}
主类完整代码:
package com.brentaureli.mariobros.desktop;
import com.badlogic.gdx.backends.lwjgl3.Lwjgl3Application;
import com.badlogic.gdx.backends.lwjgl3.Lwjgl3ApplicationConfiguration;
import com.brentaureli.mariobros.cam.T1;

public class DesktopLauncher {
    public static void main (String[] arg) {
        Lwjgl3ApplicationConfiguration config = new Lwjgl3ApplicationConfiguration();
        config.setForegroundFPS(60);
        config.setTitle("camera-example");
        new Lwjgl3Application(new T1(), config);
    }
}
先设置了一个背景
private Sprite sprite;
sprite=new Sprite(new Texture(Gdx.files.internal("block.png")));
sprite.setSize(VIEWPORT_WIDTH,VIEWPORT_HEIGHT);
sprite.setPosition(0, 0);
设置了背景的图片,背景的大小,背景位置。
接下来的代码:
 float w = Gdx.graphics.getWidth();
 float h = Gdx.graphics.getHeight();
 camera=new OrthographicCamera(100,100*h/w);
 camera.position.set(15f,11.25f,0);
 camera.update();
 batch=new SpriteBatch();
设置了camera的范围,camera的位置 camera.update();这个是每次更新camera的位置呀什么的都要进行一次更新。然后就是new了一个缓冲。
接下来的代码:
        //调整窗口,相机位置不变
        camera.viewportWidth = 30f;
        camera.viewportHeight = 30f * height / width;
        camera.update();
就是单纯的再调试了一下窗口。
接下来的代码:
private void handleInput() {
        //放大相机
        if (Gdx.input.isKeyPressed(Input.Keys.A)) {
            camera.zoom += 0.02;
        }
        //缩小相机
        if (Gdx.input.isKeyPressed(Input.Keys.Q)) {
            camera.zoom -= 0.02;
        }
        //左移相机
        if (Gdx.input.isKeyPressed(Input.Keys.LEFT)) {
            camera.translate(-3, 0, 0);
        }
        //右移相机
        if (Gdx.input.isKeyPressed(Input.Keys.RIGHT)) {
            camera.translate(3, 0, 0);
        }
        //下移相机
        if (Gdx.input.isKeyPressed(Input.Keys.DOWN)) {
            camera.translate(0, -3, 0);
        }
        //上移相机
        if (Gdx.input.isKeyPressed(Input.Keys.UP)) {
            camera.translate(0, 3, 0);
        }
    }
添加了一下键盘输入的按键,camera.zoom += 0.02;就是将摄像的范围扩大同理camera.zoom -= 0.02;就是减少,而 camera.translate就是移动位置。
接下来的代码:
 private void resetCamera() {
        if (Gdx.input.isKeyPressed(Input.Keys.R)) {
            camera.position.set(camera.viewportWidth / 2f, camera.viewportHeight / 2f, 0);
            camera.zoom = 1;
            camera.rotate(0, 0, 0, 1);
        }
    }
就是单纯的按r重置摄像头
然后就是:
        camera.update();
        batch.setProjectionMatrix(camera.combined);
        Gdx.gl.glClear(GL20.GL_COLOR_BUFFER_BIT);
        batch.begin();
        sprite.draw(batch);

        batch.end();
将摄像头进行更新,然后 batch.setProjectionMatrix(camera.combined);这个,这个可以说是固定搭配,就是配置一下摄像头。
        batch.begin();
        sprite.draw(batch);
        batch.end();
缓存区打开,然后画图,end方法结尾。这算是固定搭配。
3D摄像头PerspectiveCamera也叫做透视相机
完整代码:
package com.brentaureli.mariobros.cam;

import com.badlogic.gdx.ApplicationListener;
import com.badlogic.gdx.Gdx;
import com.badlogic.gdx.graphics.GL20;
import com.badlogic.gdx.graphics.PerspectiveCamera;
import com.badlogic.gdx.graphics.Texture;
import com.badlogic.gdx.graphics.VertexAttributes;
import com.badlogic.gdx.graphics.g3d.Material;
import com.badlogic.gdx.graphics.g3d.Model;
import com.badlogic.gdx.graphics.g3d.ModelBatch;
import com.badlogic.gdx.graphics.g3d.ModelInstance;
import com.badlogic.gdx.graphics.g3d.attributes.TextureAttribute;
import com.badlogic.gdx.graphics.g3d.utils.FirstPersonCameraController;
import com.badlogic.gdx.graphics.g3d.utils.ModelBuilder;

import static com.badlogic.gdx.Gdx.gl;

public class T2 implements ApplicationListener {
    private PerspectiveCamera camera;
    private FirstPersonCameraController cameraController;
    private ModelBatch batch;
    private ModelBuilder builder;
    private Texture texture;
    private Model model;
    private  ModelInstance instance;
    @Override
    public void create() {
        camera=new PerspectiveCamera(70, Gdx.graphics.getWidth(),Gdx.graphics.getHeight());
        camera.position.set(0,0,0);
        camera.near=0.1f;
        camera.far=1000f;
        camera.update();
        cameraController=new FirstPersonCameraController(camera);
        Gdx.input.setInputProcessor(cameraController);
        cameraController.update();

        batch=new ModelBatch();
        builder=new ModelBuilder();
        texture=new Texture(Gdx.files.internal("block.png"));
        Material material=new Material(new TextureAttribute(TextureAttribute.Diffuse,texture));
        int attributes= VertexAttributes.Usage.Position|VertexAttributes.Usage.TextureCoordinates;
        model= builder.createBox(3, 3, 3, material, attributes);
        instance= new ModelInstance(model);
        instance.transform.setToTranslation(0,0,-5);

    }

    @Override
    public void resize(int width, int height) {
        camera.viewportWidth=width;
        camera.viewportHeight=height;
        camera.update();
        cameraController.update();
    }

    @Override
    public void render() {
       gl.glClear(GL20.GL_COLOR_BUFFER_BIT|GL20.GL_DEPTH_BUFFER_BIT);
       camera.update();
       cameraController.update();
       batch.begin(camera);
       batch.render(instance);
       batch.end();
    }

    @Override
    public void pause() {

    }

    @Override
    public void resume() {

    }

    @Override
    public void dispose() {

    }
}
主类就换个类名就行了,接下来是结果展示图:
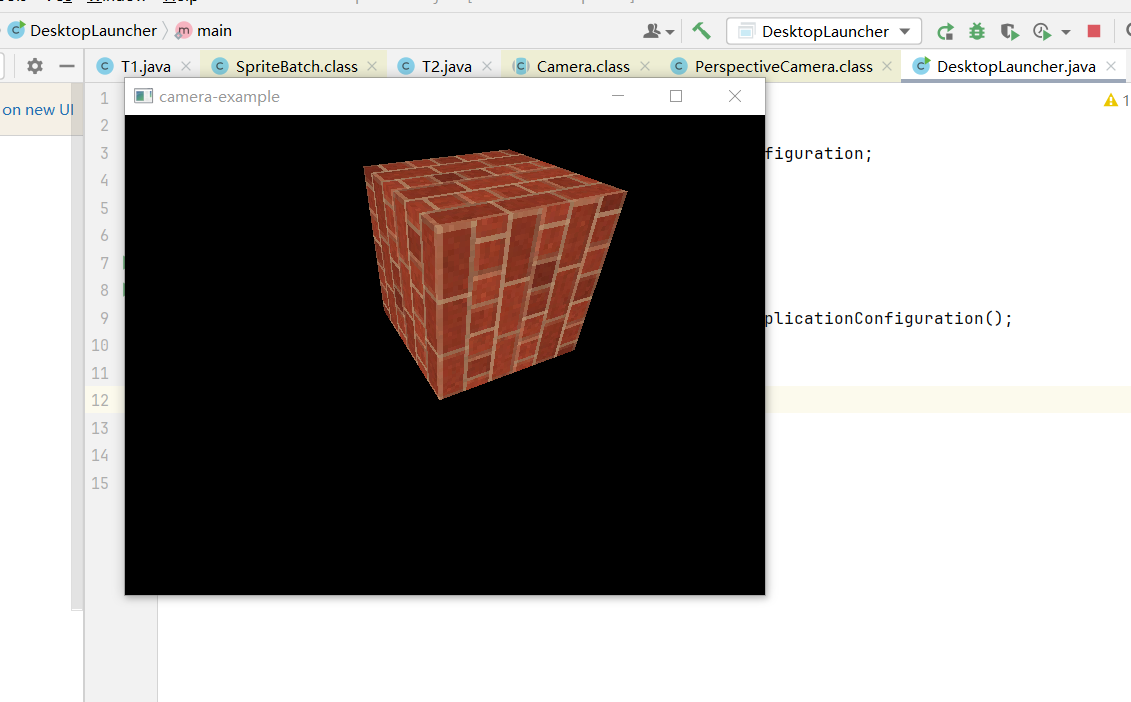
按wsad可以上下左右移动。
由于篇幅可能过长,下一章也许会讲。


