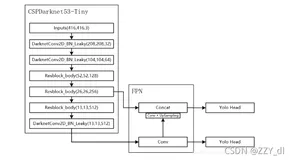
1、模型编译、测试和训练
1.1、YOLO-Fastest编译
- 第一步:
git clone https://github.com/dog-qiuqiu/Yolo-Fastest
- 第二步:
下载安装opencv:https://github.com/opencv/opencv/releases/tag/4.4.0
- 第三步:
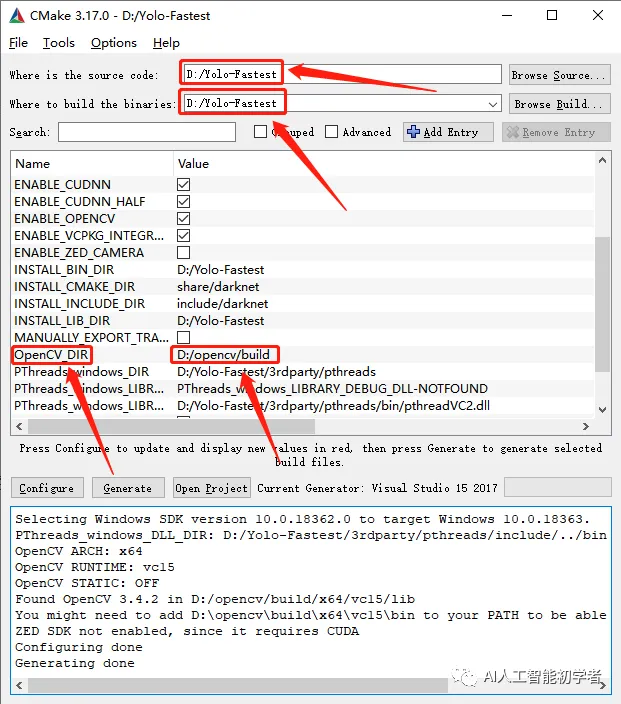
打开cmake,选择Yolo-Fastest文件夹为source code路径,Yolo-Fastest文件夹为目标文件夹;然后点击configure,再选择opencv.exe解压缩后的build文件夹为OPENCV_DIR的路径;
- 第四步:
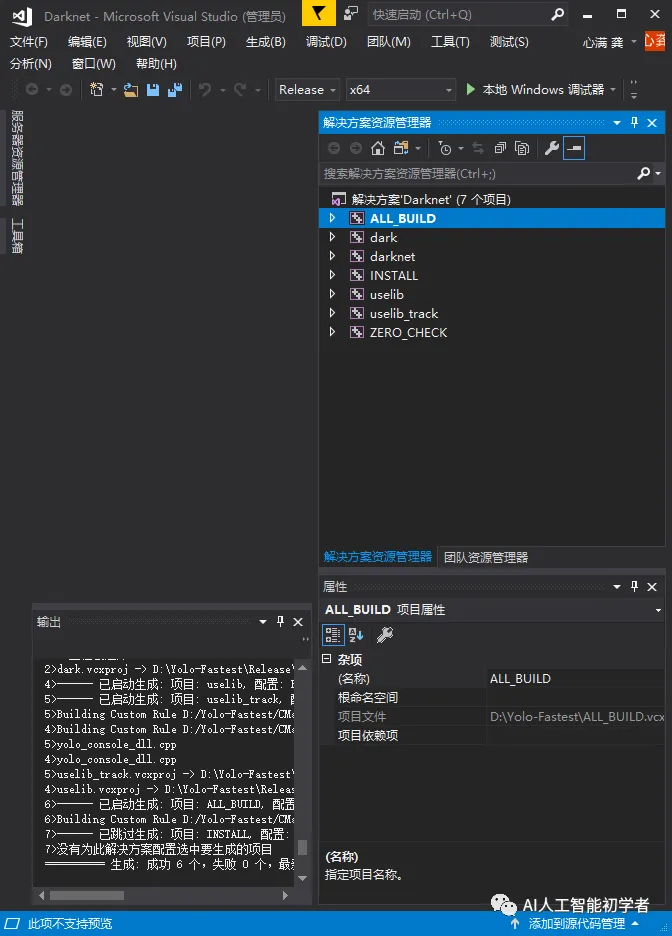
打开Visual Studio2017(具体根据你在configure时选择的编译环境,最好选择2017),选择release,然后生成解决方案;
- 第五步
编译完成后在Yolo-Fastest目录下会有Release文件夹,把里面编译完成的darknet.dll和darknet.exe复制到Yolo-Fastest/build/darknet/x64目录下; - 第六步
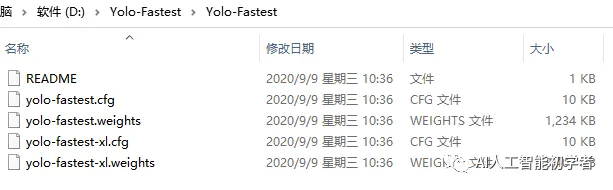
把Yolo-Fastest目录下的除README.MD以外的4个文件复制到Yolo-Fastest/build/darknet/x64/cfg目录下;
1.2、YOLO-Fastest视频和图片测试
- 1、视频测试
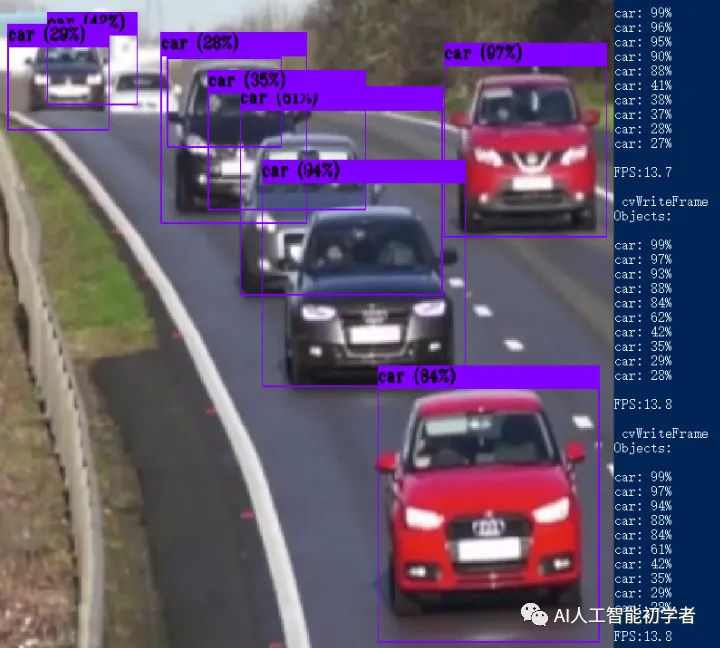
输入如下指令既可测试视频检测并输出检测的结果,CPU检测可以达到14FPS/s,比同等条件下使用GPU检测的YOLO-V4快很多:
./darknet detector demo ./cfg/voc.data ./cfg/yolo-fastest.cfg ./cfg/yolo-fastest.weights ./data/test_car.mp4 -i 1 -thresh 0.25 -out_filename ./data/car_output.mp4
注意,测试视频可以为任意你自己想检测的视频文件,这里小编只用了手上有的视频进行了测试
- 2、图片测试
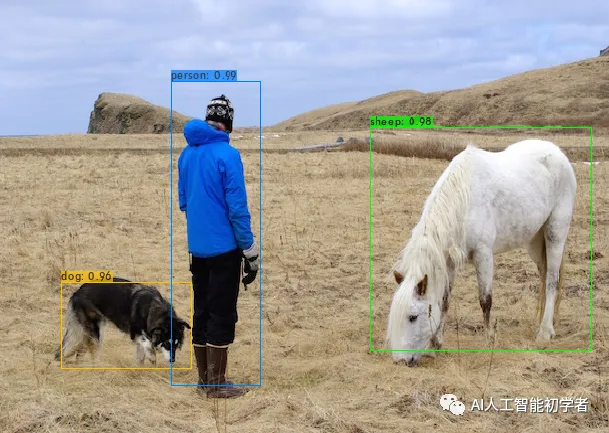
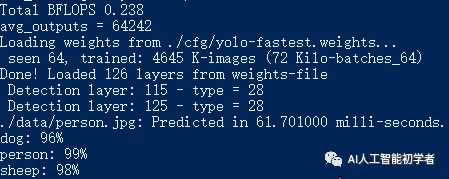
输入如下指令既可测试视频检测并输出检测的结果,CPU检测用时为:
./darknet detector test ./cfg/voc.data ./cfg/yolo-fastest.cfg ./cfg/yolo-fastest.weights ./data/person.jpg -i 1 -thresh 0.25 -out_filename ./data/person_output.jpg
2、YOLO-Fastest训练
- 1、 根据voc数据集的形式标注自己的数据集;
- 2 、生成一个预先训练好的模型,用于初始化模型主干:
./darknet partial yolo-fastest.cfg yolo-fastest.weights yolo-fastest.conv.109 109
- 3 、Train:
./darknet partial yolo-fastest.cfg yolo-fastest.weights yolo-fastest.conv.109 109
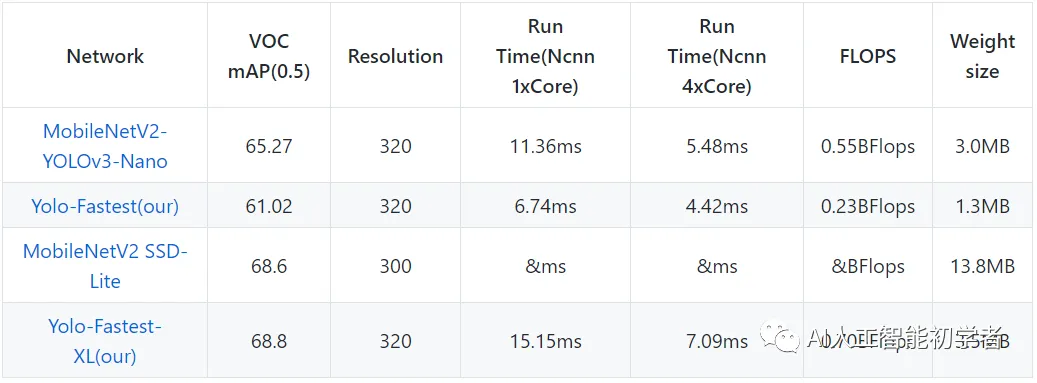
以下是原作者所得到的结果